Oh technology, we love you so, but you require constant maintenance! The cords, the charging, it cannot be escaped. I’ve been so frustrated with all the cords all over the house and I was looking for a sensible way to corral them all in one place. There are many charging stations you can buy online but I was looking for a solution that was cheap and easy.
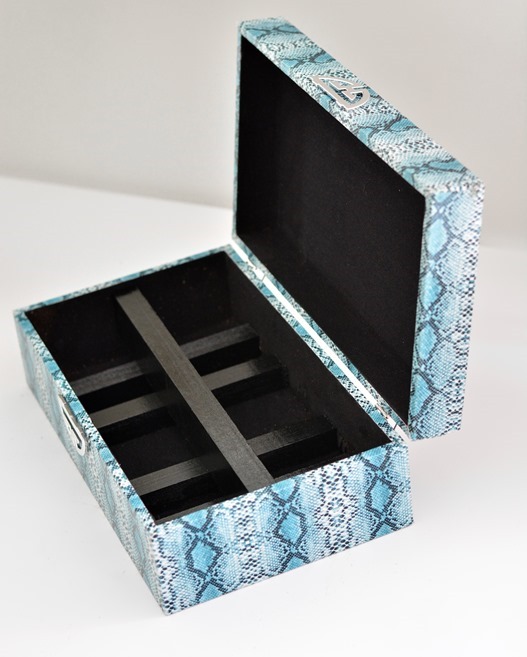
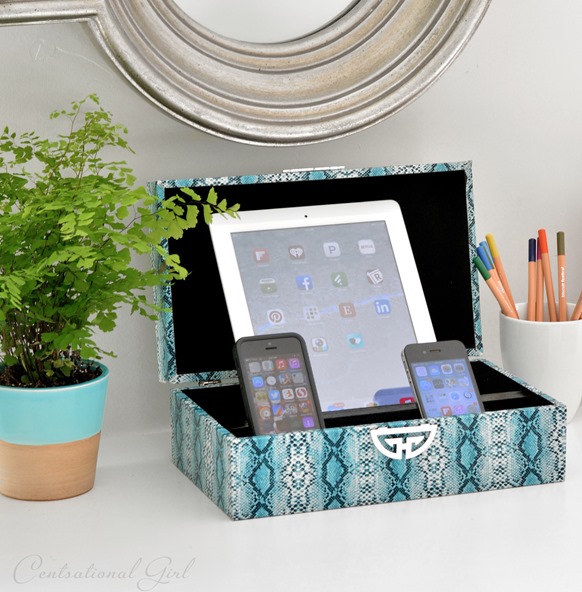
We needed two in our household, one upstairs in the studio above the garage where our 22 year old now resides, and one downstairs in the family room to charge our devices when not in use. For the first version in the studio, I bought a faux snakeskin box at HomeGoods for $20. There are plenty of similar uses for boxes as charging stations around the web, an internet search will turn up variations on this idea, but here’s how I turned two decorative boxes into charging stations with a few power tools, some scraps of painted wood, and hot glue.
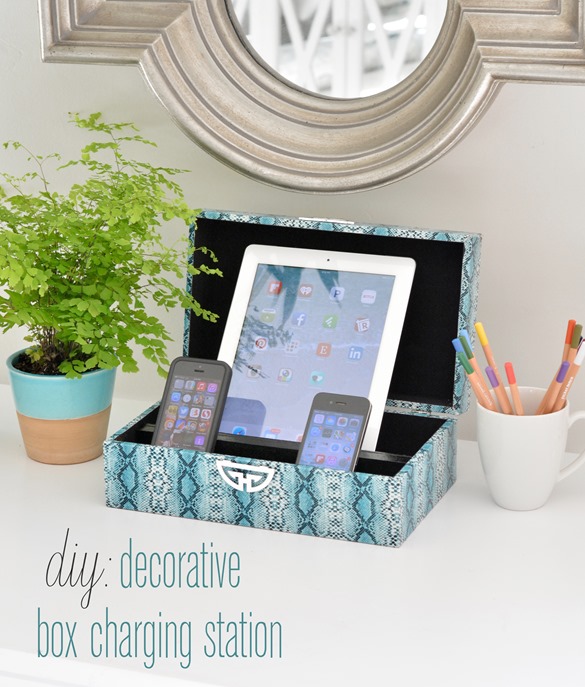
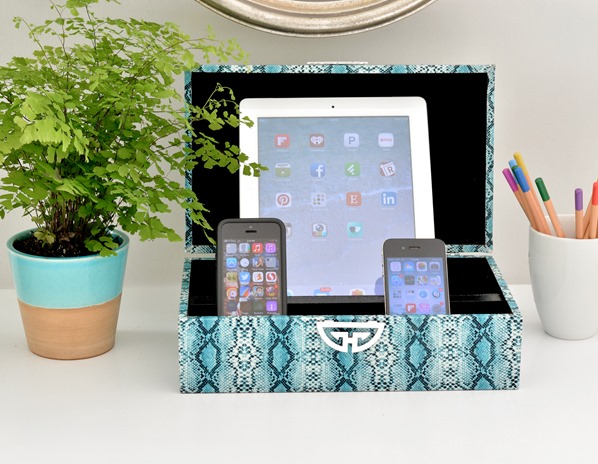
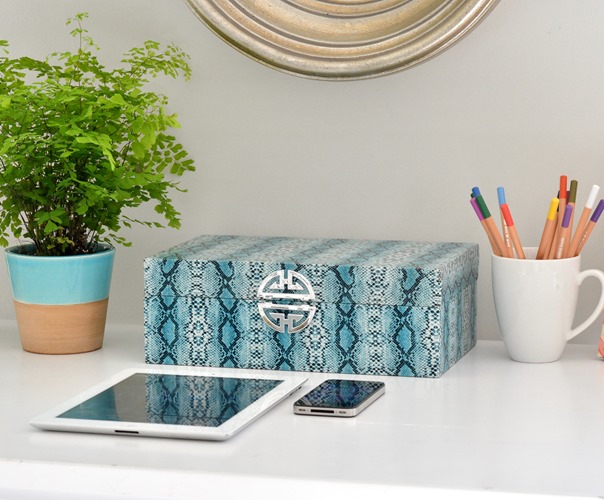
Supplies: decorative box at least 2 ½” deep and long enough to fit your devices, in this case it was 1 tablet plus 2 phones; paint to match interior of box; circular saw; power screwdriver with drill bits; 4 strips of ¾ x ¾” wood cut to width of box; 1½ x ¾” wood cut to length of box; hot glue.
The design is a simple grid inside the box cut with two different sizes of the wood mentioned above. The bottom four pieces are ¾ x ¾” square trim cut to the width of the box to allow for room along the bottom for the charger to comfortably fit beneath the phones and tablets; the top is a piece of 1½ x ¾” poplar board cut to the length of the box to support the front of a tablet and the back of the smartphones.
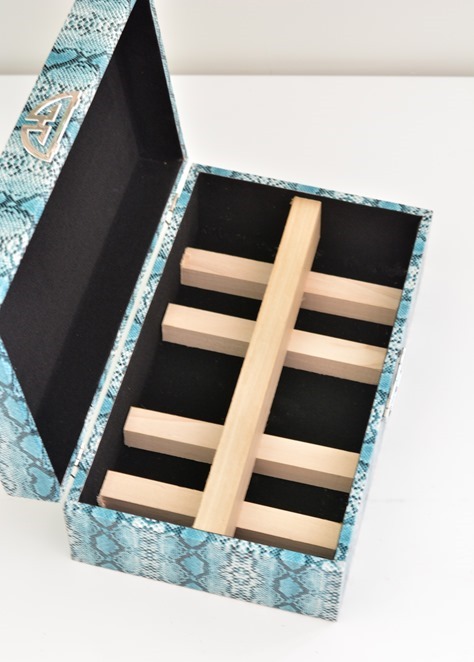
When painted (I used gloss black spray paint) the grid is less visible inside.
Along the back, drill holes in between the supports large enough for access by the smallest end of the charger. Phones vary, for my iPhone4 and iPad the smallest is the USB end, for Matt’s iPhone5 it’s the new smaller charging end.
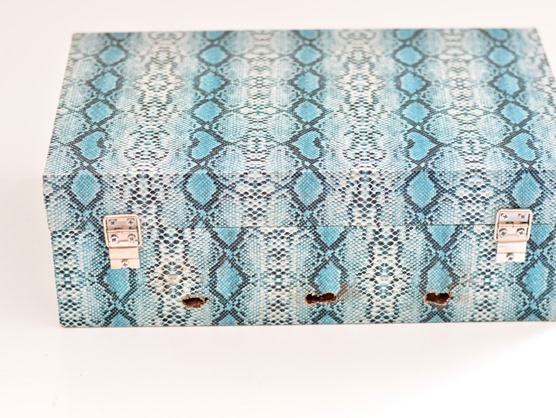
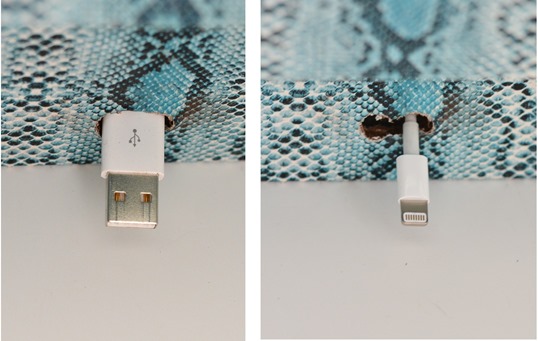
Run the cords through the holes and tie them together behind the box. To support more than two chargers it’s smart to install one of these USB wall outlets. I found them at Home Depot for $25 each. For the step by step, Chelsea at Two Twenty One has an excellent tutorial on how to install a USB wall outlet.
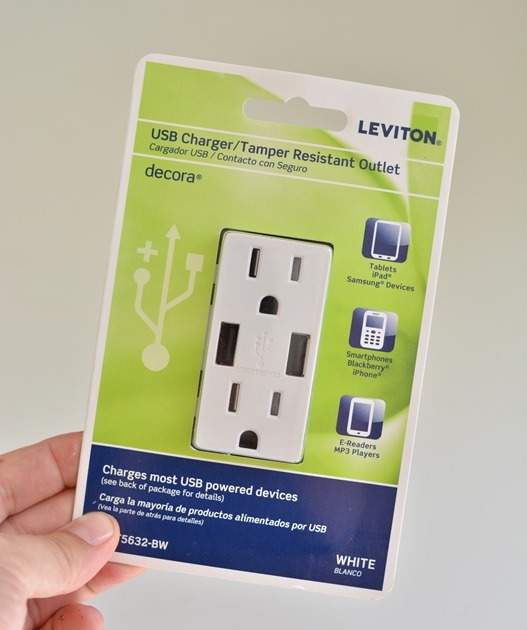
With these, you avoid the chunky power strip and have the ability to charge up to four devices with one outlet.

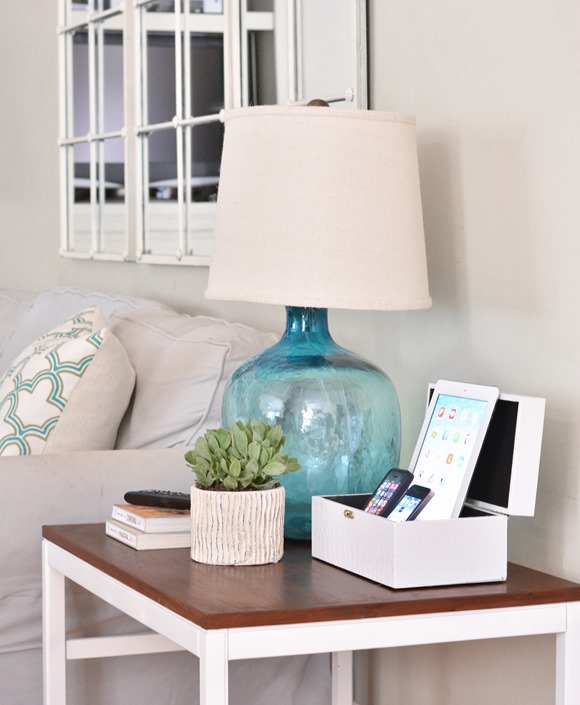
I fabricated a second version for the family room with the same interior grid design in a faux crocodile box purchased at Marshalls for under $10.
That’s how we’re attempting to organize and charge the devices in our household, how do you do it in yours?
.


I love this! Thanks for sharing!
I love this project and the mirrored window over your couch. Is there a post on those? I would love more information or where I could buy them. Thank you! Beautiful work!
Hi Amber, those mirrors are from Ballard Designs, I bought them five years ago in the iron finish and painted them white to pull more light into our windowless family room – I believe they still carry them !
Kate
I absolutely love this! We are getting brand-new living room furniture delivered today and I would love to add one of these into the new room! Thanks for sharing :)
I have to try this!
Pretty and good idea! I hate cables! Grrr!
This is such a great idea! I NEED to do this!
What a great idea!!! Thanks for sharing.
Oh gosh this is gorgeous! I need something like this for my nightstand!
Such a clever idea to hide cords and power outlets. I especially love the snakeskin box you chose! Great idea.
Great idea! Pinning this for later :-)
This is an awesome idea!!! Thank you for the inspiration! I’m doing this for sure.
This is brilliant!
I like what you did. And thanks for sharing about the USB wall outlets. One more addition to “to-do” list.
This is my favorite DIY in a long time — I love it!!
x Lily
http://whilemyboyfriendsaway.blogspot.com/
Love this! Thanks for the shout out! :)
Love this! We have so many cords it drives me crazy! I’ll definitely have to implement this in our house somewhere.
This is so cool!I hate seeing too many cords all over the floor too,I just used toilet paper rolls to bundle them and look a little bit organized compared before.
This is a great and great looking- idea. I leave my cords plugged in to the wall in my bedroom. Then our teenagers pinch them, then we yell… There is room for improvement in our system!
I love this! nd so easy to make :-) thanks Kate!
Also i love you white and wood color side table? Where did you get it?
Such a great idea! There are way too many cords around our house that are a sight for sore eyes. I’m going to try this!
I love this.
Just need to find a box now!!
L x
http://workingmumy.blogspot.com
Can you tell me where you got that silver mirror?
The mirror is from Shades of Light, we bought it two years ago for her college room but now it’s up in the studio Megan – link here:
http://www.centsationalgirl.com/2012/09/navy-coral-bedroom/
Kate
This is adorable and functional! You always have the most amazing ideas! And what I love is they are always something that I feel like I could do! Thanks for sharing! Best~Kathy
Beautiful solution, Kate! I just posted about using decorative boxes in DIY and design. Yet another great use for them!! Love your turquoise glass lamp!
These are so great! I usually have plenty of pretty boxes around. I’m kind of a box junky. I have purchased a charging station in the past, but they always seem to be rather big and clunky. Your solution is so much better and the boxes look pretty when closed as accessories. I’m certainly going to make one or two. Thanks for such a great idea!!
This is perfect! I’m moving out soon, and I’ve been looking at all these DIY’s and home interior blogs, but this is awesome! I’m defiantly making this sometime soon. Thank you for sharing! xx
Cindy | mazedays.blogspot.com
Ingenious! And so chic!
What a chic solution to a common eyesore. You had me at snakeskin with that decorative box! Way to combine beauty and function.
Thanks Decorating Delirium, and everyone!!
I love this idea! Let me start with the fact that my husband and I want to put at least 6 of the outlets in the house, and then I’ll be making the charging station.
Love it! I hate my charger sitting in the hallway all by itself right now!! Maria
I’m constantly trying to come up with new creative ways to organise and give my house a personal touch, this is awesome. I will definitely be doing this :) I might even post my ‘attempt’ on my blog!
I love this post and will definitely try and do this over the summer. Do you know if you can’t get one of them plug things for a UK plug?? X
Genius! We have the same taste. i guess thats why I love your blog so much. That cute little white faux wood planter is amazing too!
Absolutely love what you’ve done! I am wondering where your electrical outlets are in these pics? How much cord ends up being exposed?
Cords are tied up behind the boxes and outlets are on the walls, just below the desk and off to the side of that side table. :)
What a fantastic idea, looks clean and modern, love it!
This is my favorite DIY in a long time — I love it!!
This is so cool. Thanks for sharing
Have you seen the USB charger Hubman and the electric plug Eletro Man?
We love our Hubman. We have 2.
Not affiliated with it; just discovered it and thought I’d share.
Do you have any neat ideas for behind the tv which is getting ridiculously crowded? I love the box idea!