The cliché “better late than never” applies to my hall bathroom and the necessary paint job I’ve been putting off for years. Over the weekend I finally finished painting them and installing the second half of the tile backsplash that’s been sitting in a neat little pile just waiting for me to gather the energy.
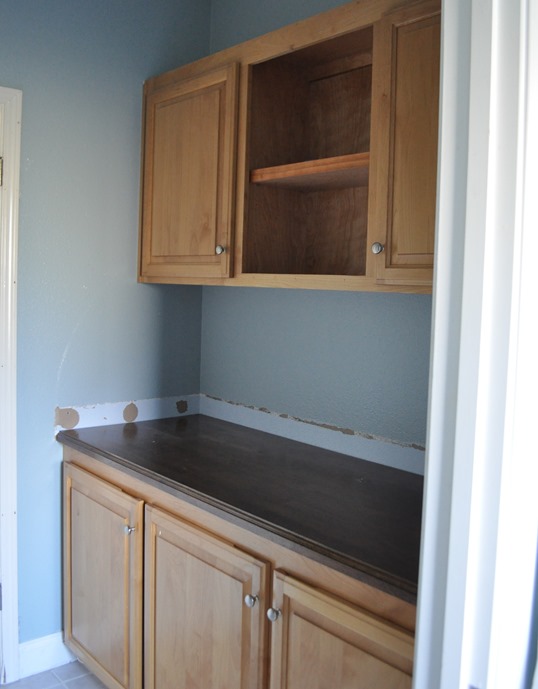
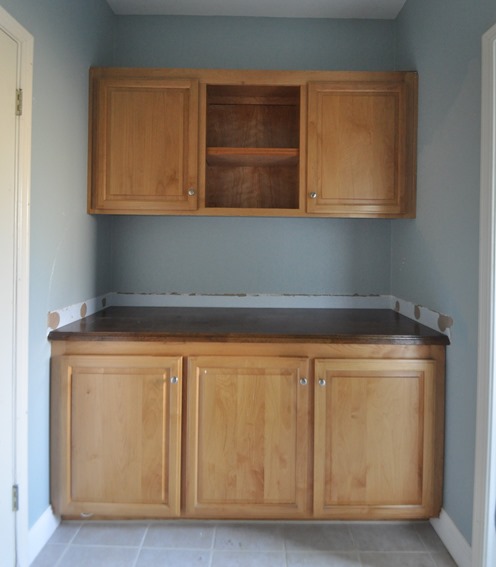
These bathroom cabinets sit behind the door in our hall/guest bathroom. They’ve been this honey stain color since we moved in in 2000. I love wood cabinets dark and light, but I’m not a fan of this particular stain. With all the home improvement we’ve done in the past few years, this space always seemed to get the back burner treatment until last week.
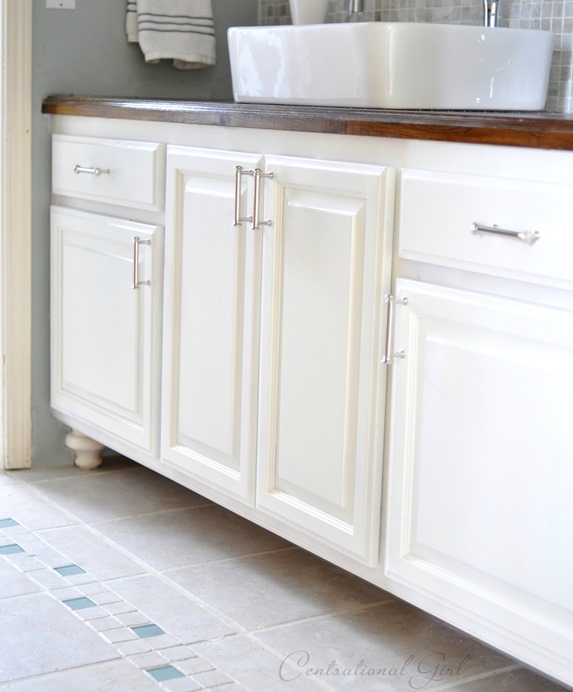
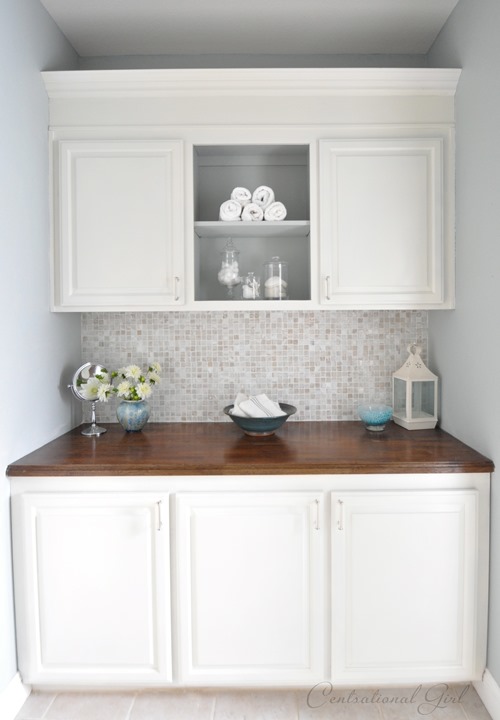
We pulled out the old cultured marble countertops and installed wood ones with an ogee edge last November and ever since the wall required patching and new paint as a result. In addition to paint, I installed a backsplash and added a more substantial crown to the top to balance the weight of the uppers with the lowers and give the cabinets a more contemporary look.
After:
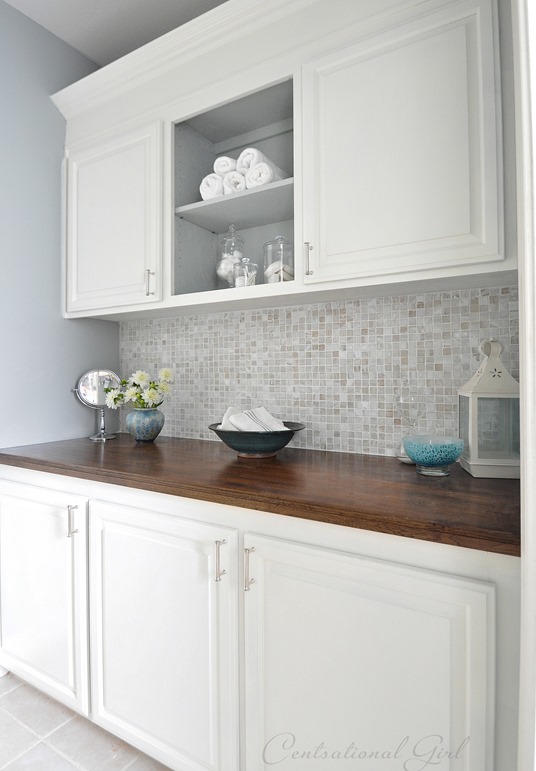
I had just enough (12 sheets) of this mother-of-pearlish mosaic tile waiting to finish the backsplash on this side from my lucky tile purchase at Lowes that we used to tile the wall behind the sink vanity on the opposite side.
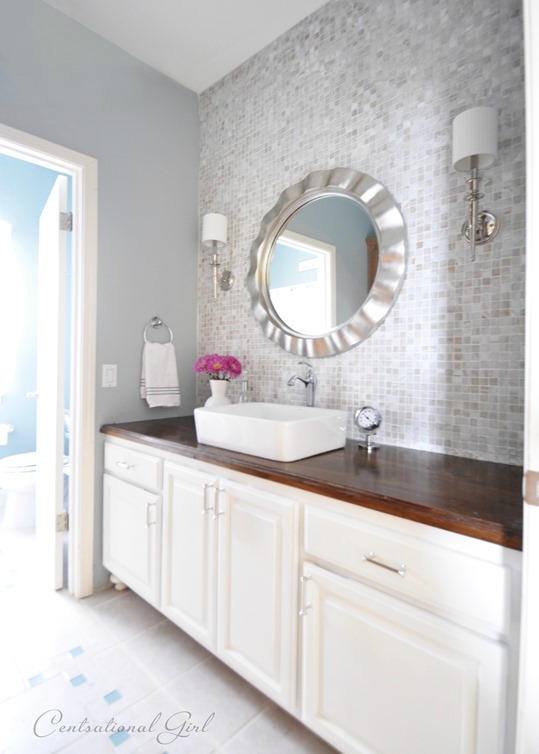
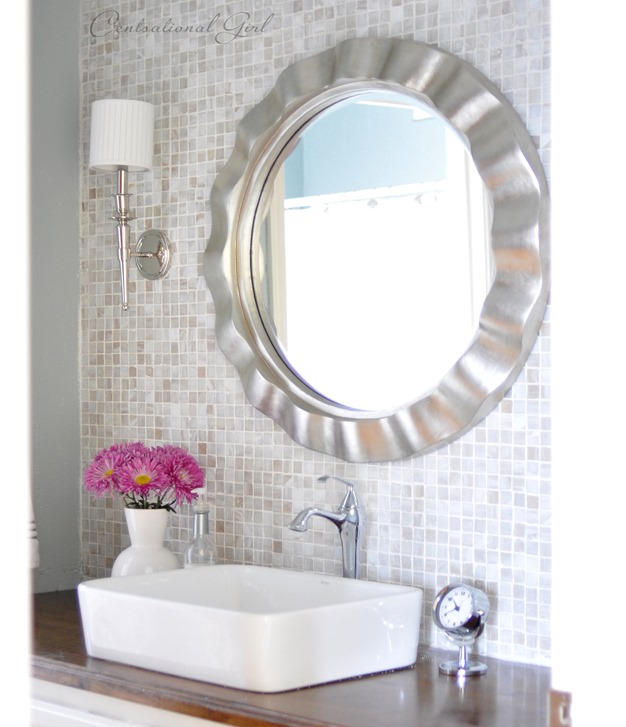
You can see a peek of the old stained cabinets in the mirror’s reflection from this photo in February. The cabinets I finally painted last weekend sit behind the door and opposite the sink vanity when you enter this divided bathroom. The toilet and shower are beyond and we like the fact that the spaces are separated by a door for added privacy.
Painting bathroom cabinets is an easy DIY process and you’ll end up with professional looking results if you use good products and follow the right steps.
What You’ll Need to Paint: Medium grit sanding wedge; deglosser or liquid sander, adhesion primer (spray and/or brush), water based enamel paint; quality 2” angled paintbrush, foam roller, tray for roller, 2 or 3 foam chip brushes.
First remove all hardware and hinges, set them aside for reassembling cabinets when the painting is complete. Start by lightly sanding your cabinets to remove debris. No need to sand away the varnish, just scuff it up for one minute to get it clean, then follow up with a wipe of a liquid sander or deglosser, which preps your surface for primer. If you’re filling old hardware holes, use a wood filler before you prime.
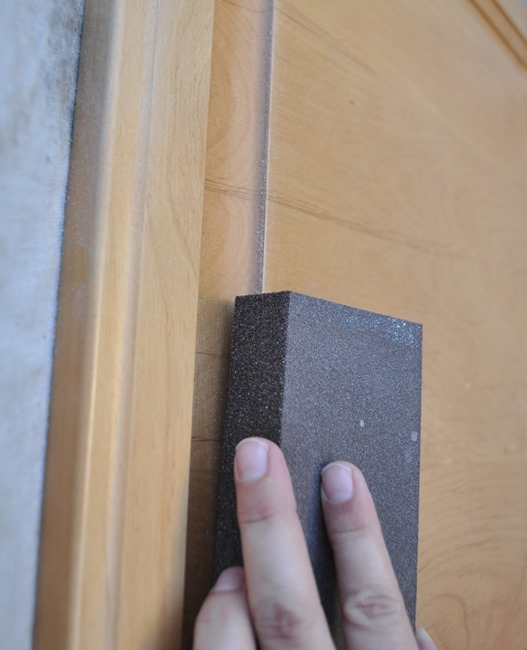
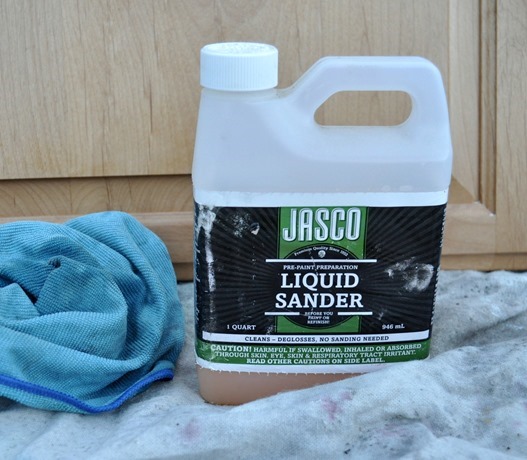
Most bonding primers don’t require you to sand down to the raw wood, they will bind to wood or even laminate surfaces, but it helps to prep first for the greatest adhesion.
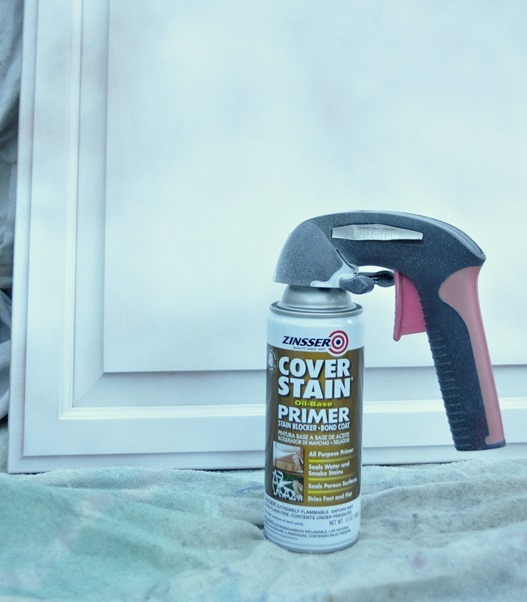
For doors I prefer the Zinsser Cover Stain spray version of primer and use it in a ventilated area outdoors for a smooth finish. Always light coats to avoid drips!
For cabinet frames and shelves I find a foam rollers works best. Roll on the liquid primer formula, and fill in any corners or gaps with a foam chip brush. (I don’t like cleaning oil based primer off my good paintbrushes so I use the foam versions and toss them at the end.) I rarely sand after, but if you find drips or uneven spots, then sand those away with your sanding wedge.
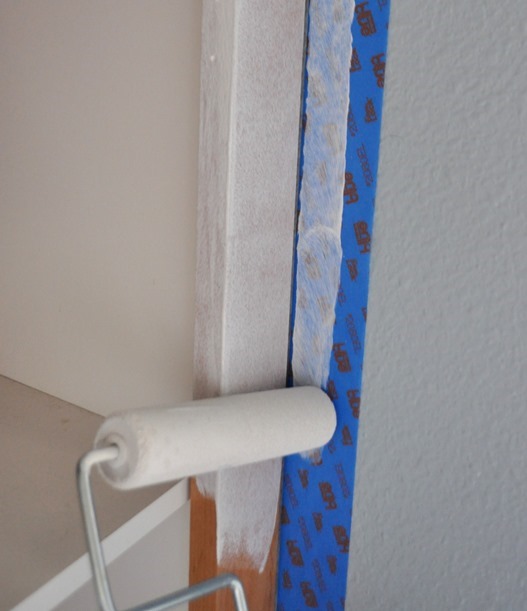
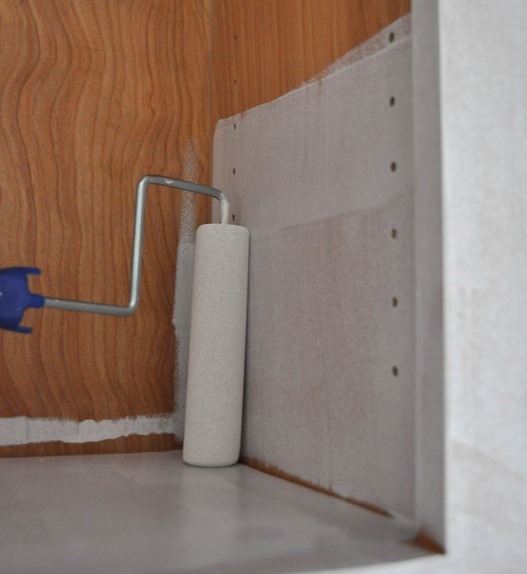
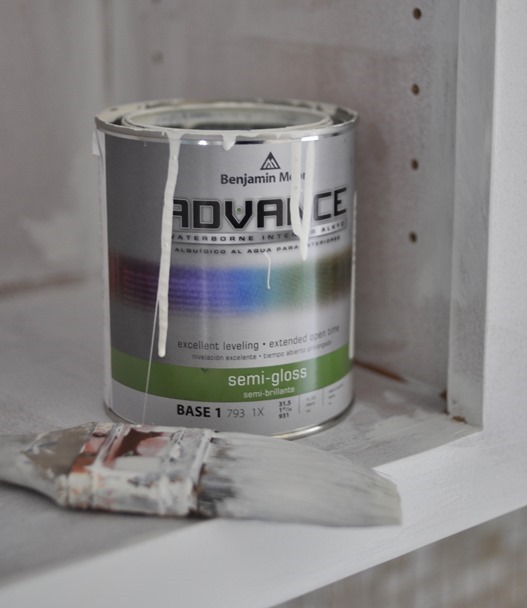
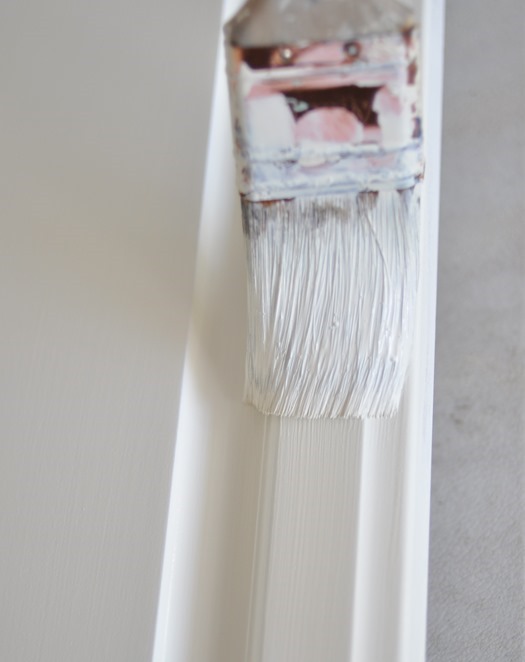
Once the primer is dry, apply two thin coats of enamel paint to the cabinets, drawers, and doors. For bathroom and kitchen cabinets, I prefer the BM Advance water based alkyd enamel paint in semi gloss or gloss. This paint acts like an oil based paint, with a longer open time and it also levels well which reduces visible brush strokes. The color I chose for these cabinets is ‘Soft Chamois’.
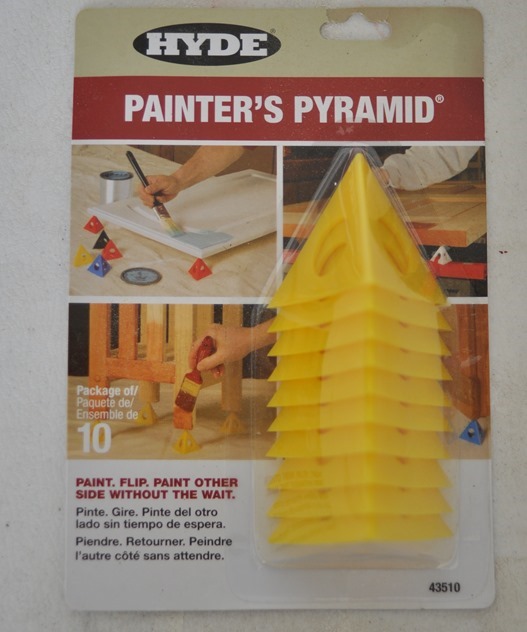
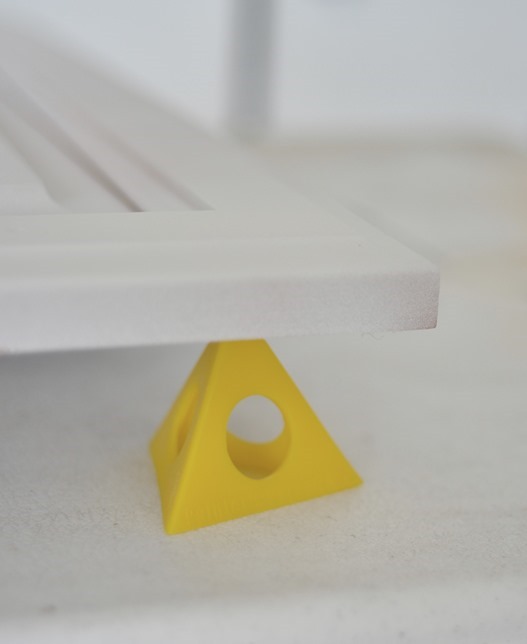
Another tip for doors, I discovered these painting pyramids earlier this year at the RustOleum stain event – a simple but ingenious tool! They prop up your doors or wood or whatever you’re adding paint or stain to so that you can apply it to the edges evenly then flip your piece easily to do another coat.
We added taller crown molding to the tops of the upper cabinets, following tips from Layla and Kevin’s kitchen molding project. I bought a 1 x 8” birch board, a small length of trim to hide the gap, and a piece of fancy crown molding. Matt supported the birch board with “L” brackets attached to the cabinet and walls and attached the crown and trim with a brad nailer.
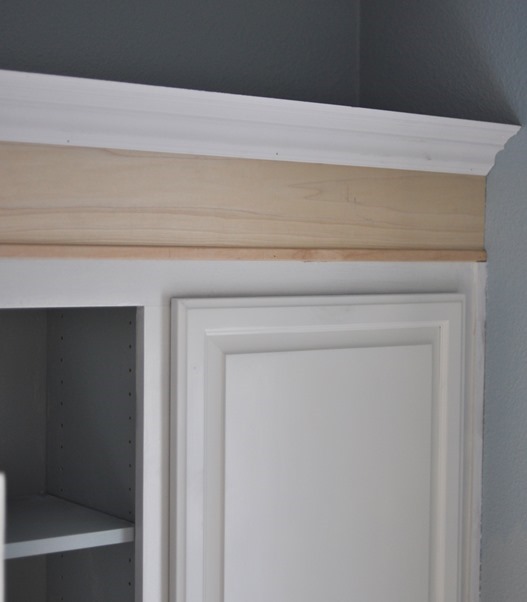
The new taller crown was primed and painted like the cabinets and the walls were painted a paler shade of blue with a hint more gray in it (‘Tranquility’) by Benjamin Moore.
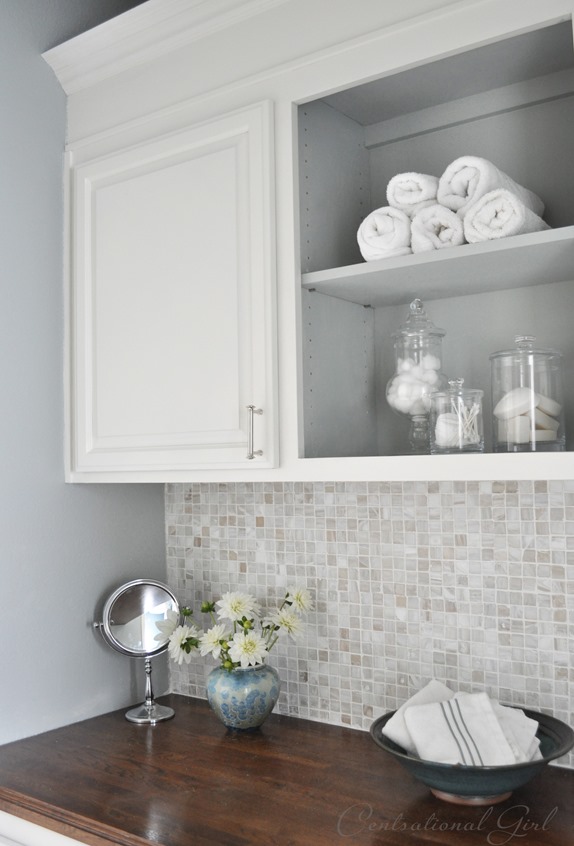
The chrome pulls are from Lowes, the same as the pulls on the opposite sink side.
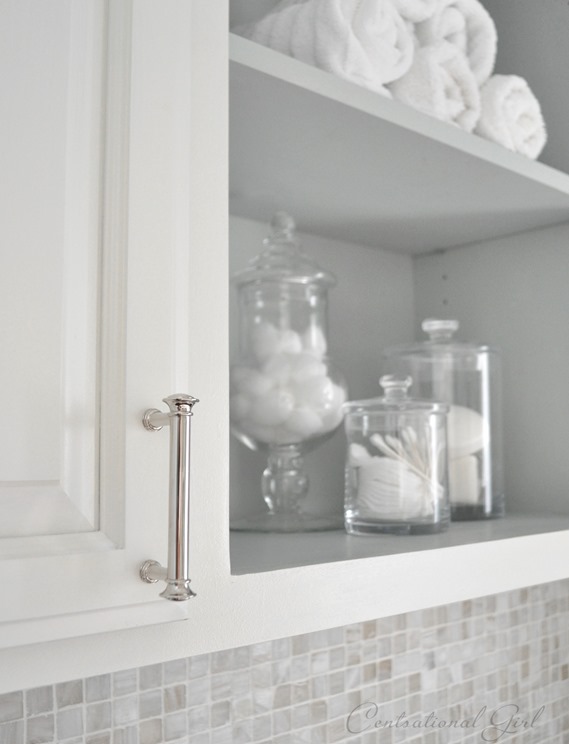
I also added the mosaic tile backsplash between the new painted cabinets (see below for a how-to post). So long honey stain cabinets, hello freshly painted white ones with tall crown molding!
Matt and I were talking the other day about how long it’s taken to “finish” the house. It’s been six years since we began the remodel – we’ve been taking it slow and sticking to our budget with no regrets about how much time we’ve taken to get it done. Finally, I can say my hall bathroom cabinets are finished – better late than never. :)
Past posts about this bathroom:
|
|
|
.


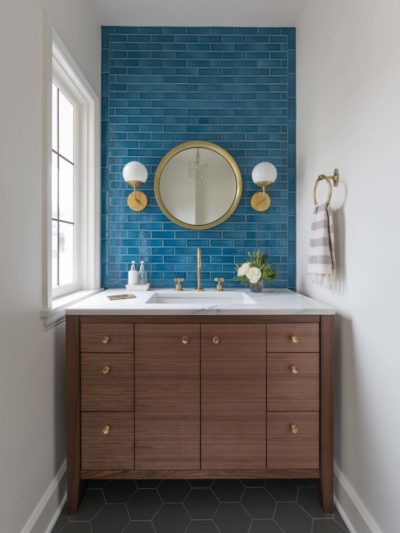

Gorgeous!! It really looks amazing!
So, so pretty! And timely – we’ve moved to a new (old) house and I have so.many.projects! All of our cabinets are oak, sadly – I’d love to paint over the dark stain, but never like the grain that shows through :/ Thank you for the reminder that a budget is vital, and we will get there over time :)
This looks amazing! I am always so impressed with how your projects come out. They are always so polished and elegant! Another fantastic job!
I love love love your site! You have inspired me to do so many projects!!! Thank you!
Another big WOW Kate!!! I’m pinning this for my future laundry cabinet painting too!!!!! Thanks and great job as always!
Congratulations on finishing the bathroom! I love the handles. Personally, I find it easy to get stuck at various points along a project, and then I end up living with unfinished rooms until I can find my motivation. Kudos to you to taking your time as you finish the house and doing it your way. Thanks as well for the tip on the pyramids. Those look really useful!
love this Kate :) Beautiful job and it is soothing yet very warm with the wood countertop. xo Kristin
Congratualtions on finishing the bathroom! Thanks for posting all of the updates, I am in the progress of updating my guest bathroom and I have a feeling I know exactly how it’ll look thanks to your awesome ideas. You’ve taken the guess work out for me :)
I love how your bathroom turned out. I have had the paint and primer sitting in our master bathroom to paint our cabinetry for 6 months, but have been a little scared to do it. I think I can tackle that project now. thanks for the post.
This is amazing! I love the wall color against the tile color!!
Kate – I do have a question for you…..if I am adding bead-board wallpaper and painting my bathroom cabinets all in the same room, should the whites match? For example I was planning to use ‘Soft Chamois” for the cabinets, should I cover the wallpaper once it’s up with a coat of ‘Soft Chamois” as well?
I hope we can make these changing without destroying something ! :)
Thanks for the lesson Kate :D
WOW!!!!! Simply STUNNING!
Oh man, it doesn’t even look like the same room! This is so impressive. I’m not normally a vessel sink fan, but I think you’ve converted me. The wood countertops are unexpected in a bathroom, but I love them here. So, so great. :-) High-five!
Gorgeous, gorgeous, GORGEOUS!! Everything from the room to the photos to the post- you are so talented, Kate! :-D
Beautiful. Love the colors of paint.
Beautiful! I love what you’ve done with this room . . . give me hope for my masterbath! :D
Fantastic. Hubby and I are still going to raise our vanity just like you did this one. Can’t wait.
Looks fantastic. Great choice of colours, and I love the butcher block countertop. I haven’t seen it in a bathroom before and it looks great!
Wow! Gorgeous! I am so jealous of all that storage space in your HALL bathroom! Do you find the wood countertop is holding up well in a bathroom?
Hi Joanna, yes it’s so great having all that storage for towels (below) and medicines, lotions, and potions above! The wood is doing great six months later, the Waterlox (see post above) does what it’s supposed to.
Kate
Anyone else fall off their chair?
Looks great! You should totally add some lighting underneath and to the top of the vanity so it creates a cool ambience. We have that in our kitchen…
What a stunning makeover! I’m in love with those mosaic tiles. Awesome job :)
Beautiful!! Love the hardware the best, is like a jewel!!
Love it! I’m especially interested in the painting pyramids you used. We are painting some shelves this weekend (removing them from bookcase first), and I think we’ll use these so we can paint both sides more quickly. Thanks for this tip!
It looks gorgeous! Did you ever do a post on how to remove the countertop lip (mini backsplash?) that required you to sand and paint? Any tips?
Hi Diane, we used a good old fashioned crow bar to pop the old countertop off. I fixed the wall by lightly sanding it and then adding a layer of plaster with a putty knife. You could take it the extra step and do some spray on texture if you have that type of wall, but I didn’t bother, I just blended as best I could and painted right over it.
Gorgeous!! Question for you: were your cabinets solid wood or was the inside melamine? We have cabinets that have wood doors and frames but the shelves are melamine. I’m wondering how well the melamine would take paint. Thanks!
Hi Erin, yes the insides are melamine and I prefer them that way, easier to clean! I didn’t paint the melamine, I only paint the fronts and backs of the cabinet doors and drawers, and the wood trim.
Kate
It really looks great! :-)
Beautiful and inspiring! Do you know the name and the sizes of the pulls that you purchased at Lowes?
Hi Shannon, they are Allen + Roth brand, I forget the name and we threw away the little packages. So sorry, I’m usually better about that!
It looks beautiful! I love the back splash you chose!
Love how it turned out! Also, thank you for saying how long it has taken you to remodel your home. We have been working on ours for close to 7 years and many times it can be so frustrating so it is nice to know that we are not the only ones. It helps keep us going. :)
This looks fantastic! I love this tutorial as well. So many people are afraid of painting cabinets but I love it. I just recently purchased an unfinished medicine cabinet so I can paint it the grey I painted my vanity cabinet. Takes extra time but so worth the custom look!
Oh my! They are totally transformed, Kate. Well done you! :)
This is really timely – we are having our main bath remodeled right now and when the tilers and plumbers are gone I’ll be repainting the original cabinets myself. Thanks especially for the product recs. I always get overwhelmed with the choices and it’s nice to have the guesswork eliminated.
Beautiful job!!
Just beautiful. I love the layout of the bathroom. All the storage is wonderful and your paint jobs are perfect.
Nice! I love how the crown molding adds style to the upper cabinets
WOW Kate! It’s such a shockingly beautiful space, but in reality the things you did to spruce it up are totally doable (even for me!)
Thanks for sharing this with us! I’m feeling inspired to go work on our only bathroom (which I guess means a job well done, lol)
XO
What a transformation. Great tips as well. Thanks for sharing.
Sarah
Why didnt you use the rustoleum cabinet transformation kit? I was going to use that on my bathroom cabinets based on your post about updates to your spare apartment in your garage.
Maybe you’re just trying to show a variety of techniques for your readers….?
Hi Lauren, you can use the Transformations Kit too, that works great. I use the old school primer + enamel paint process too, the Transformations Kit is more expensive but yes you can go that route.
Such a beautiful transformation! This is the exact color scheme I want to do for my master bath! The walls have been painted but there’s a lot more work that needs to be completed…including removing carpet! I’m not sure who had the brilliant idea to install carpet in bathrooms in the 90’s! Just horrid!
Kayla
Looks beautiful! But everything you do is!!
This looks great. Do you think I could use this method for my kitchen cabinets? I’m worried the paint might be too thick and maybe make the cabinets stick without stripping the stain.
Hi Ashley, you’d be just fine using the same products and technique in the kitchen, that’s what I’d do.
Okay, so this post just solved like three of the problems I’ve been having with painting our kitchen cabinets. I’m going to the hardware store for that stain cover primer and those paint pyramids and a sanding block. Like, maybe now actually. Thanks!
Gorgeous! I really like the special touch of painting the inside of the cabinet the soft grey colour. Really chic!
What color of grey did you use for the inside? And is it the same type of paint you used for the outer cabinets? LOVE this!
Yes Kim same paint on the inside of the upper cabinet as on the walls, kinda hard to tell with the shadows :)
Once you do it the way you wanted it doesn’t matter how long it took to get there. The best thing is that you finished your home and made it look beautiful.
I’m doing exactly the same with my husband, but we have few months left until our baby arrive. I assume we will have a break and then back to more DIY. I adore your work and many time I look at your project and I’m hoping my house will be as beautiful as yours.
Kisses
Ewelina
xxx
chiclifestyeofewelina.blogspot.com
Been wanting to do my bathroom cabinets for a long time. And, this is the look that I always wanted to achieve. Love the white, so clean and fresh. Thanks for the how to, off to Lowe’s.
Love your remodel! Will you share where you purchased the light fixtures? Thanks
Hi Marianne, the sconces are from Shades of Light, see the “tiling a backsplash” post for the link!
Kate
Holy moly! That looks fantastic. What a transformation. I love the white cabinets and the backsplash is amazing. Thanks for the tip about the pyramids. Right now I’m only dabbling in painting furniture but those sound so helpful!
Just beautiful! I’m jealous of all the storage you have. As a mother of young children, I really admire how you get so much done on a weekly basis. Reading about all of your projects motivates me to stop pinning and start doing!
I’m so glad I stopped by today and noticed this post. I’ve got two bathrooms that I want to paint the cabinets in. (They’re cherry, but the really awful fake color kind.) :( I’ve been putting it off because I don’t want to try painting them and have it end up looking worse… Thanks for the tips – the painter pyramids are so cool, I’ve never seen them before! Your guest bathroom looks fabulous, I love the colors you chose and I am especially fond of the lighting sconces you chose for the vanity wall.
Beautifully done!
Wow, GREAT post!! I love that you actually showed the inside of your cabinets. I’ve been wondering about how people handle this but find very few that address it. Thanks also for answering Erin’s question about the melamaine shelves as that is what I have and have wondered about.
Looks amazing…and well designed! The backsplash is beautiful.
Hi Kate,
Looks great!! Where is the sink from??
The faucet and vessel sink combo was ordered from the Home Depot site, link in the “tiling a backsplash” post above.
Kate, this is a big wow change. I can hardly believe it’s the same wall of boring cabinets. Thank you for all of your ideas. You are a wonder!
Beautiful! Am pinning this for inspiration in painting my kitchen cabinets. Thank you!
Great tips! What a beautiful transformation, I can’t believe the different that crown molding makes!
Can you do no wrong? Seriously…! That makeover looks Censational….just like you!
Hot bananas! You make it look so easy. Gorgeous, Kate. And loving the tile on the wall in your bathroom. You are giving me inspiration!
Perfect timing on this post, Kate. I was getting antsy to begin revamping the guest bath and you’ve given me so many ideas. Pinterest, here I come! I hope a paintbrush and chrome fixtures are in my immediate future!
What a fantastic update! I think this looks so much brighter – the tile is just gorgeous. Thank you for the fabulous inspiration!
GORGEOUS!!!
I really need to change out the granite countertop in my bathroom. You have inspired me. it looks fabulous. Are you concerned about wood with kids? Again, amaaazzing transformation.
You guys are pros at this! The hallway bathroom looks marvelous!! Great job!
holy cow — this does not even look like the same space!!! and I love how casually you say, ‘we added crown, we added counters, etc’ — like it’s no big deal!!! You are a pro! Looks amazing!
Hi Kate,
I have a question. Could I use those tiles to cover my horrendous bricks in my fireplace? I am talking about the external part where the mantel sits on… not the inside of the brick floor…
I just wonder if with the heat they will crack…
thanks,
mariella.
Your bathroom is Gorgeous!!! I am so inspired by you! I’ve been browsing your site and your whole home is just simply beautiful. You’ve done a great job. Would you mind telling me what paint color you used for the walls in here? I’ve got a few rooms I need to paint and love this color combo. Thanks so much!
What a beautiful transformation!!! Unbelievable what a few tweaks can do! I say tweaks but really they were a lot of work and effort to pull off. great job, its looking beautiful!
What a beautiful transformation!!! Unbelievable what a few tweaks can do! I say tweaks but really they were a lot of work and effort to pull off. great job, its looking beautiful!
Once again you give a great tutorial. I kinda wonder how it would of looked if you would of just striped the cabinets and left them in their natural state…or mixed the white finish with the natural finish..either way I still love your end result. So fresh and clean.
This is such an amazing transformation! Ironically I had JUST been looking at the very same tile backsplash last week at Lowe’s for my kitchen; very fun to see it used in your bathroom….gives me a great idea as to how it will look. Those cabinets are gorgeous ~ truly amazing what a little paint and detail can do.
Love this! I just painted my bathroom vanity with BM advance in Swiss Coffee. Debating whether I need to put a protectant on top. Did you poly/wax your cabinets?
Hi Kate! Do you have a general rule about mixing metals. We are replacing all of our door knobs to oil rubbed bronze. Is it bad to do the cabinets with stainless or chrome finish? Thanks!
Nope not at all Kim, feel free to mix ORB with either one!
Hello, I am using this process for my kitchen cabinets. I also plan to paint my bathroom cabinets which are already painted. How would this process change for the cabinetry I am painting over? I am painting the woodwork (floor boards) in my bathroom. Should I paint my bathroom cabinets the same color?
Hi there! What a great article and a beautiful end-result!! I will be doing mine very soon and your article was so helpful. Thanks again!!
Amazing job! The paint finish is flawless on the cabinets, it looks professionally sprayed on! Did you use any protective coating with the BM Advance enamel?
No protective coat needed with BM Advance in semi gloss, gloss, or high gloss!
Kate
You did an amazing job on your remodel! I am finding more and more these days that clients are leaning toward cabinet refinishing and this is a perfect example of how great it can look! Another huge plus is the cost savings! Nice job!
this bathroom is beautiful, I was wondering which adhesion primer you used to roll on? Thx