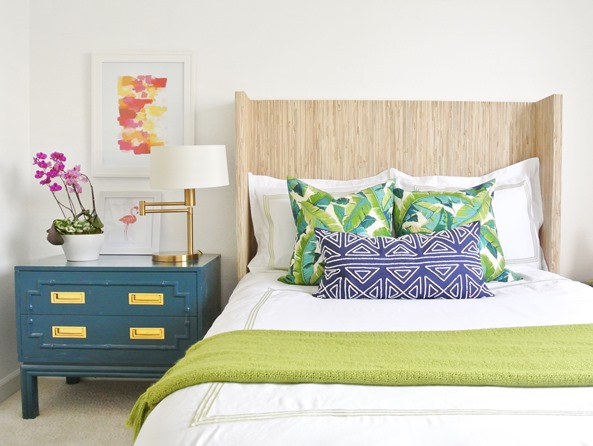
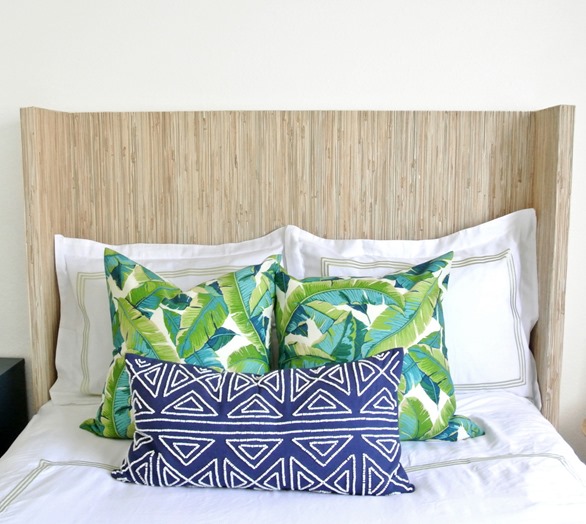
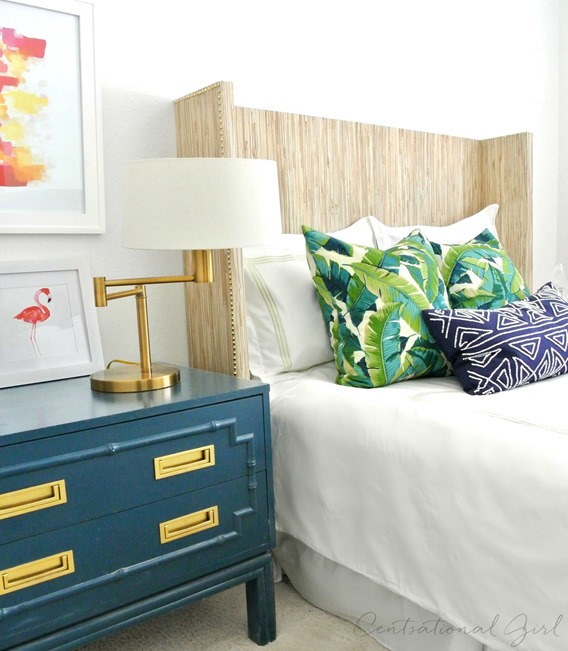
There’s something about a wingback headboard that makes it extra cozy – those little wings on each side make you feel as if you’re extra safe snuggled up inside. Grasscloth wallpaper is also a favorite decorative accent, it’s a chic way to texture to a space or piece of furniture. I’ve had a long time design crush on textured furniture so I thought to combine the two and made this grasscloth covered wingback headboard for a guest bedroom.
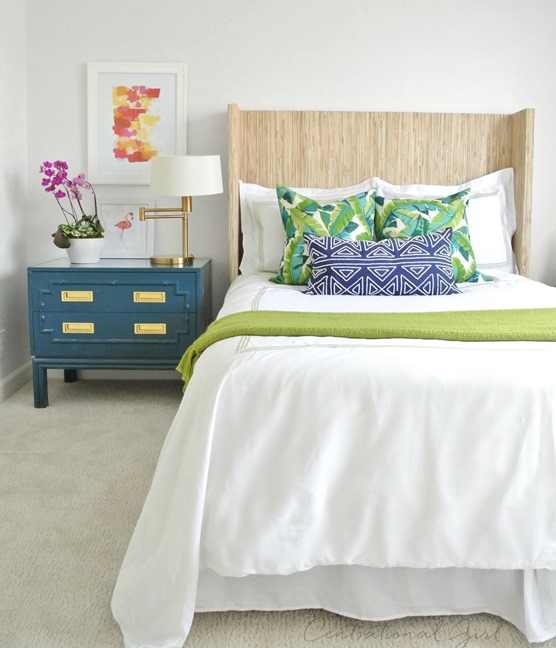
Originally I contemplated four walls of grasscloth in this space but was deterred by the cost of multiple rolls and how long it would take (I’ve done it before by myself, it took a loooong time to hang it alone) and what happens if and when I sell this house? A future buyer might not be as crazy about a room covered in grasscloth wallpaper as I am.
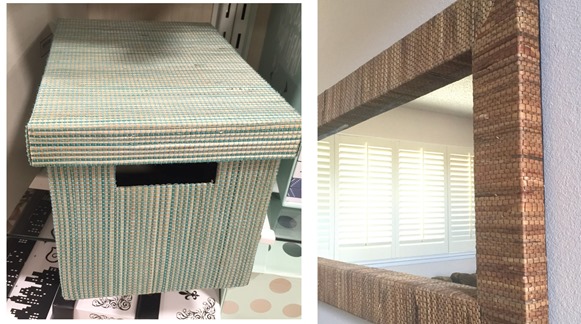
Instead, I limited the use of grasscloth to a DIY headboard, inspired by a few accessories I’d seen around town like this storage box wrapped in grasscloth spied at HomeGoods and the mirror in my Mom’s upstairs loft, both have a gorgeous textured woven finish, divine!
The headboard frame is a simple design, to build it Matt combined ¾” plywood with four ¾” x 8” pine boards (two on each side) to create the frame that is 54” tall. The pine boards are screwed together in six spots with wood screws and then attached to the plywood with additional wood screws.
The base is secured with L brackets for added stability. The inside measurement of the plywood is 54”, wide enough to fit the metal frame of the full size bed. The height of the plywood is 48”.
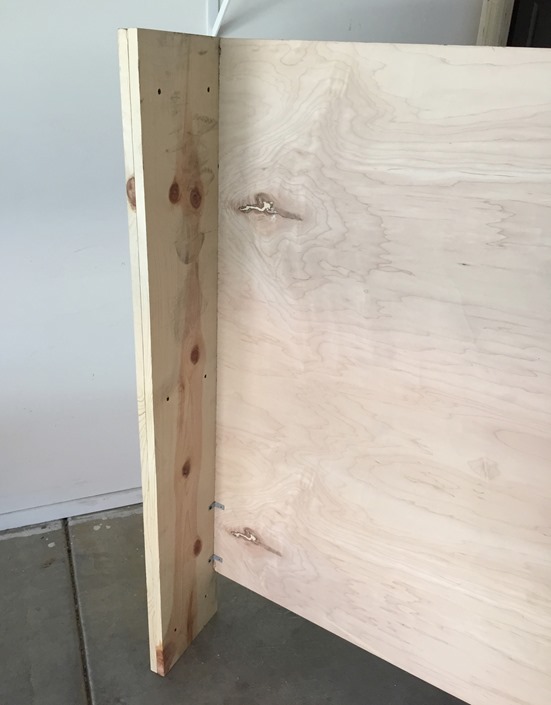
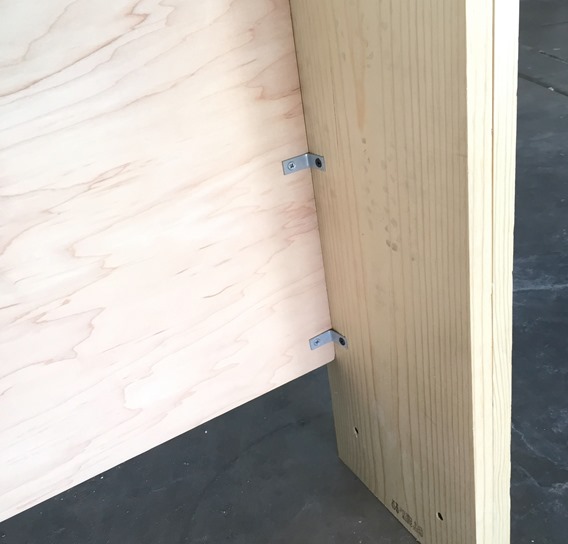
This same wood frame could be upholstered with batting and fabric if that’s your preference. Before wallpapering, I didn’t bother to sand or prime it, unlike traditional smooth wallpaper, grasscloth wallpaper is textured and thick and won’t show minor flaws underneath, but do make sure the headboard base is for the most part smooth.
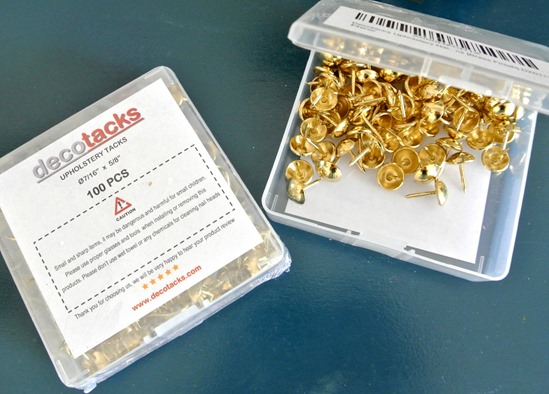
The supplies you’ll need are grasscloth wallpaper (I ordered this roll online), wallpaper paste, a foam roller and tray to apply it. Also shown are nailhead trim tacks, more on that below.

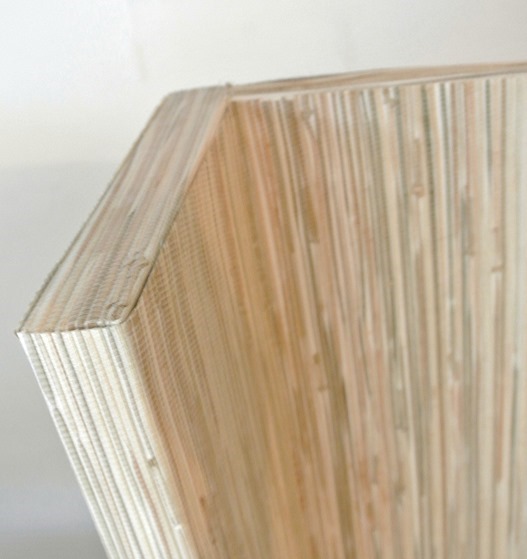
Wrap the rough edges on the top and sides first, clipping the grasscloth wallpaper edges so that they form a tight fit. Use a liberal amount of paste on both the back of the wallpaper and the wood so that it adheres well.
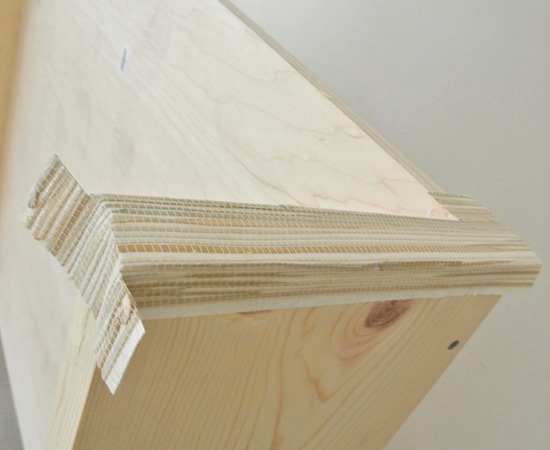
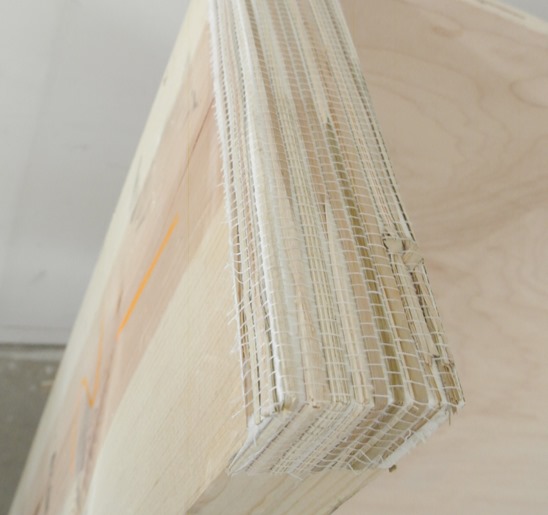
The next step is wallpapering the back of the headboard, I ran the wallpaper horizontally so the fibers would be vertical and so the seam would sit below the pillow shams. Again use a lot of paste on the wood and the paper so that it sticks well. I found it easiest to wallpaper the back while it was flat on the ground instead of standing up.
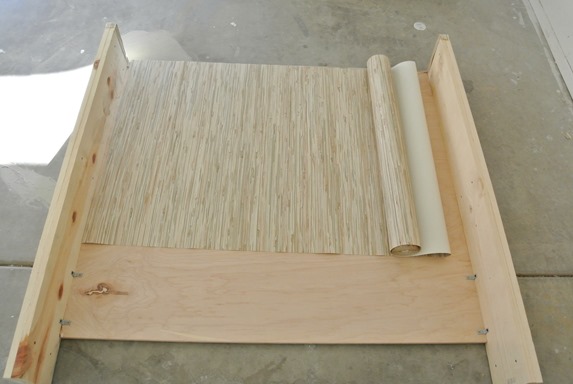
For the wallpaper cuts in the corners and along the edges I used a sharp pair of scissors, but you can also use a box cutter too. I also used a wallpaper smoothing tool, this helps to get rid of any bubbles and ensure your paper lays flat against the wood surface.
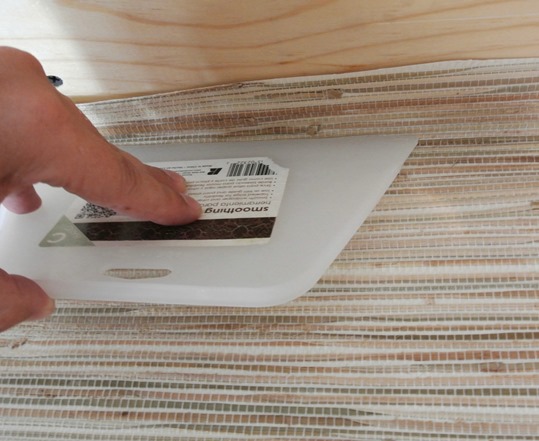
The final step is wallpapering the sides, follow the pattern of the back and align your seams.
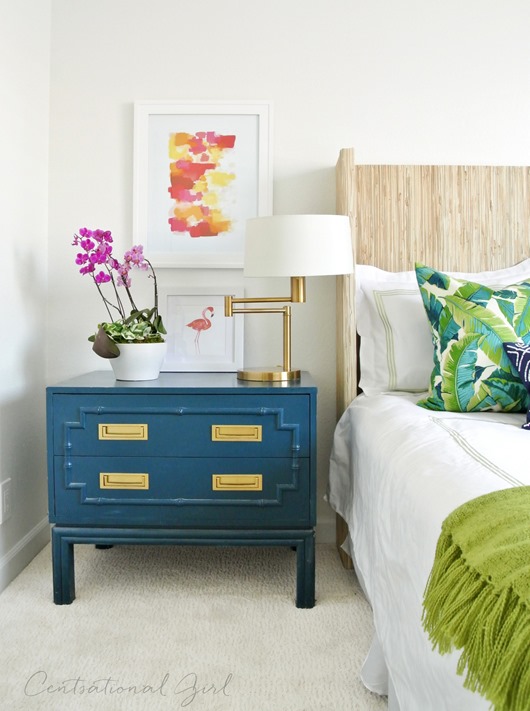
This faux bamboo chest and I go way back, I brought it to this house last year, here’s the story of this thrift store find painted peacock blue a long time ago in a galaxy far far away.
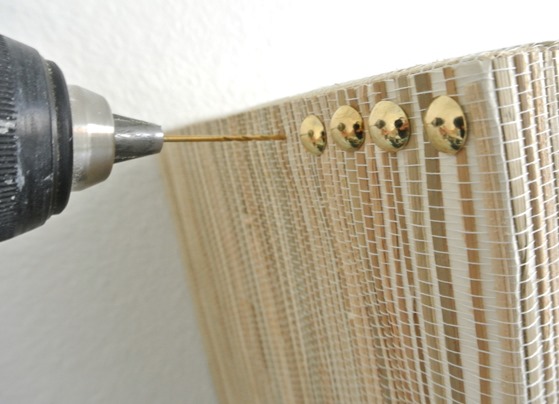
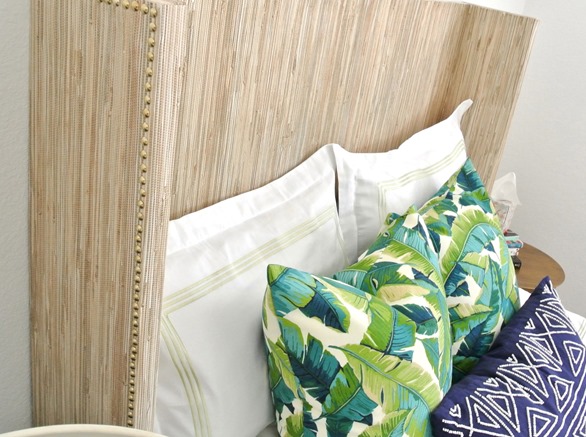
You can leave the grasscloth covered headboard plain or jazz up the edges with the addition of nailhead trim. I used these brass Decotacks and followed Sarah’s helpful technique, drilling the holes first with a skinny drill bit then tapping them in with a hammer, the head covered in fabric.
additional sources:
abstract print / duvet and shams / tropical leaf print pillows / lamp, navy accent pillow, and flamingo print: homegoods / faux bamboo chest: thrift store
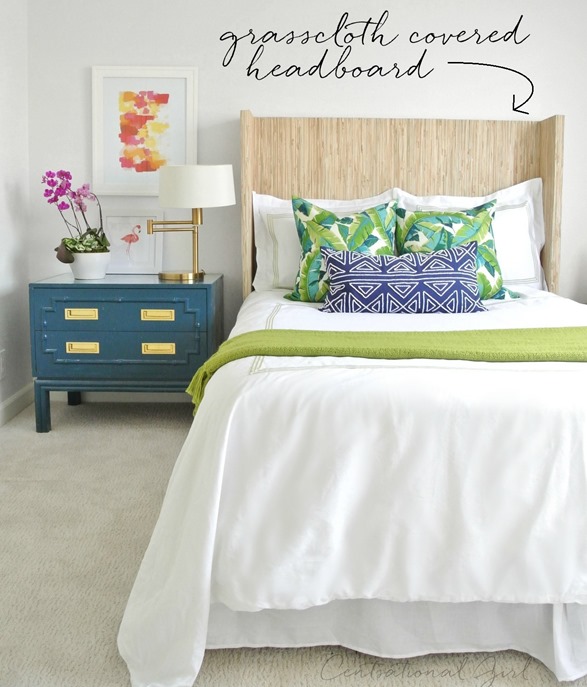
The project wasn’t cheap, the cost of the grasscloth wallpaper, adhesive, tacks, and wood was approximately $150 but I’m pleased with the result, it’s unique and fun and adds just the right amount of texture to the space!
…

oh holy wow, kate! this is AMAZING!!!!!!
No way! I love this idea! So perfect for my client’s new Cape house! Thanks for the inspiration!
Hooray for the return of the DIY! I’m as frugal as they come Kate but I think $150.00 for a headboard is very cheap. Especially one that is elegant and unique.
SO good Kate!! I love your great mix of styles and textiles with that awesome texture!
Love it! Inventive, cool and beautiful.
A wonderful idea and we appreciate the step by step process.
What a great idea and looks so beautiful! It also made me think about doing a wallpaper headboard for one of my kids, using some fun wallpaper. The possibilities are endless… :)
Great DIY project! I love header boards – they make the bed look so much mure elegant!
x M./ http://nevermindnm.blogspot.com/
That is such a great idea! And I really like the wingback headboard. It does give the bed an extra cozy feel. Thanks for sharing your project!
When attaching the double plywood to the headboard with the L brackets are the plywood boards straight up and down or are they attached on an angle for the wing look? I can not tell from picture.
Boards are straight up and down Kris, no angle, would have been trickier to wallpaper angled wing!
LOVE this!! Amazing job Kate!
another amazing project. It has the look of a very expensive piece from a very expensive furniture store. Love your style and posts. Glad you’re feeling better.
Kate, I just love the look of this project. One honest question (not trying to be sassy): would sleepers bonk their head on the side of the
“nook” portion?
Ha Kristen, my husband said the same thing! So we shortened it up, yep it could happen, perhaps that’s why most wingback’s are upholstered. The boards only stick out 7″ so not too bad and perhaps less “bonkable” :)
I’m sure this question has been asked a million times on other posts but… ;) what is the wall color? I couldn’t find a reference here.
This is so brilliant! I love how it looks with your bedding and pillows, too. Such a great idea.
White on White by Glidden Misty, the same color I used throughout most of the downstairs spaces as well :)
So unbelievably gorgeous! Love it
This is SO cool! I’m definitely logging this for when my son moves into a bigger bed! Pinned!
Oh my! Awesome! Love it Kate!!
Did you consider using nailhead trim? Not perfect but it is easier!
http://www.amazon.com/Dritz-44288-Upholstery-Nailhead-Antique/dp/B0066GZ5D4
Great project–I love the colors, so pretty!
Yes I’ve used that before Susan on headboards, it’s great! I wanted these a bit farther apart but thanks for the link!
Wow what a fantastic job! Such an easy project and it looks like a professional did it :)
Love it and love the décor in the room, it fits in perfectly.
Lauren Baxter | LB Designs
xx
Just a fantastic job, and I do remember the chest. One of my favorites.
LOVE this Kate! I actually just did a grasscloth-covered trunk and LOVE the way it turned out. I was shocked at how easy it was to work with! Your headboard is beautiful!!!
(I was actually trying to submit this project to the Best-of-the-Blogosphere series, but couldn’t seem to find the email address anymore. Anyway, I remember you doing a round-up of grasscloth covered furniture a while back so I thought you might like it! Enjoy! http://thehomesihavemade.blogspot.com/2015/05/diy-grasscloth-covered-truck-with-walls.html)
I love that Megan !!
Beautiful and inspiring! I was not able to activate the source link to the navy pillow. Could you share where you found it?
I like this idea…it’ s an great inspiration…liebe Grüße from Germany Astrid
This is gorgeous! I love how you added the brass tacks and thanks for the great tip! I, myself, have grasscloth in several rooms of the house and I don’t think the look is going anywhere! (I’ve had mine up for 10 years now!) I say, if you want a room in grasscloth – Do it!!! With that said, this headboard is amazing and not a compromise at all!