Centsational Style
Toggle nav
About
Projects
Style Files
Travel
Art Company
Contact
Tag:
organized
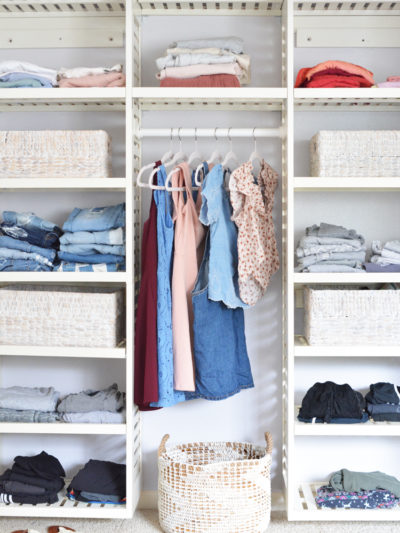
Teen Girl Closet Makeover
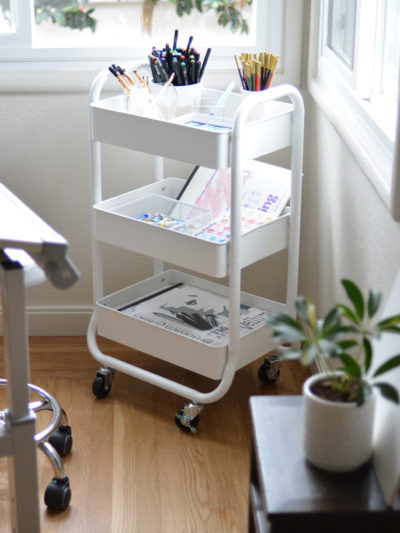
Creative Uses for Rolling Carts
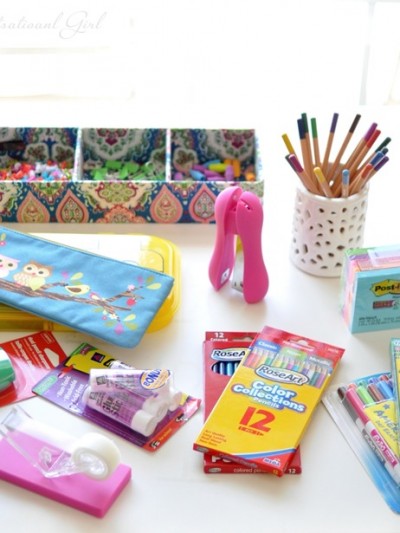
Back to School Organization
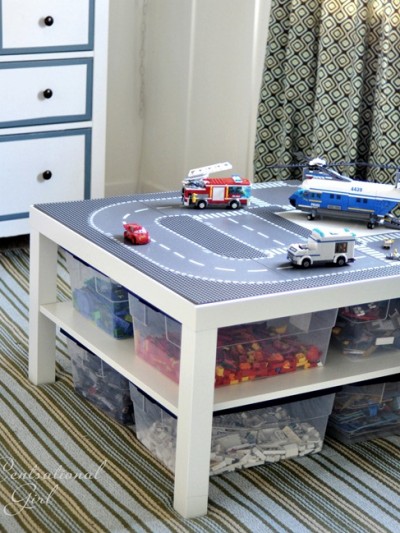
Lego Meets Lack
Favorite Organizational Tricks!
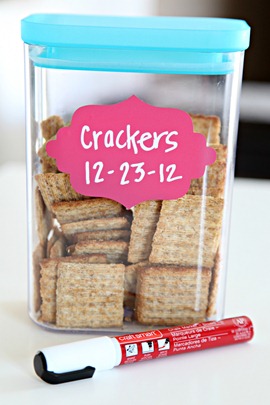
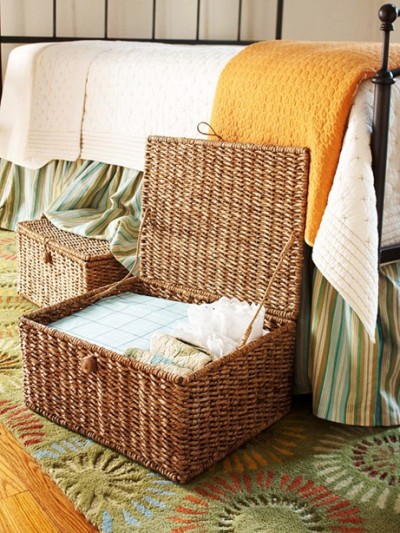
Organization Please!
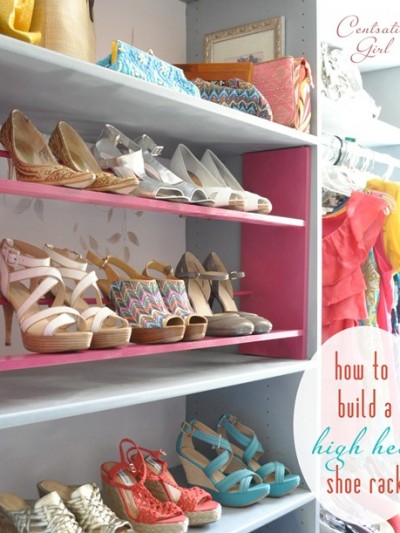
How to Build a High Heel Shoe Rack
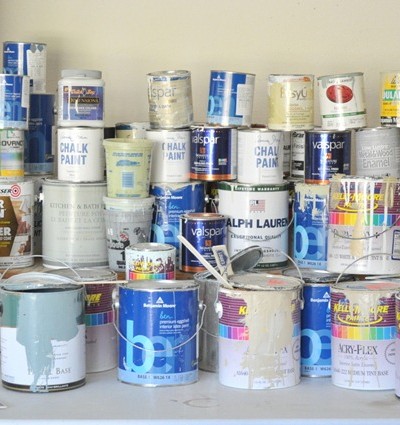
Paint Paint Paint (and more Paint)
Get Organized! A Giveaway
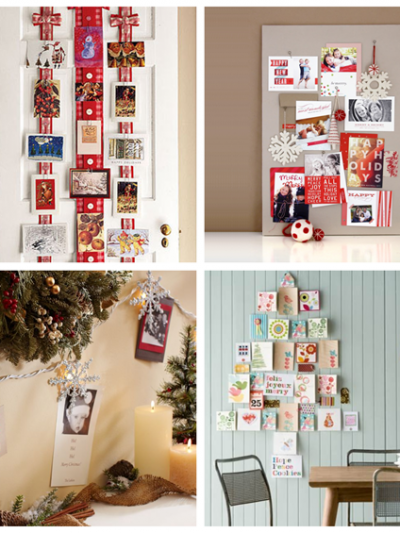
Organized for the Holidays
Holiday Housekeeping
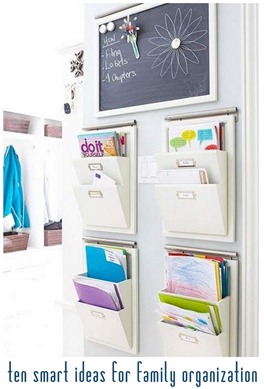
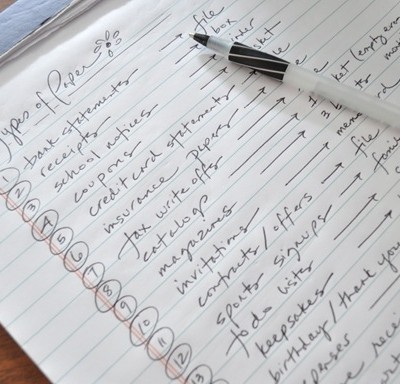
All That Paper (and How I Organize It)
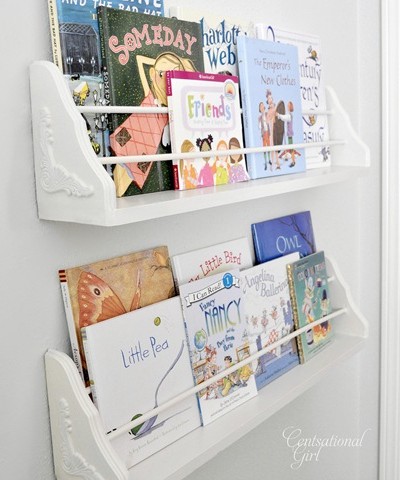
DIY Bracket Bookshelves
Tips for Organizing Kid Spaces
Pages:
1
2
»