Centsational Style
Toggle nav
About
Projects
Style Files
Travel
Art Company
Contact
Tag:
crafts
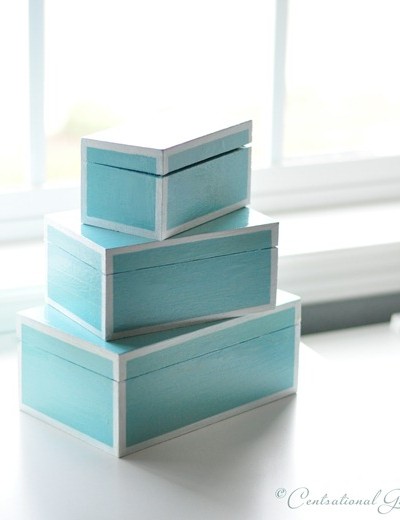
DIY: Lacquer Lookalikes
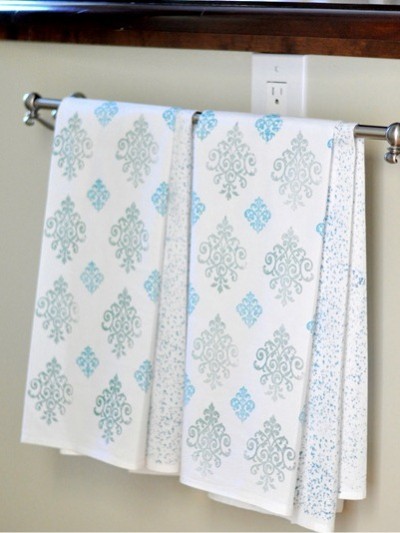
Stamped Tea Towels
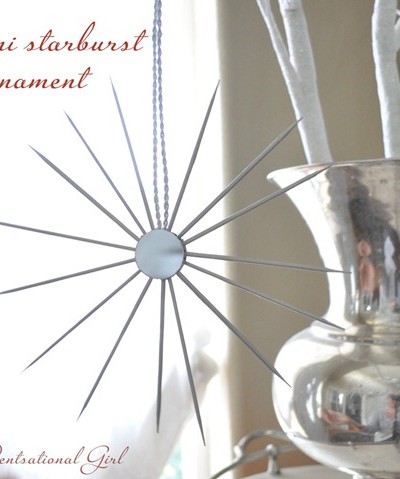
DIY Ornaments + Holiday Craft Link Party
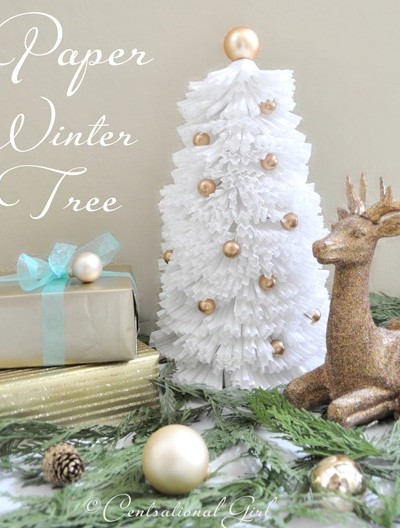
Paper Winter Tree
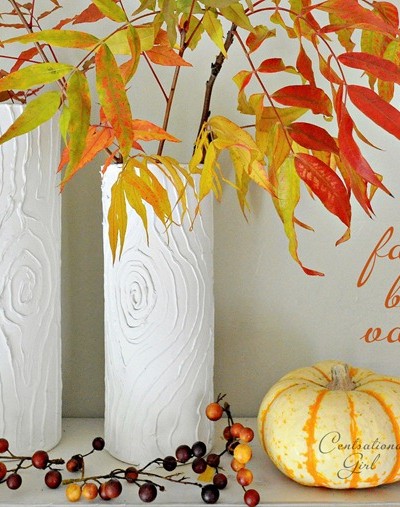
DIY Faux Bois Vases
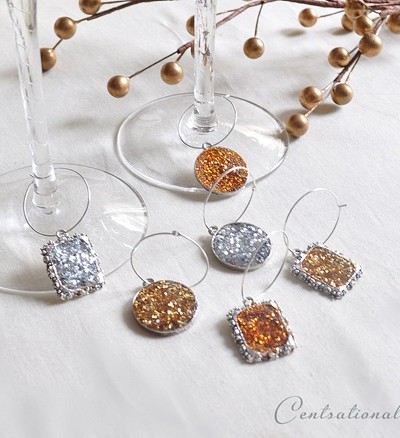
DIY Wine Glass Charms
Three Easy Fall Crafts + Link Party
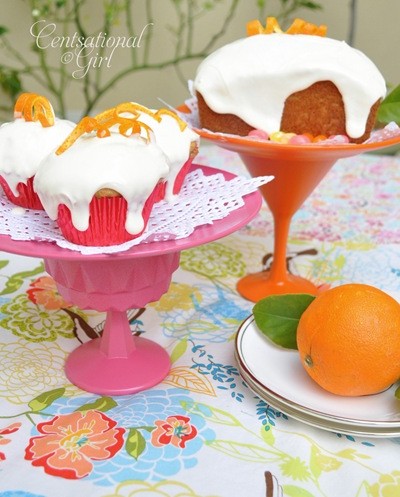
DIY: Colorful Dessert Stands
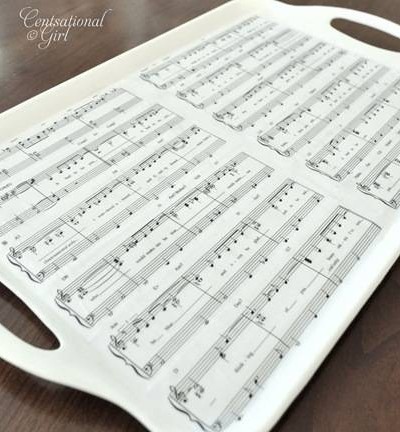
Sweetheart Tray
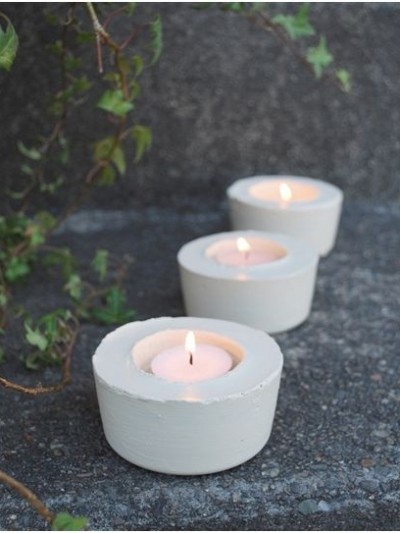
DIY: Cement Candleholders
Pages:
«
1
2