Centsational Style
Toggle nav
About
Projects
Style Files
Travel
Art Company
Contact
Category:
Photography
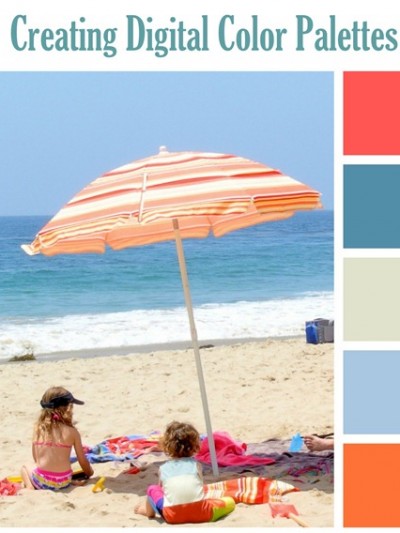
Creating Digital Color Palettes
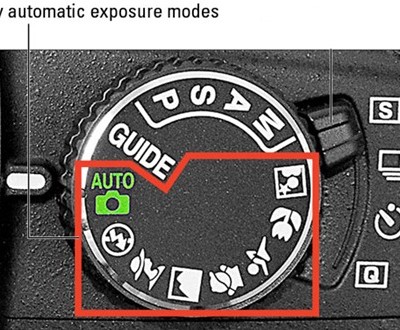
Why You Should Learn to Shoot in Manual
Five Tips for Styling Better Photos
Picnik Aftermath + Making Pinteresting Labels
Holiday Bokeh!
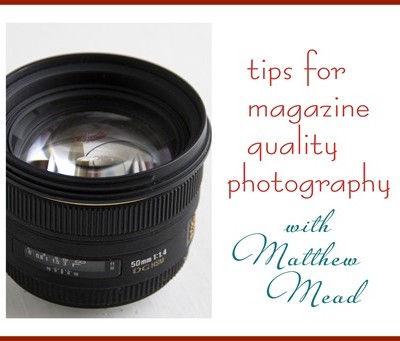
Tips for Magazine Quality Photography
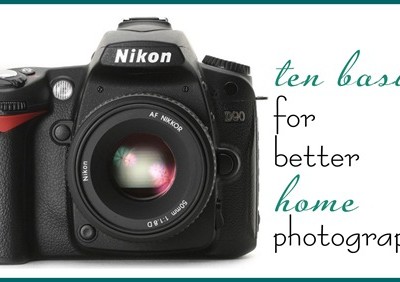
Ten Basics for Better Home Photography
Pages:
«
1
2