Centsational Style
Toggle nav
About
Projects
Style Files
Travel
Art Company
Contact
Category:
Home Improvement
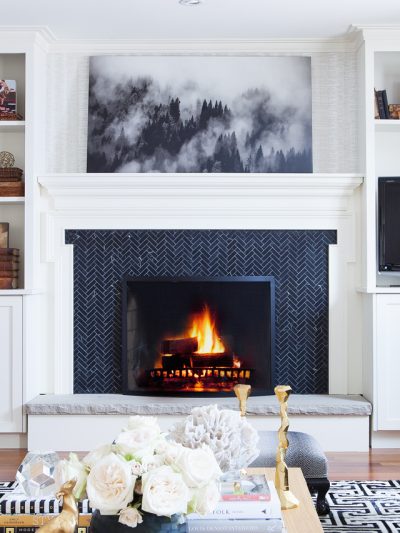
Fireplace Design Considerations
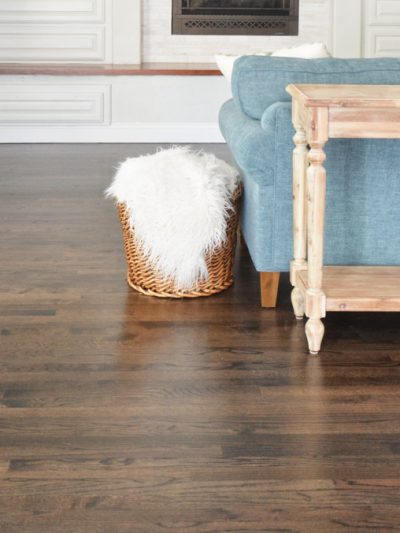
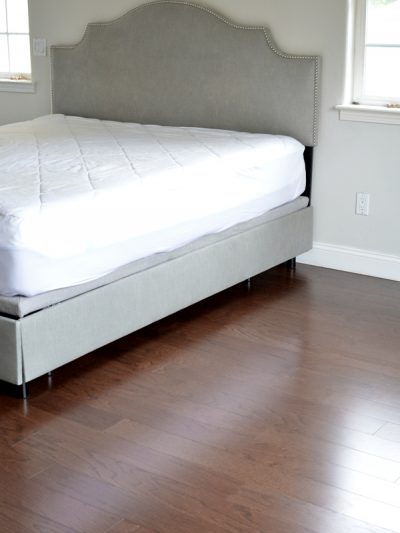
At Last! Refinished Hardwood Floors
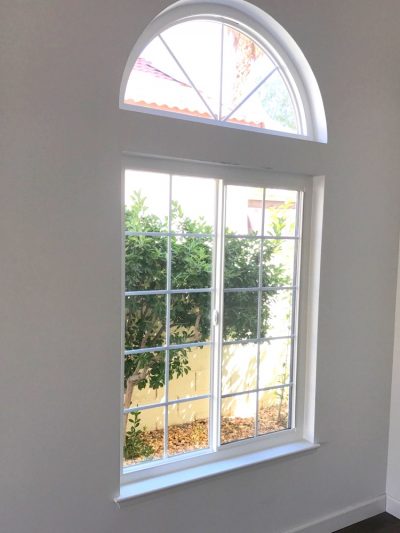
Flip House Progress: New Windows
One Room Challenge: Fireplace Makeover
One Room Challenge: The Flooring
Renovation Mistakes & Design Nevers
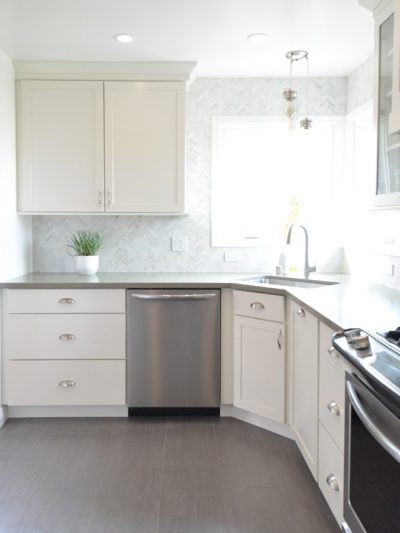
Galley Kitchen Remodel
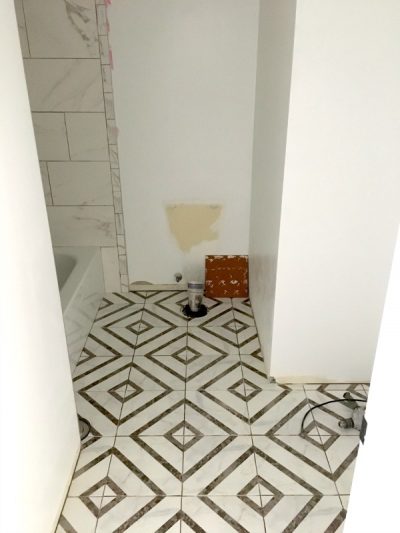
Hall Bathroom Makeover
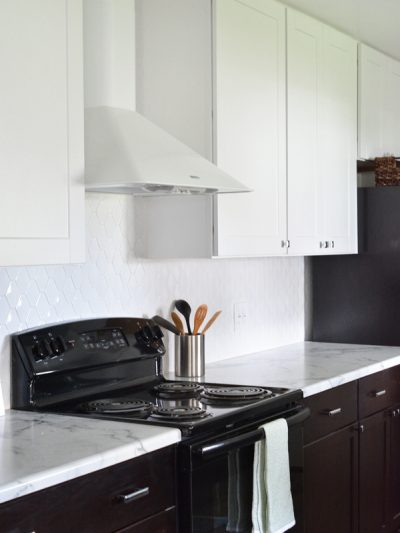
Budget Kitchen Makeover
Family Room for Veterans
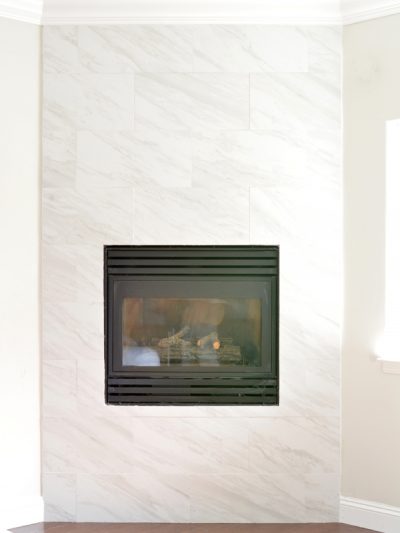
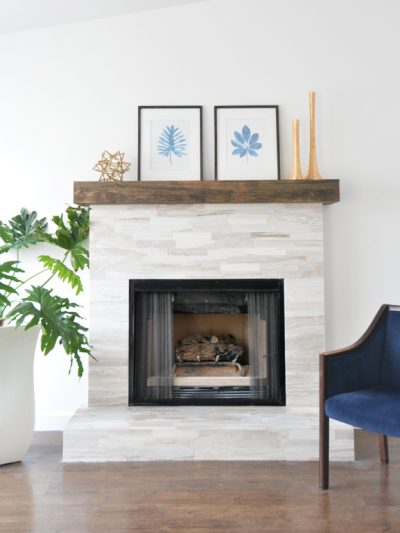
Marble Fireplace Makeover
Flip House Progress
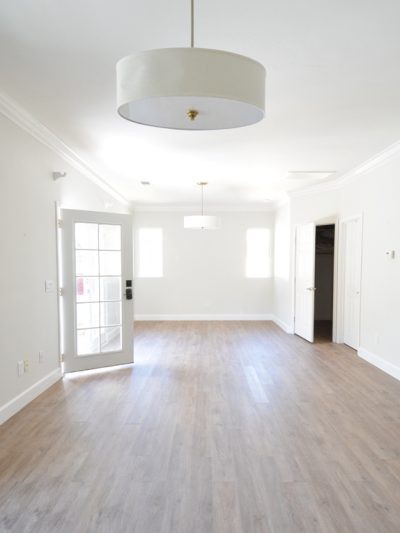
New Studio Flooring
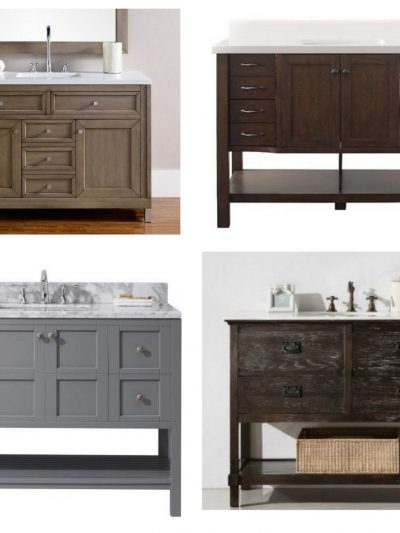
Single Sink Vanity Hunt
Pages:
«
1
2
3
4
5
...
»
12