Centsational Style
Toggle nav
About
Projects
Style Files
Travel
Art Company
Contact
Category:
Gift Ideas
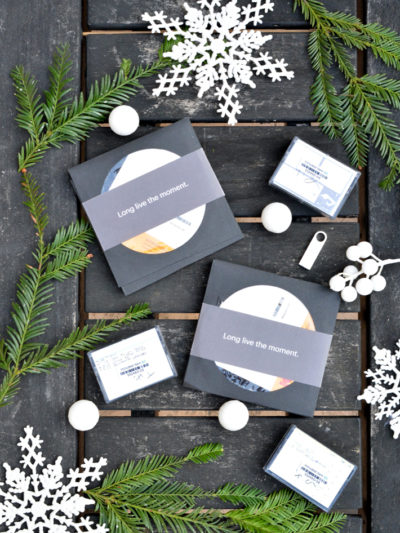
Personalized Holiday Gift Ideas
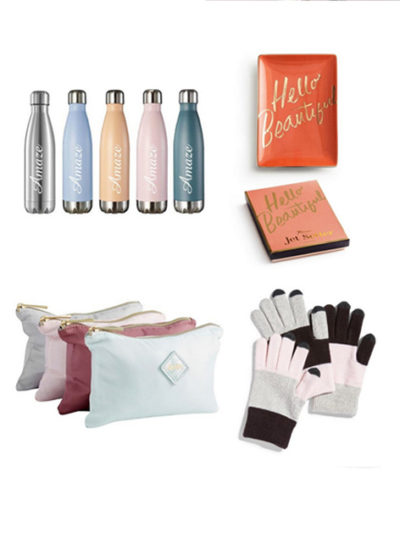
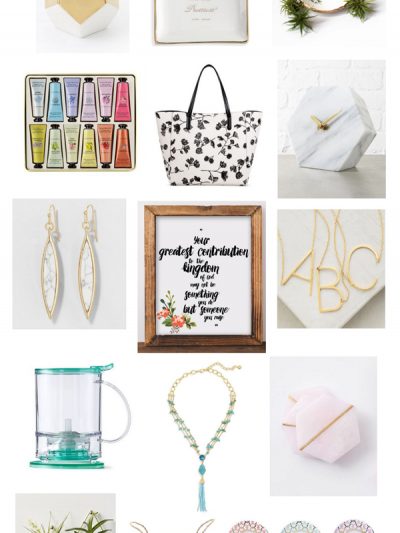
Gifts Ideas for Her
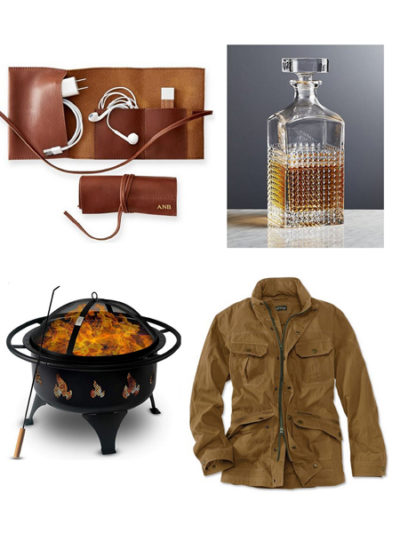
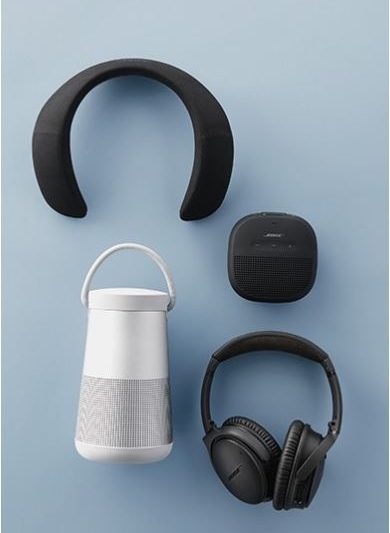
Gift Ideas for Him
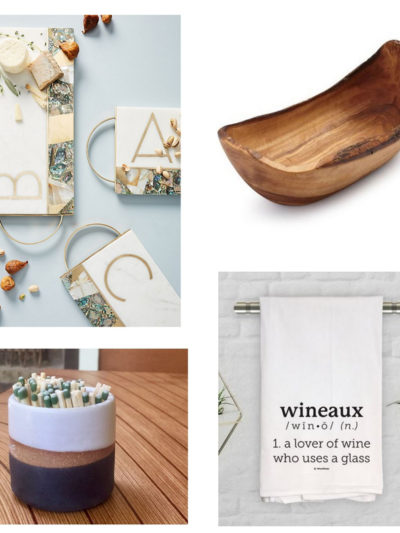
Gift Ideas for Home & Host
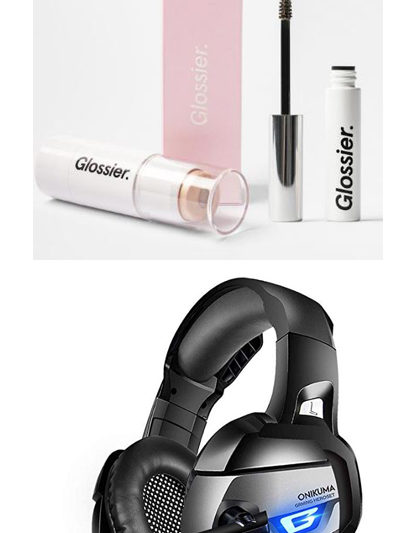
Gifts for Teens
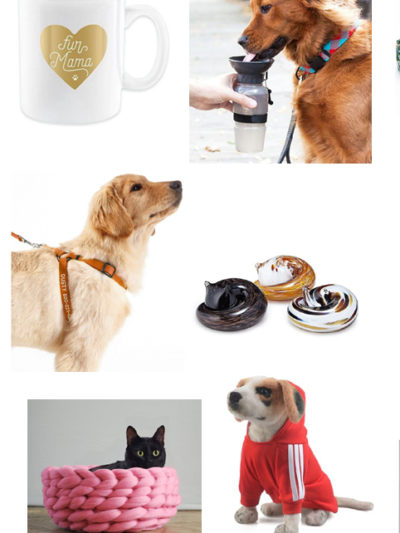
Gifts for Pet Lovers
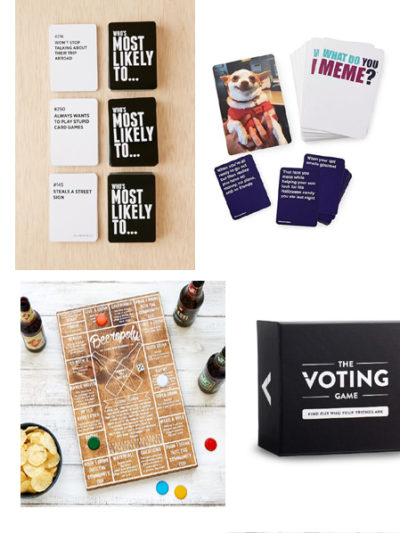
Game Night Gift Ideas
Best Gift Ever
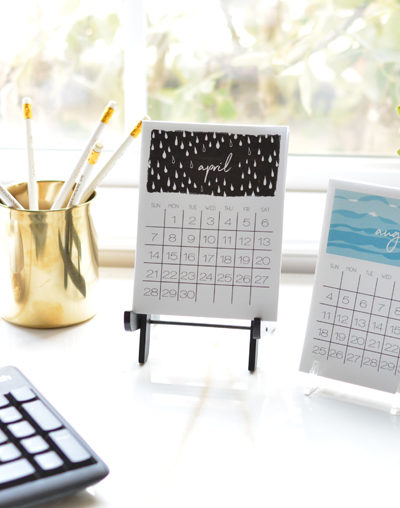
Printable Desk Calendar (Inexpensive Gift Idea)
Mother’s Day Gift Ideas from Etsy
100 Gifts Under $100
Mother’s Day Gifts Under $50
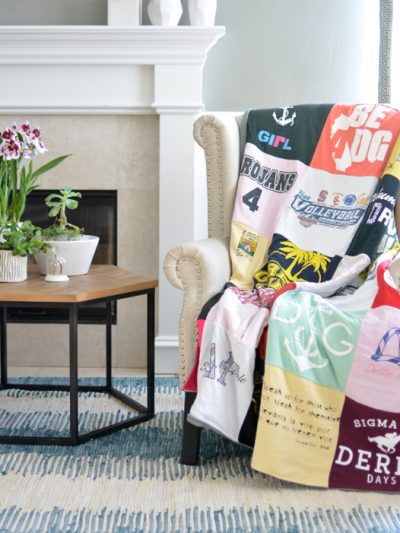
T-Shirt Memory Quilt
Games to Gift
Pages:
«
1
2
3
4
5
...
»
6