Centsational Style
Toggle nav
About
Projects
Style Files
Travel
Art Company
Contact
Category:
Garden
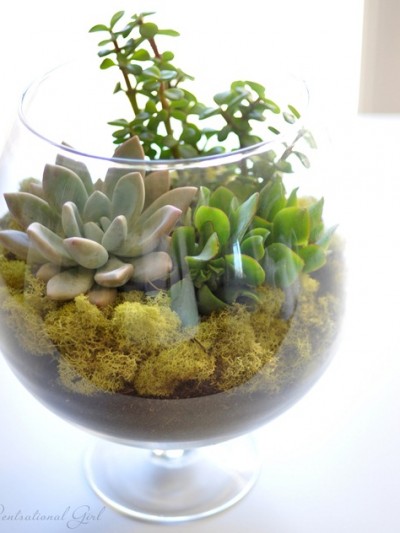
Terrariums Around the House
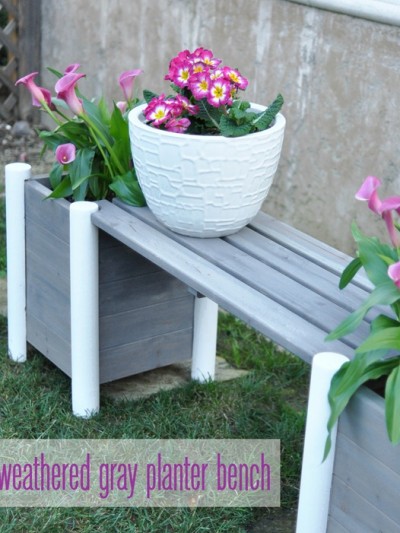
Weathered Gray Planter Bench
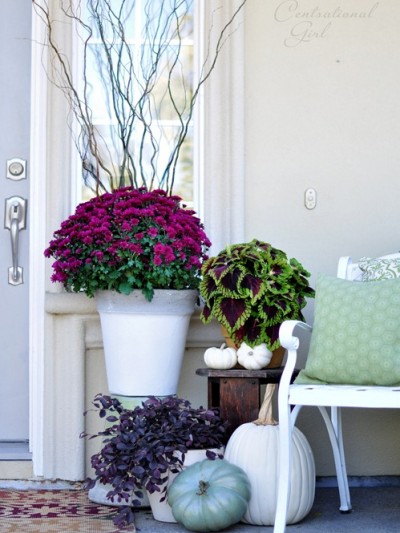
September Porch Scene
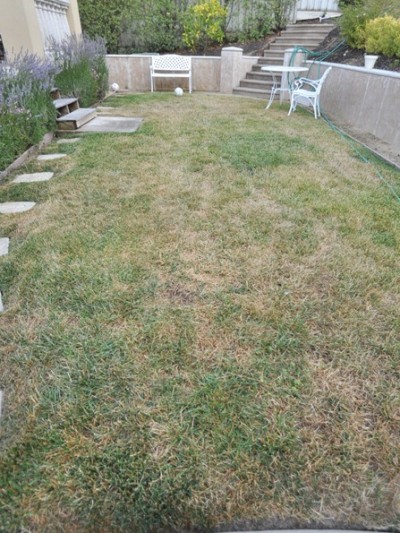
Two Weeks to a Greener Lawn
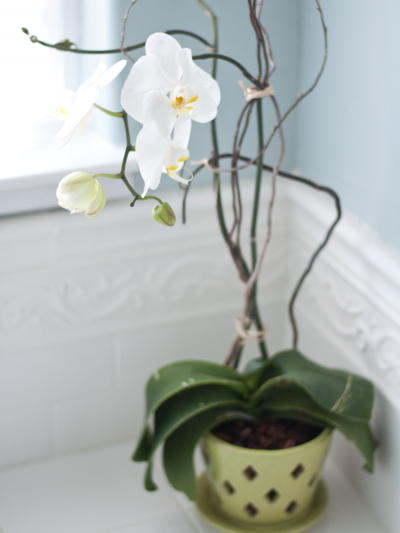
The Orchid Whisperer
DIY Potting Bench
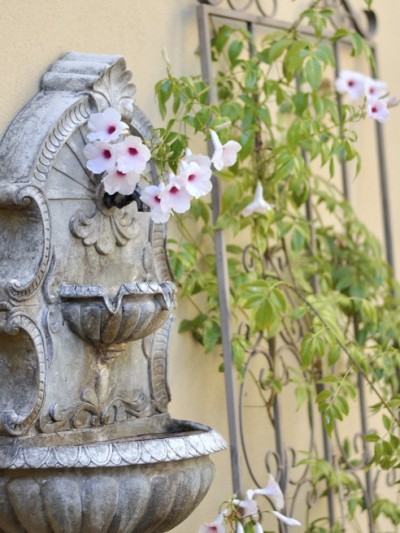
Summer Garden Tour
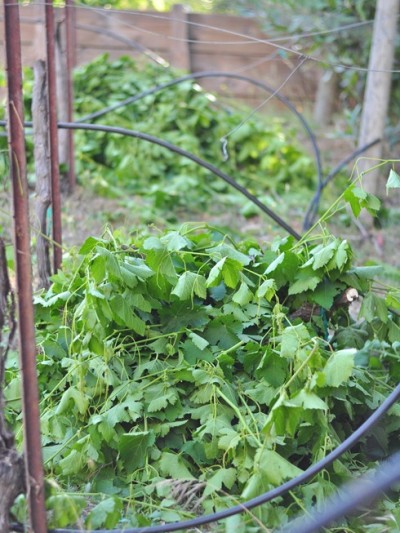
Grafting Pinot Noir
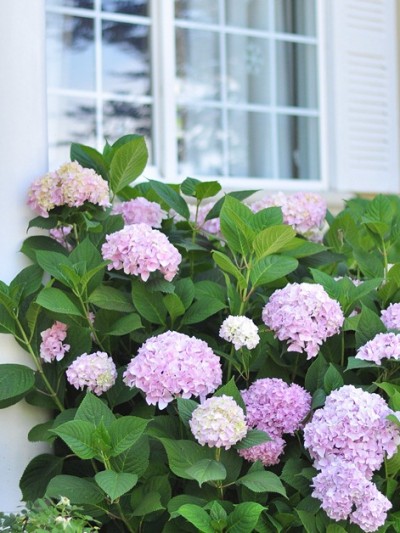
Growing Healthy Hydrangeas
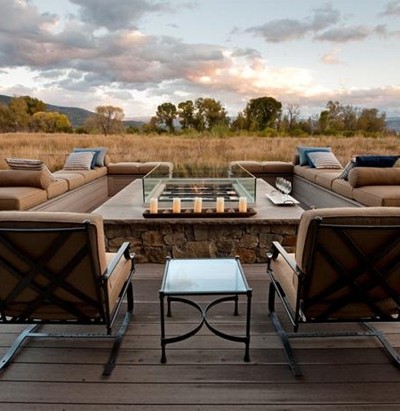
Create an Inviting Outdoor Conversation Area
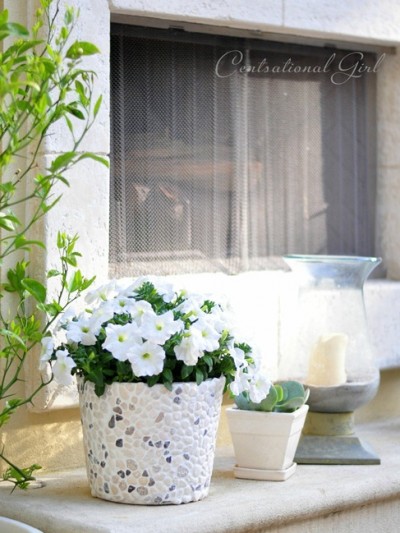
The Rocky Bucket
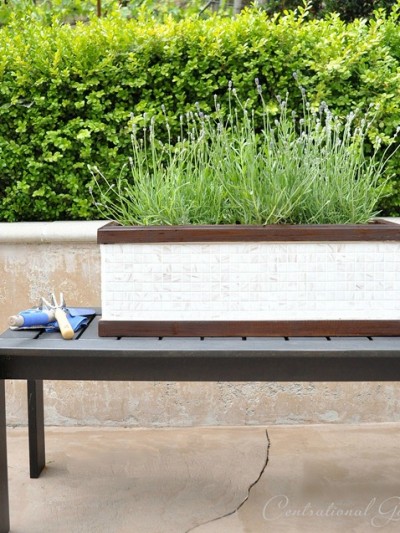
Mosaic Tile Window Box Planter
Wood Shim Window Box Planter
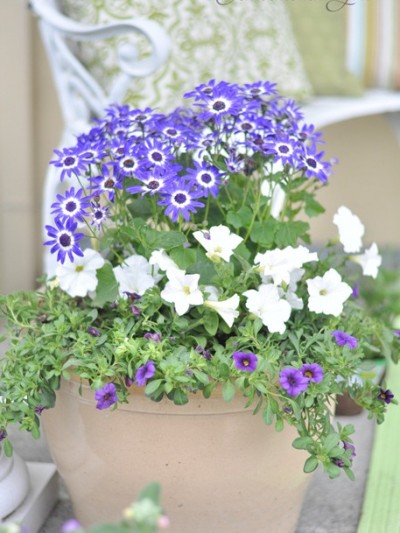
Container Gardening: Thriller, Filler, Spiller
Pages:
«
1
2
3
4
5
...
»
6