Centsational Style
Toggle nav
About
Projects
Style Files
Travel
Art Company
Contact
Category:
DIY
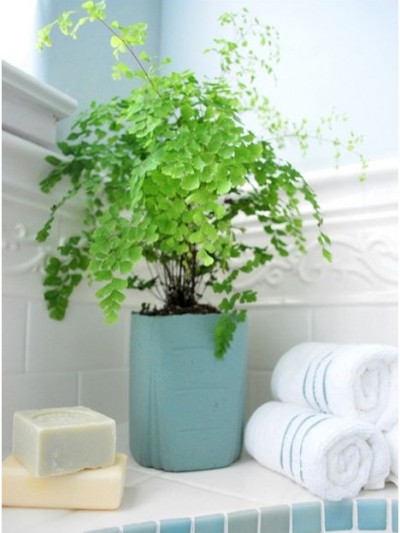
DIY: Cement Planters
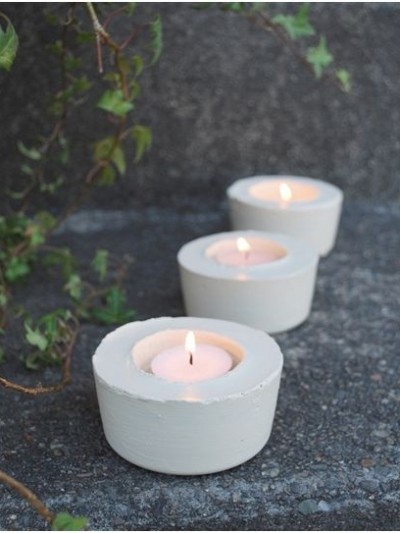
DIY: Cement Candleholders
One Fair Chair
Spray Paint: Pros and Cons
Ottoman: Deconstructed & Re-Tufted
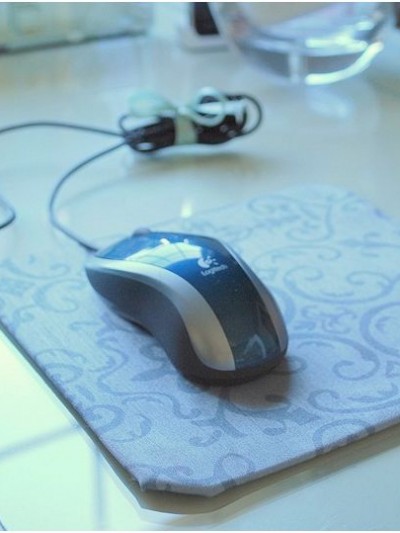
DIY: Fabric Covered Mousepad
How I Hung Grasscloth and Lived to Tell About It
FAQ: In My Toolbox, Part One
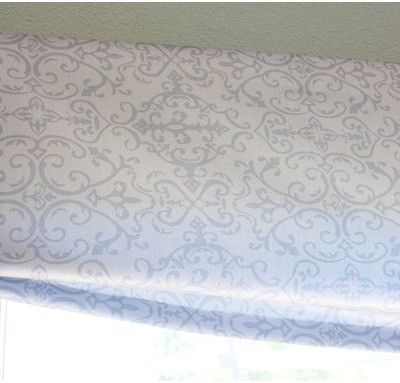
DIY: No Sew Swag Valance
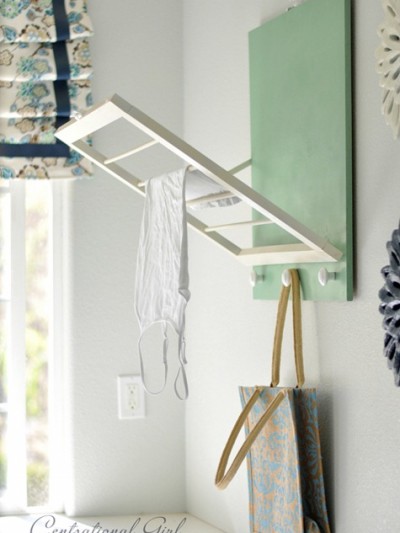
DIY: Laundry Room Drying Rack
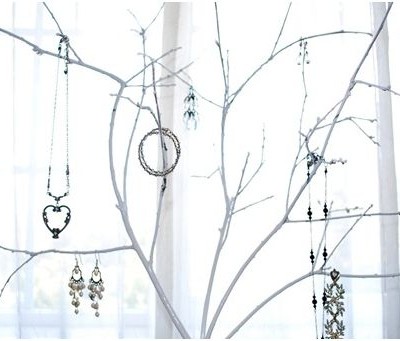
DIY: Jewelry Tree
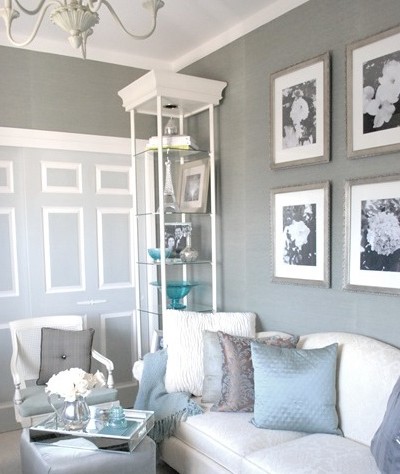
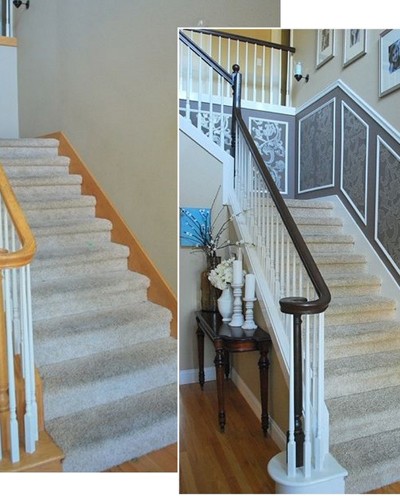
The Staircase Reveal: Part Two
The Staircase Reveal: Part One
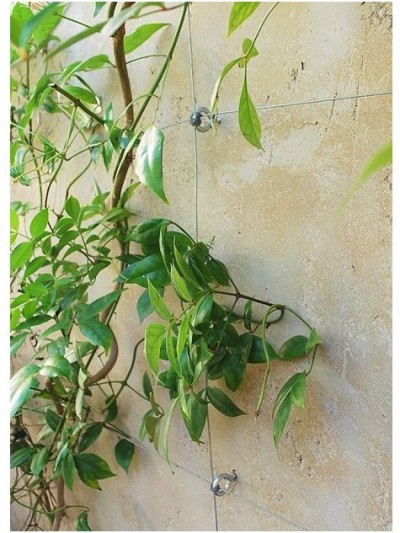
DIY: Invisible Trellis
Pages:
1
«
...
37
38
39
40
41
...
»
42