Centsational Style
Toggle nav
About
Projects
Style Files
Travel
Art Company
Contact
Category:
DIY
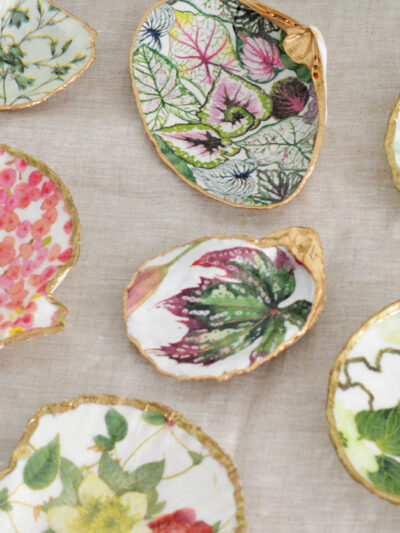
DIY Decorative Shell Trinket Trays
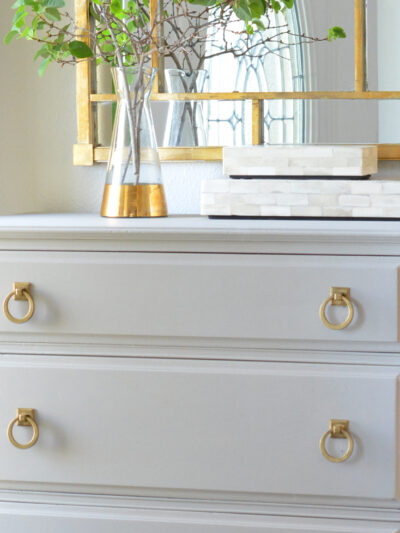
Budget Friendly Unique Brass Pulls + Dresser Redo
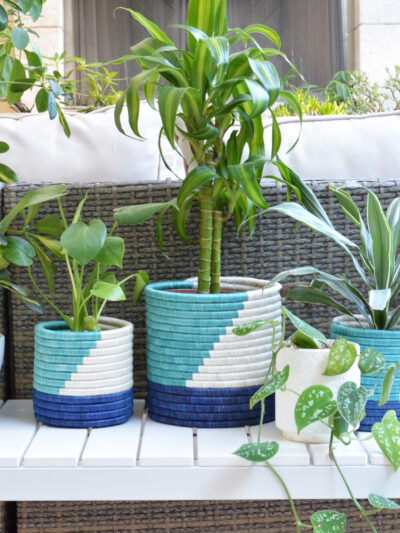
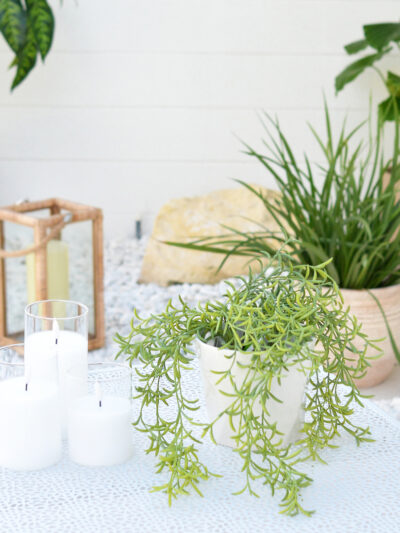
Plant Filled Summer Courtyard
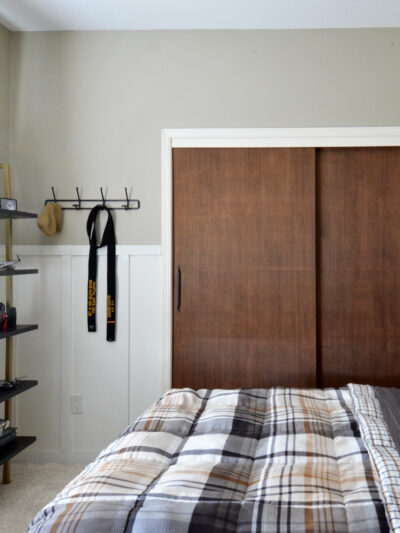
Teen Room Refresh
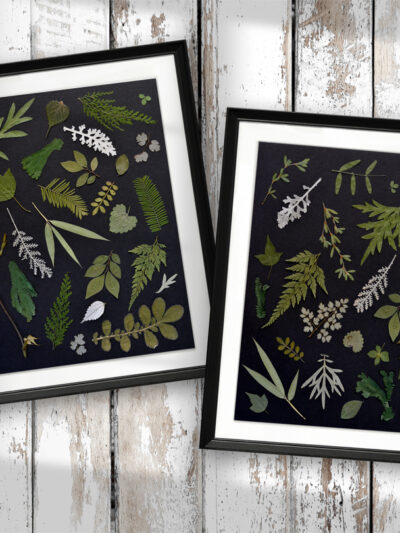
DIY: Pressed Leaf Botanical Art
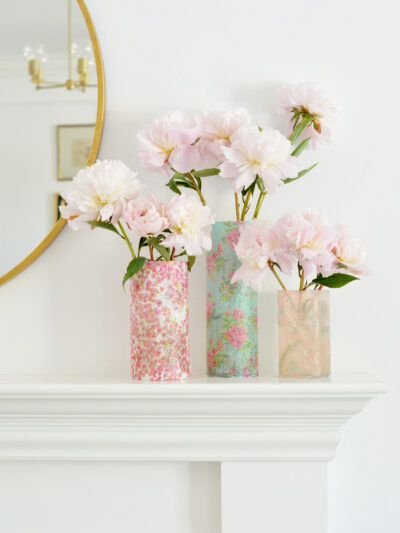
DIY: Paper Napkin Petal Vases
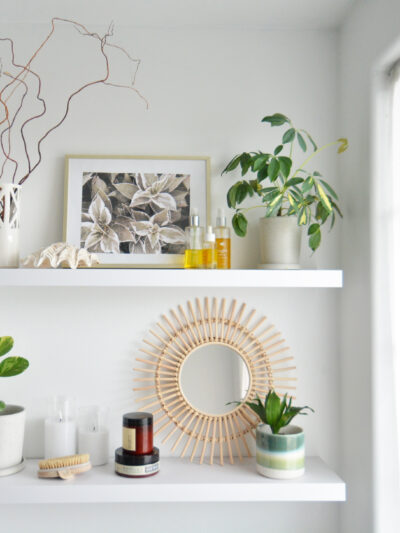
Afternoon Shelfie
DIY: Wood Transfer Art
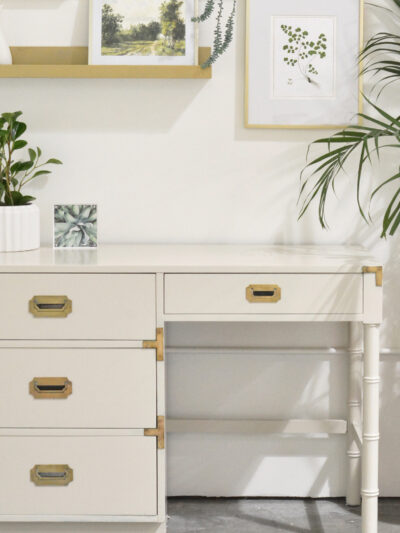
Campaign Desk Makeover
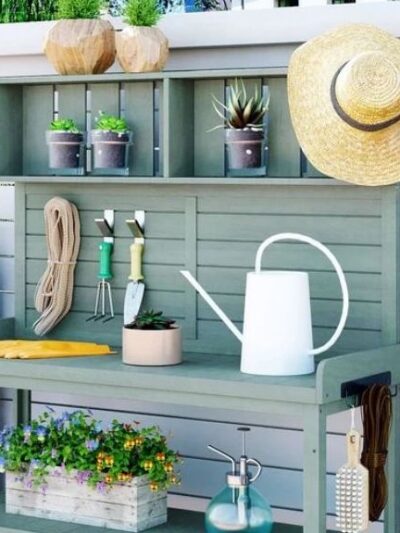
Potting Benches: Purchase or DIY
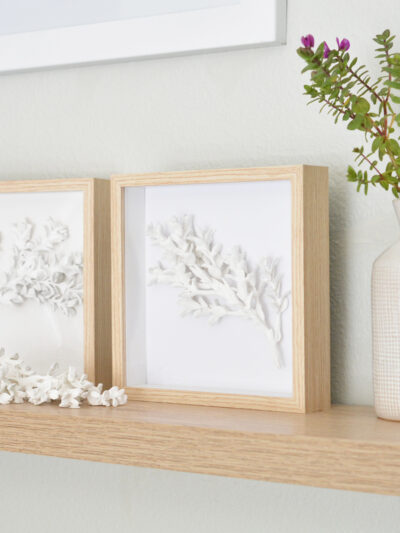
DIY Dimensional Botanical Art
Florida House: Patio Makeover
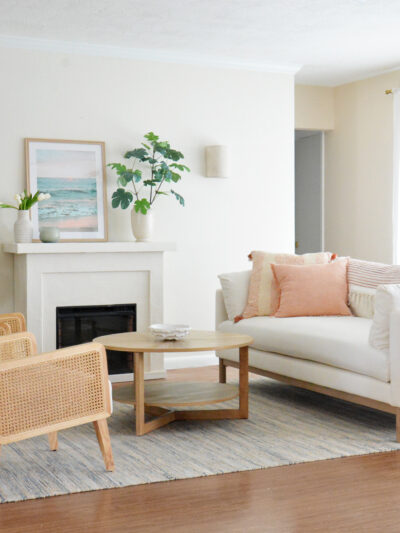
Coastal Living Room
Budget Bathroom Refresh
Pages:
«
1
2
3
4
5
...
»
42