Centsational Style
Toggle nav
About
Projects
Style Files
Travel
Art Company
Contact
Category:
DIY
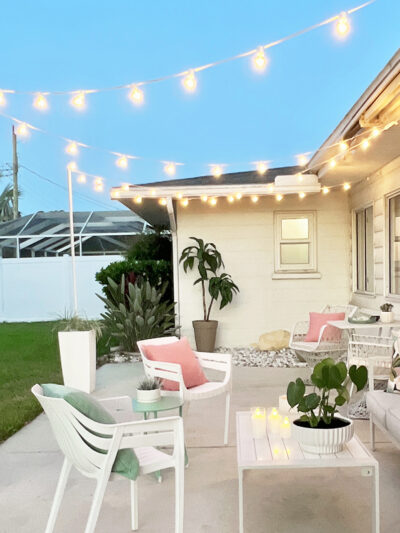
DIY Globe Light Planter Posts
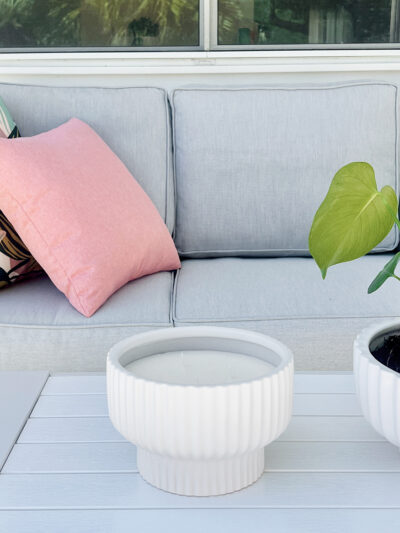
DIY Citronella Outdoor Candle
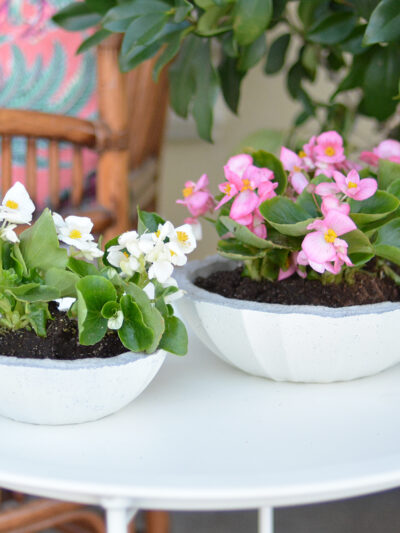
DIY Cement Planter Bowls
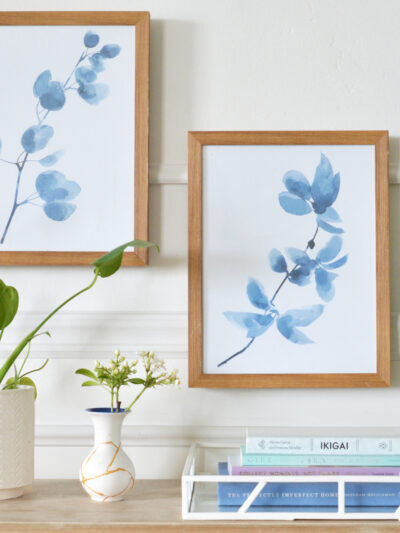
DIY Kintsugi Vase
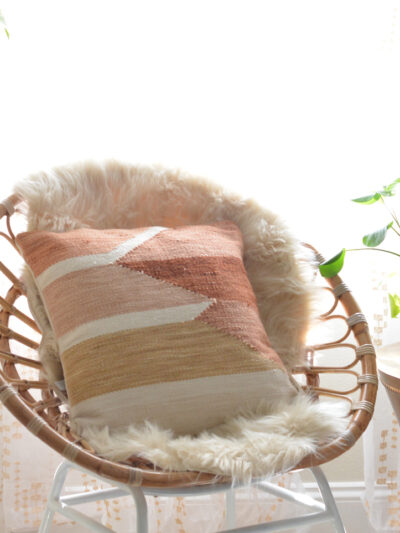
Boho Bedroom Update
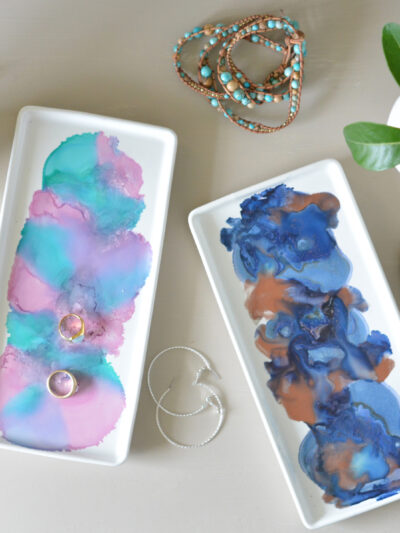
DIY Alcohol Ink Trays
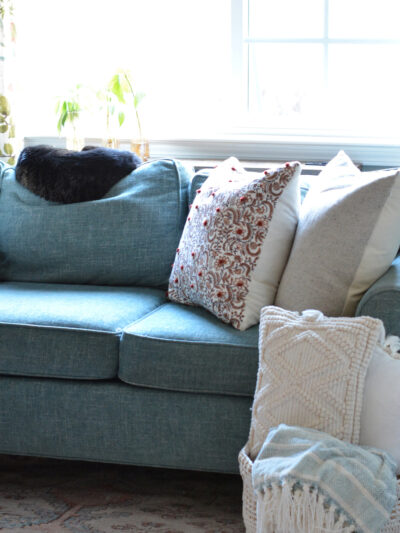
Our Collected & Cozy Study
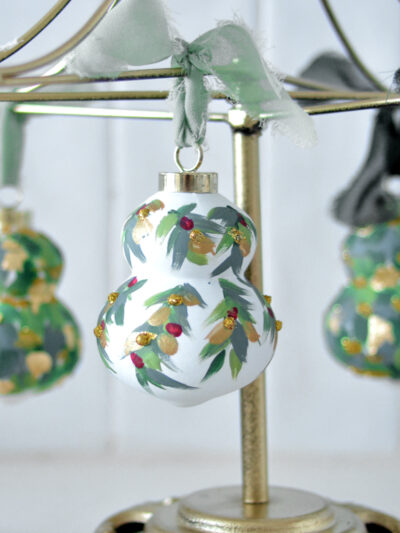
DIY: Hand Painted Ceramic Ornaments
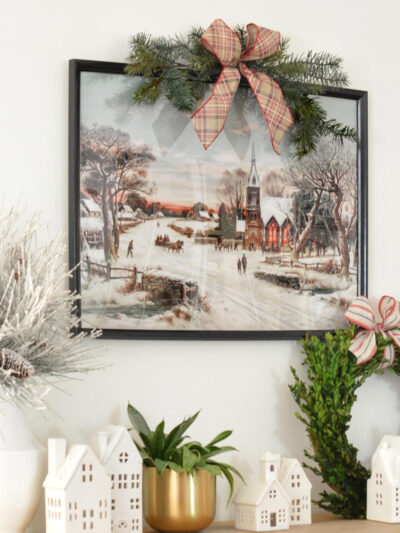
Simple Holiday DIY: Picture Frame Boughs
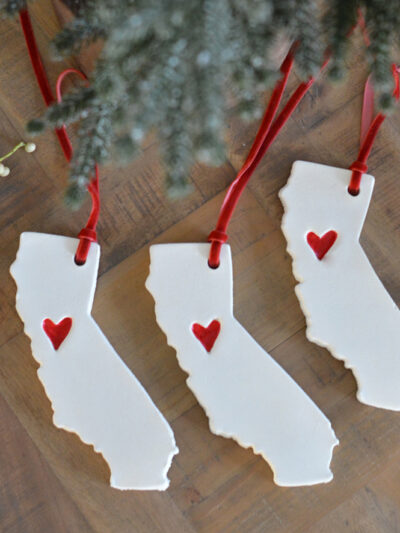
DIY: State Love Ornaments
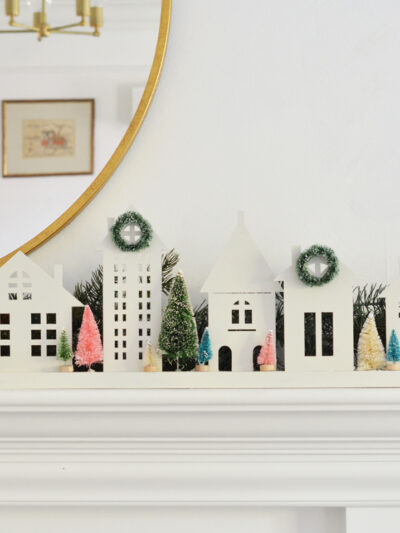
DIY Christmas Village
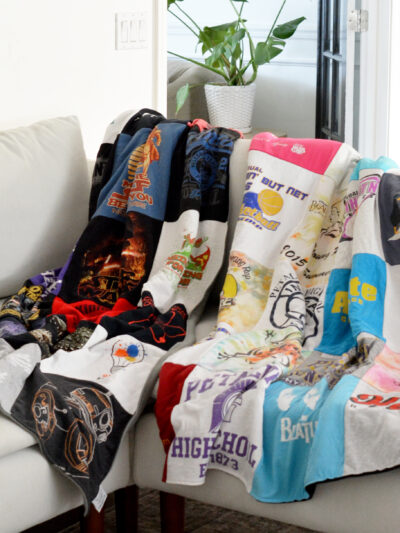
Keepsake Gift: T Shirt Memory Quilt
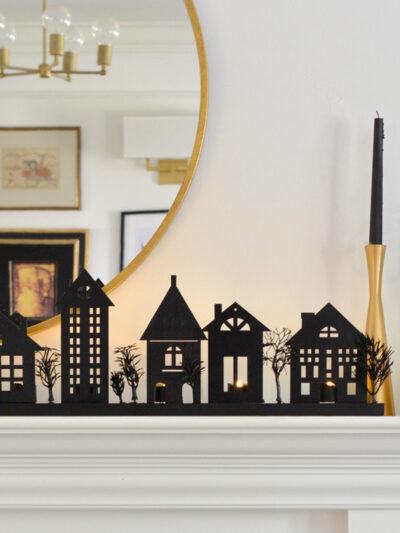
DIY Halloween Village
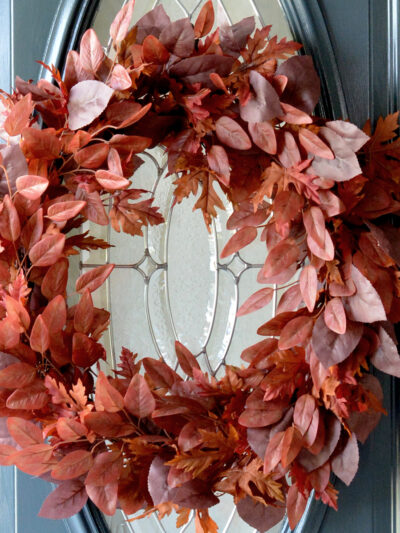
Semi DIY Burgundy Fall Wreath
Pages:
1
2
3
4
5
...
»
42