Centsational Style
Toggle nav
About
Projects
Style Files
Travel
Art Company
Contact
Category:
Crafty
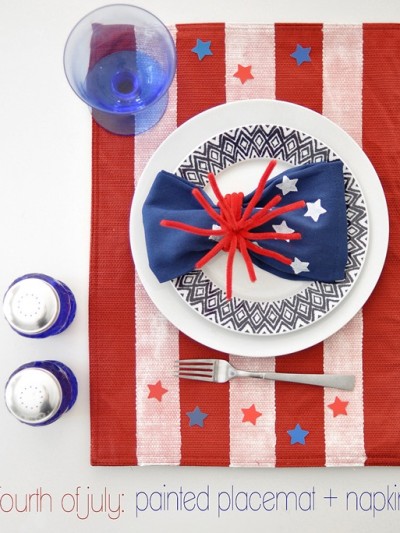
4th of July Painted Placemat & Napkin
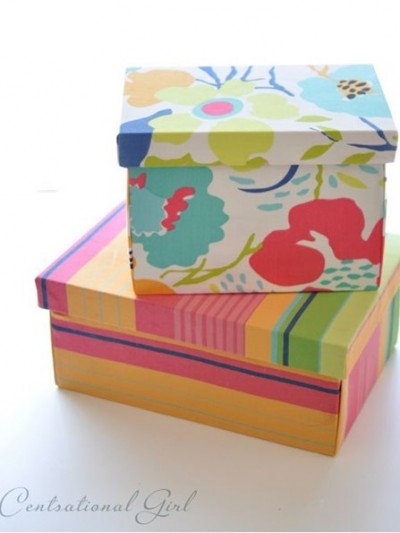
DIY Fabric Covered Boxes
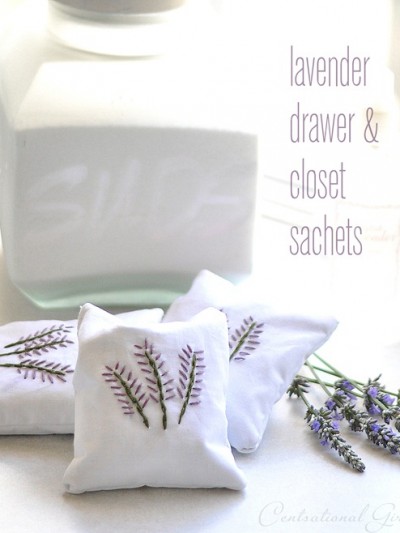
Lavender Drawer + Closet Sachets
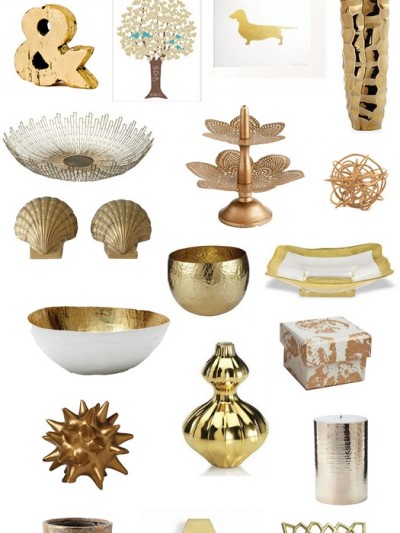
Touches of Brass & Gold
Christmas Craft Party Highlights
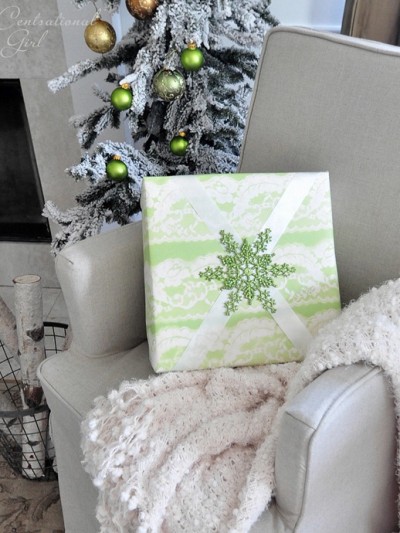
Holiday Decorating with Lace
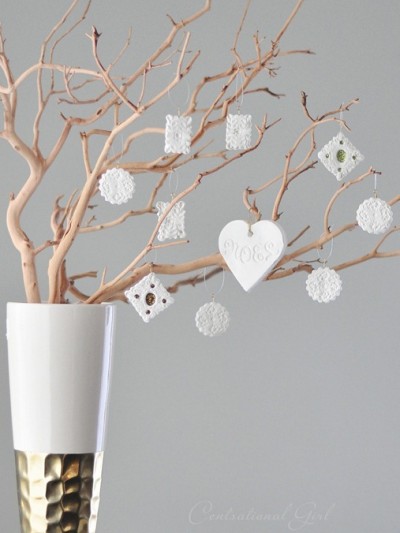
Clay Filigree Ornaments + Link Party
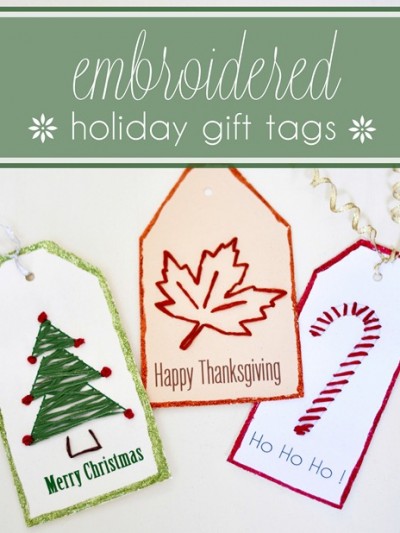
Embroidered Holiday Gift Tags
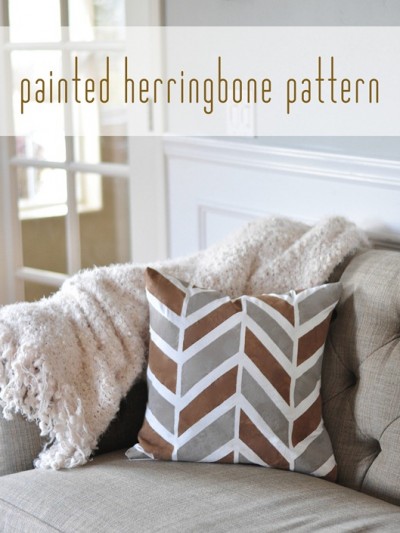
Painted Herringbone Pattern
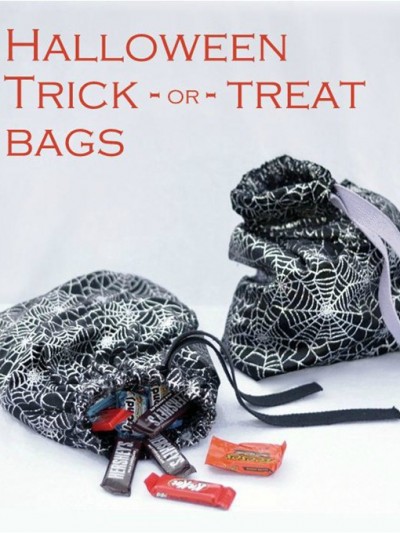
Halloween Trick-or-Treat Bags
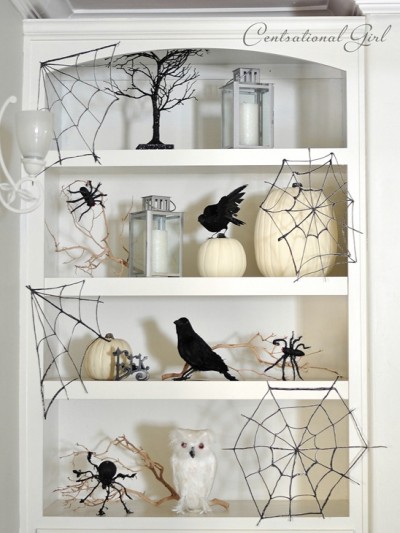
Glitter Spider Webs + Spooky Shelves
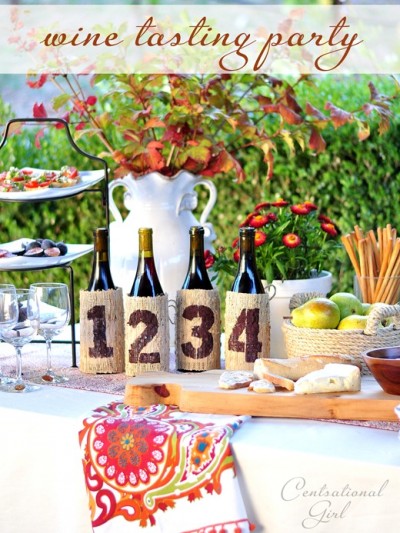
Throw a Wine Tasting Party!
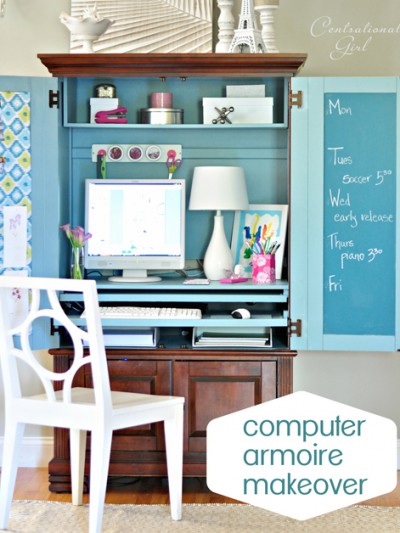
Computer Armoire Makeover
The Dog Eared Pages
Pages:
«
1
2
3
4
5
...
»
8