Centsational Style
Toggle nav
About
Projects
Style Files
Travel
Art Company
Contact
Category:
Crafty
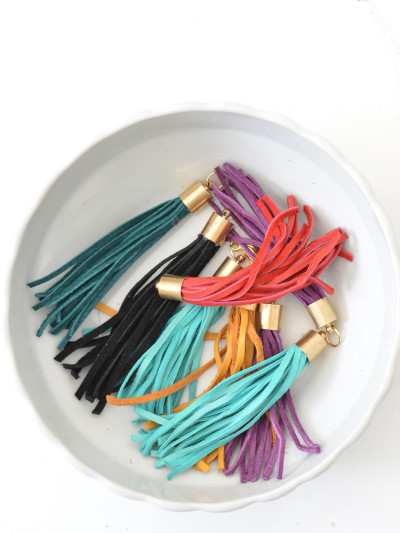
DIY Leather Tassels
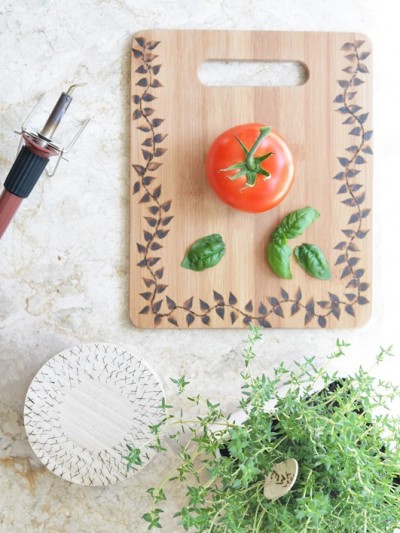
Experimenting with Wood Burning
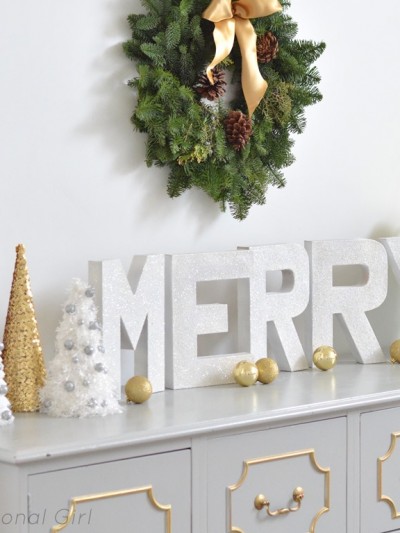
Glitter Letters + Fabric Trim Trees
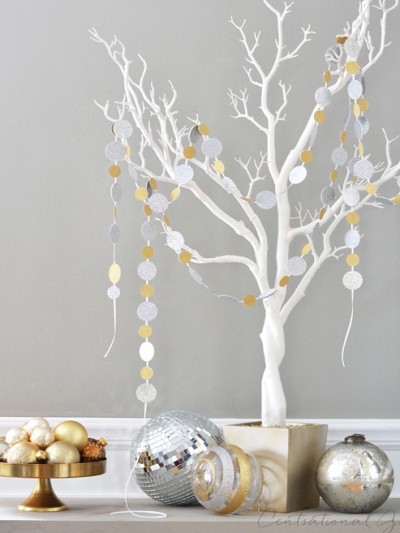
Sparkle Confetti Garlands
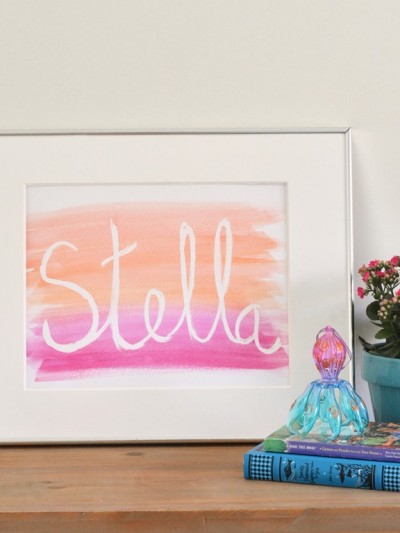
Quotes with Watercolor
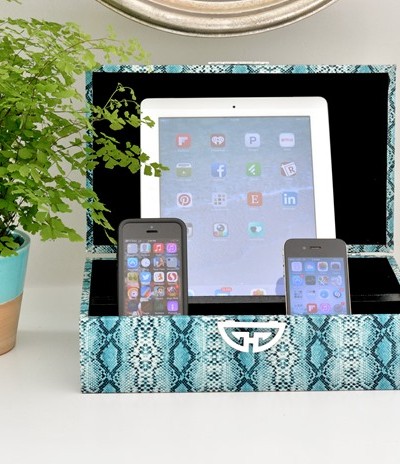
Decorative Box Charging Station
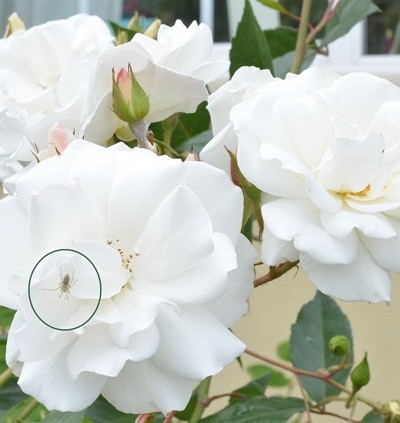
Floribunda: Projects & Printables
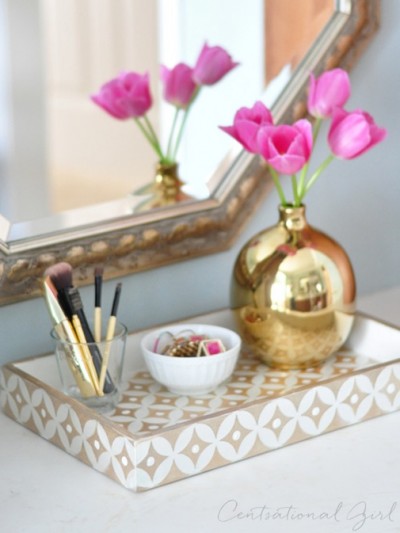
DIY Bone Inlay Inspired Tray
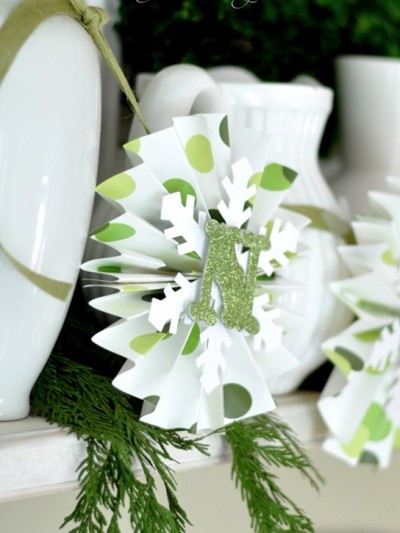
Paper Medallion Holiday Banner
DIY to Try: Holiday Edition
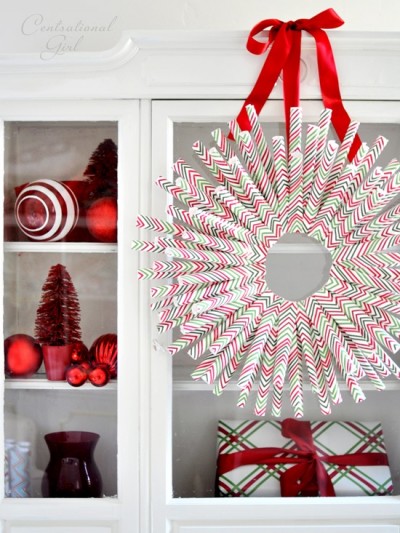
DIY Wrapping Paper Wreath
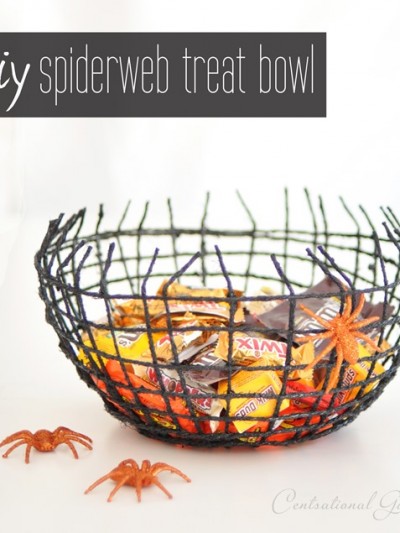
DIY Spiderweb Treat Bowl
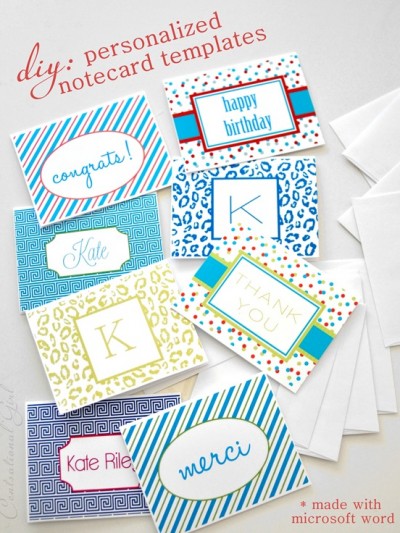
DIY Personalized Notecards
Nailpolish Abstract Art
Pages:
1
2
3
4
5
...
»
8