Centsational Style
Toggle nav
About
Projects
Style Files
Travel
Art Company
Contact
Category:
Before + After
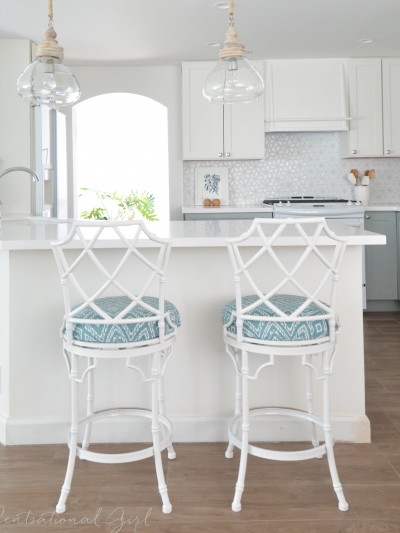
Sonoma Kitchen Remodel
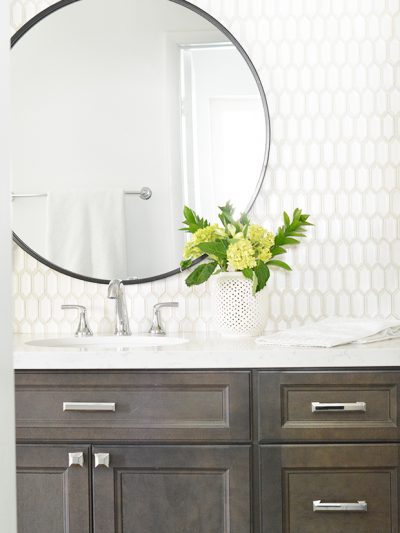
Flip House Bathroom Remodel
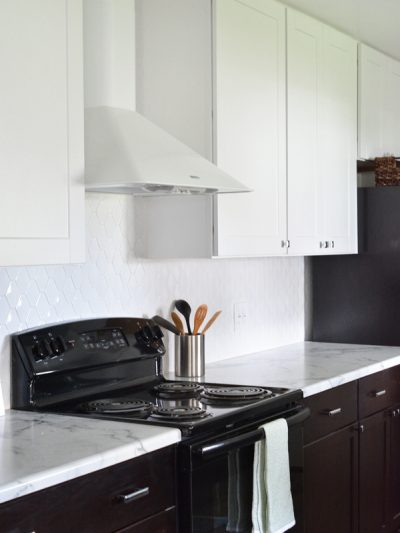
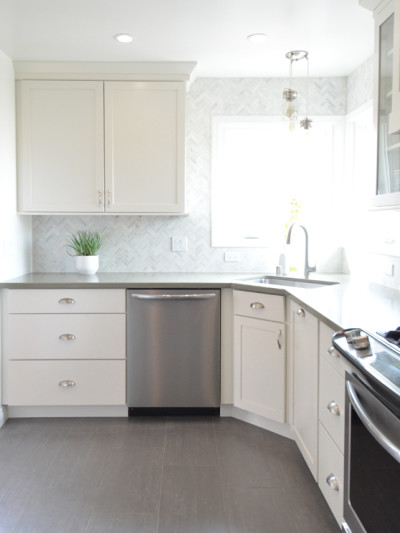
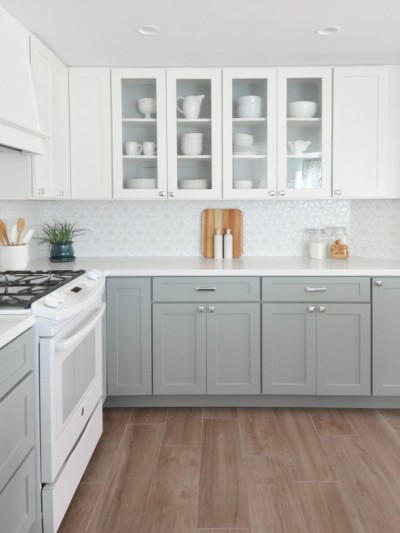
Galley Kitchen Remodel
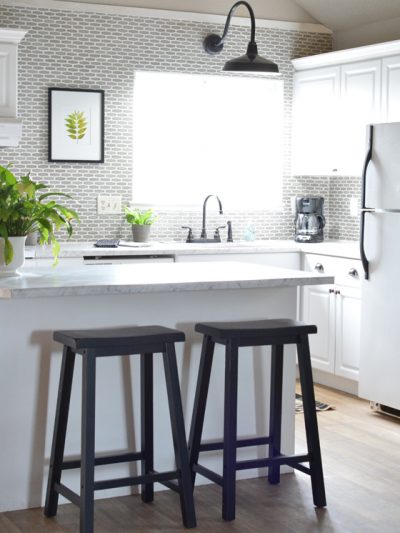
Budget Kitchen Makeover
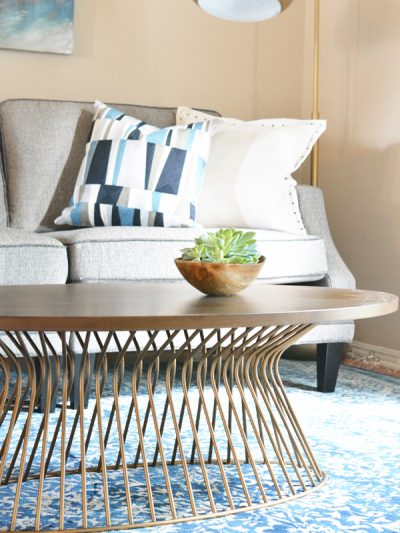
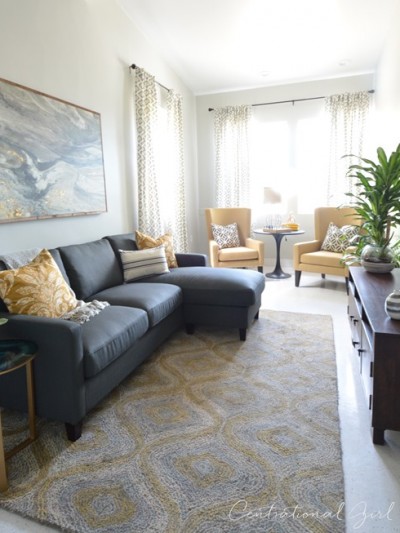
Family Room for Veterans
Dino & Heidi’s Kitchen Remodel
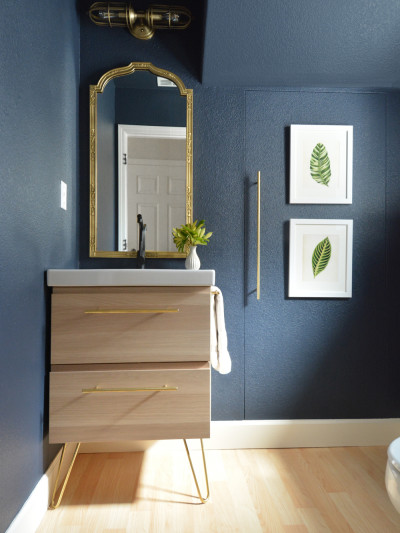
Powder Room Makeover
My Brother’s Kitchen Remodel
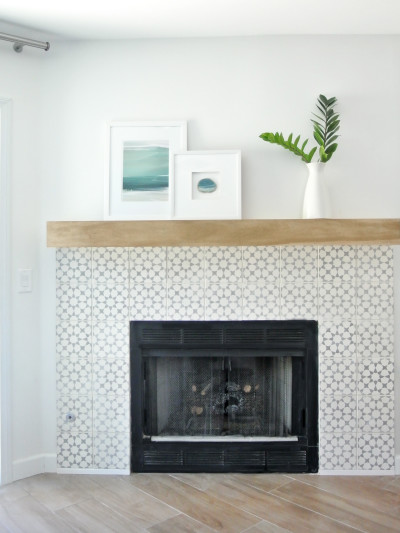
DIY Fireplace Makeover
Best of 2015
Kitchen Remodel: 10 Lessons
Kitchen Remodel
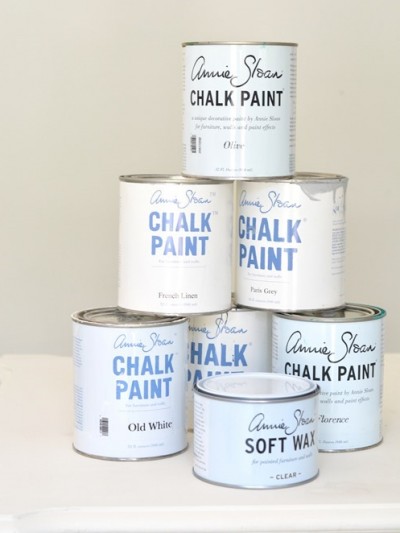
Reinventing What You Have
Furnished Shelter Family Room
Pages:
1
2
3
4
5
...
»
12