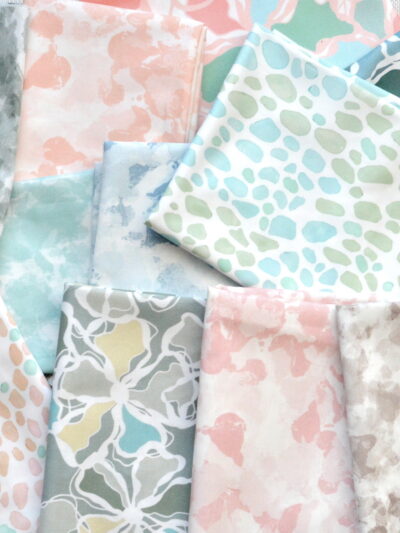
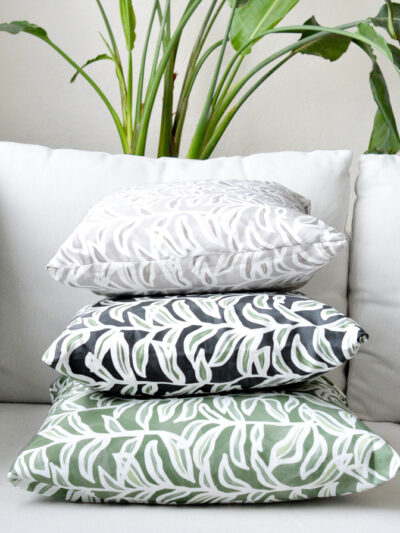
One of the simple sew projects that never made it into the Lookbook from the spring fabric collection was this easy flanged pillow sham project, so I’m sharing it today. The flanged edge is a term used to describe the flap of fabric that borders a pillow sham. I love cotton flanged pillows shams after they come out of the wash and once they’re given a quick press with a hot iron, they add a nice detail to a bed whether they’re made of plain fabric or in a fun pattern like this.

I like to make beds with the plain pillow cases hidden behind cotton pillow shams. Flanged shams like these hide the pillowcases you sleep on at night but are comfortable enough to prop yourself up against by day. Sewing your own is simple, all it takes is prewashed cotton fabric, matching thread, a measuring tape, some pins, and the ability to sew a straight line.

I use the same technique as I did for these envelope pillows, but allowed for extra fabric around the edges to create the flanged border. Here’s the basic step by step for a standard pillow sham with flanged edge:
First, cut three pieces of fabric to the dimensions seen in the diagram below (each pillow sham requires 56” inches from a bolt of 44” wide cotton fabric.)

Roll the raw side of one 28” edge of fabric on piece B and C, sew it to form the back of each envelope edge.

Align piece B and C with pattern face up so that the 28” length of their stitched edges overlap by 4 inches. Layer piece A on top with the pattern side facing down. If you have a stripe or geometric or floral repeat, you can align them so that they match or so that the pattern meets up to your satisfaction. In the picture below piece B overlaps piece C to form the envelope on the back, and piece A (the front) is layered on top and folded down.

Pin the three pieces together and sew edges on all sides with as seam ½” from the edge of the fabric while it is inside out. Once you’ve sewn together your pieces A, B, and C, trim the excess fabric around the seam edges inside the sham and in the corners to ensure a crisp clean edges that won’t have bulky excess fabric when turned right side out.

Turn the sham right side out to reveal the pattern and the large envelope cover which should measure 33” x 27”. Check your standard pillow’s shape to ensure your measurements are correct and there remains a 3 ½” border on all sides. If the pillow from is 26” x 20” then the pillow sham at this point should be 33” x 27”.

If your pillow form is a slightly different size, adjust the measurements to allow for the 3 ½” border on all sides. Before you sew the flange, first press all the edges with a hot iron so that the fabric lays flat and won’t have any pouf between the flange seam and the edge seam.

Using a measuring tape, mark the 3 ½” point around the edge of the standard pillow form and mark the border with pins.

Sew the flange with the pattern facing out and along the 3 ½” border marked by the pins.

Turn your sham inside out, press with an iron once more if there are wrinkles, and display on your bed.

Simple to make with any fabric you fancy! The yellow shown is the Brushed Fret fabric from my shop and the sweet floral pillow is from HomeGoods. Let me know if you sew any for yourself, I’d love to see how they turn out!
…


So pretty! I love the bright yellow and the pretty blue. I am a huge lover of pillows and textiles in general. I love your line of fabrics. I can’t wait for summer vacation to do more sewing!
Nancy @ Slightly Coastal
I’ve made many of these (I had a sewing workroom at my previous home), and I like to use a layer of lining or flannel behind the front layer of fabric. It gives a little stiffness to the flange, and can also hide the color of the pillowcase, if it’s something other than white. Also, if you’re planning to wash these, prewash your fabric so they don’t shrink after all that work!
Excellent tips thank you Peggy!
Pretty!! I’ve got a Craft Gossip post scheduled for later this morning that links to your tutorial:
http://sewing.craftgossip.com/?p=82452
–Anne
Love the idea of hiding your pillow cases and Peggy’s ideas above made the entire project sound even more intriguing! Now, just wish that I hadn’t given away my sewing machine. :)
Beautifully done. Also, thank you Peggy for the tips. I was going to ask about the flange, because the set I have has that detail and the fabric just flops around, makes me crazy.
So cute! We need to update our pillows soon, and I love the extra detail of the flange. Time to dust off the sewing machine!
How simple and cute! I don’t think I would have ever thought of this. Thanks for sharing:)
I made a couple with the flange for my grand-daughter’s room a my house. I need to get onto making more. Yours are beautiful.
Thanks so much, Kate. Your post has made me want to try out a hand-me-down sewing machine. I don’t sew, but I’ll give it a try if I can eventually get something that looks close to that good. I love those pillows and your fabric.
gorgeous! loooove your fabric
Fabulous work with easy DYI, really cute and classic design pillow covers comes up with less effort.
Beautiful fabrics! I love that yellow and floral pillows, that bedding is so bright and happy, great for summer.
Lauren Baxter | LB Designs
xx
lovely flanged pillows.Thanks for sharing.I am going to try.