As I mentioned several weeks ago, as a birthday present for my daughter we adopted a sweet gray tabby kitten and we named her Coco-Nut. She’s quickly become a beloved member of the family, the first thing the kids ask me when I pick them up from school is “What did Coco do today?” Like all kittens, she gets into a lot of mischief and a few things have been tipped over and broken as a result of her exploration into every crevice of our home. Despite the broken tchotchkes, the kids and I adore her and her sweet personality.
I bought her two little bowls for food and water and they used to sit at the base of a cabinet in the kitchen, but over time we all kept kicking them, spilling the contents, and it was driving me crazy. So I decided it was time to build a little stand for the food bowls in the hopes it would prevent future spillage, and also to add a little color and personality to the kitchen. This past weekend I designed and built this elevated pet bowl stand for our little feline for under $15.
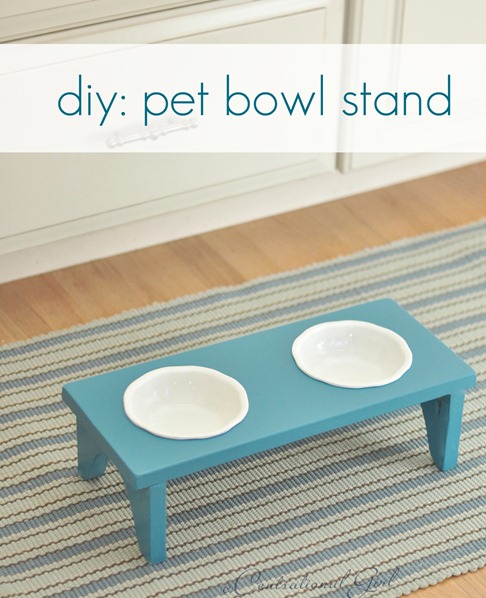
Here’s the step by step so you build one for your pet too! Of course you can modify the height to accommodate medium to large dogs. Supplies: Two ¾” x 8” x 2’ wood boards; 1” flat head screws; jig saw, Kreg jig or “L” brackets, wood stain + polyurethane, or primer + paint, pet food bowls. All supplies found at Lowes, pet bowls from Petco.
First, you need to design the template for the feet. Since the top board adds height, subtract its height from the total height of your stand’s feet. I wanted ours to be 5” high for a full grown cat so I designed the feet to be 4 ¼” high since the ¾” board would sit on top.

Next, create a template for the legs by folding a piece of paper the width of your board in half and sketching out the curvature of the base.
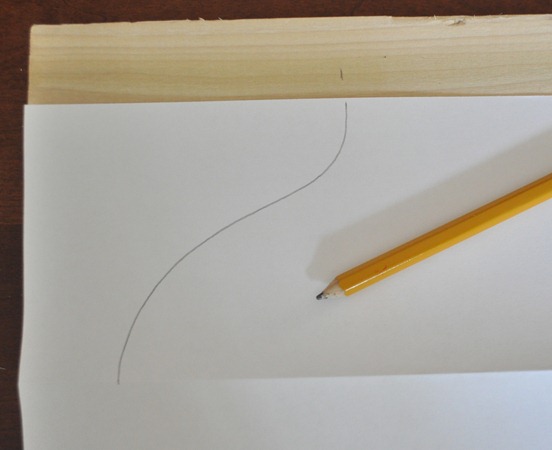
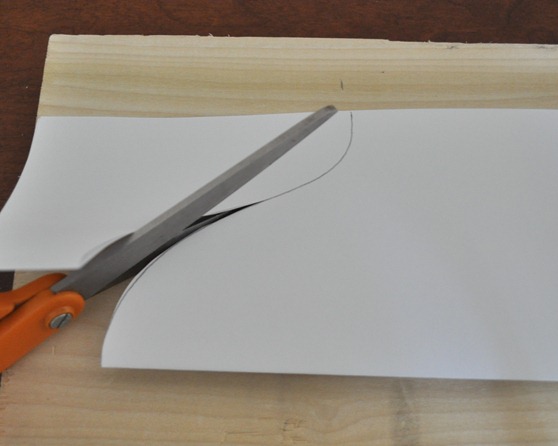
Fold in half again and cut your template with scissors…
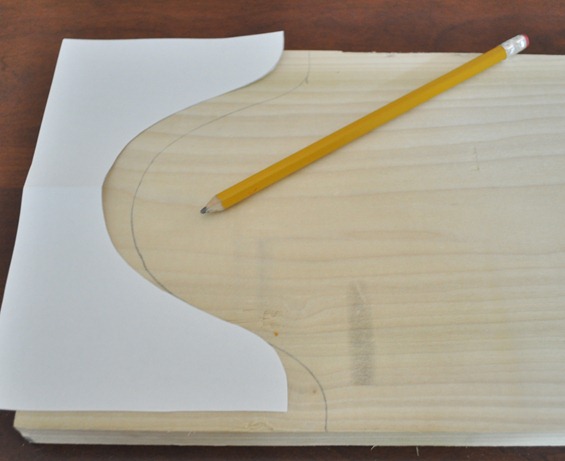
Place the template on your wood board and mark the design with a pencil. Rotate and repeat on the other end of the board to sketch out the second foot.
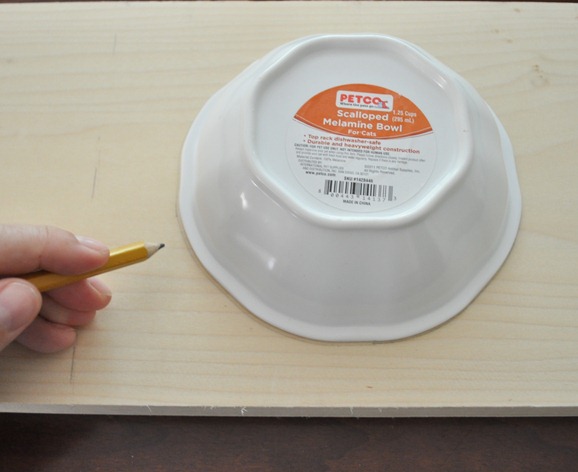
With your second piece of wood, position the bowls where you want them for the top of the stand, and outline the edges.
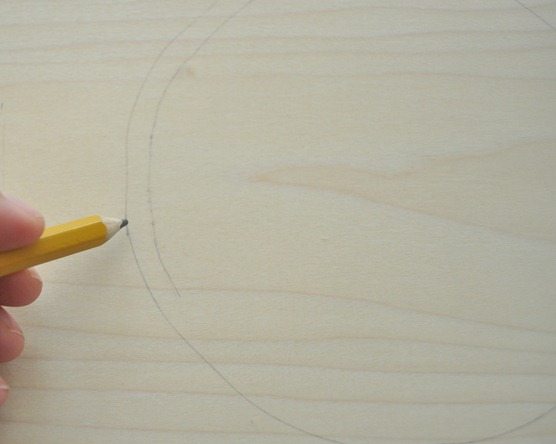
Next, mark your cut line for your jig saw – this is so your bowls can nest on top of the wood.
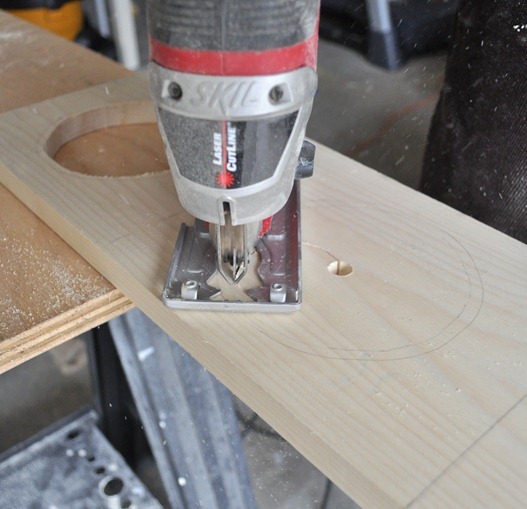
With a jig saw carefully cut out the legs and the hole where the bowls will sit. (It helps to drill a hold in the middle of the bowl cuts with a drill bit first to give your jig saw access to the cut line!)
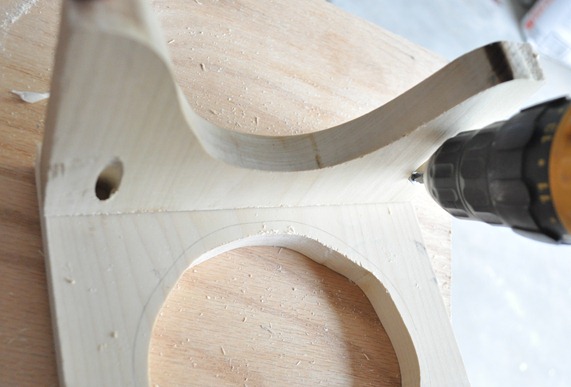
With a Kreg jig, screw holes into the feet so that it can attach to the top.
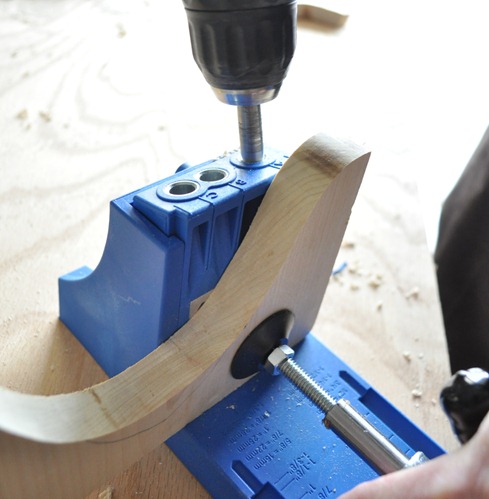
With a Kreg jig, you get these clean holes where a screw can go in at an angle. Without it you can use “L” brackets to attach your base feet to the top with flat head screws.
My original plan was to add decorative trim to the edges but since the melamine bowls were scalloped and I was painting it a bold color, I decided to keep it simple, and left off the trim. But if you want add decorative trim to the edges trimmed at a 45 degree angle with a miter box or compound miter saw – attach with wood glue.
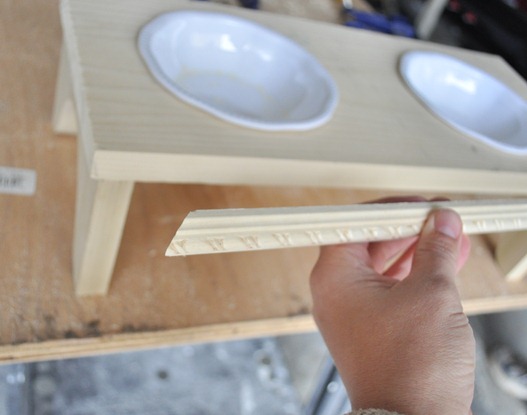
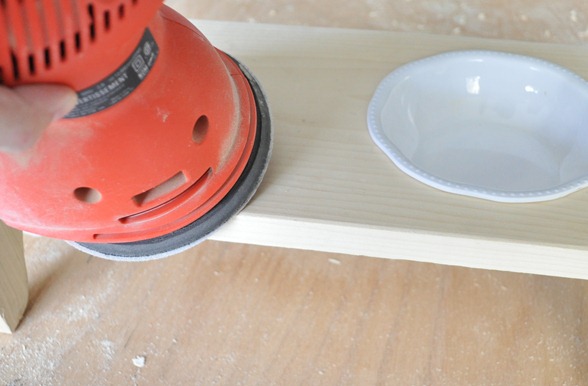
Instead of the trim, I rounded the edges of the poplar wood with my orbital sander.
By the way, if you don’t have the luxury of a real workbench in a garage, this is one of the easiest ways to create one when you need it. Store two folding sawhorses and a piece of plywood in your garage or shed, and pull them out for your weekend projects, that’s what I do!
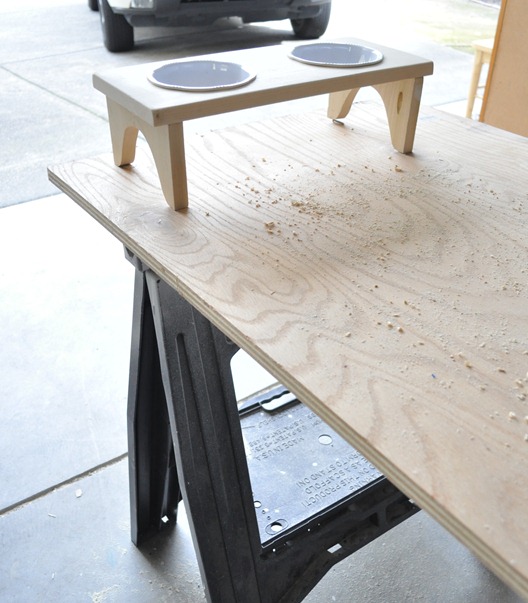
Here’s the elevated pet bowl stand before it was painted.
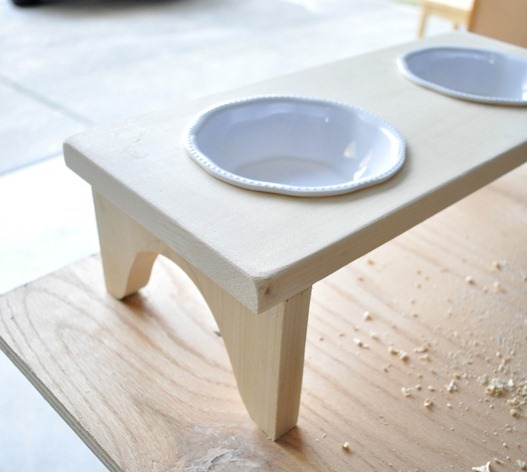
At this point you can stain it which and then add a coat of polyurethane, or you can prime and paint it which is what I did.

You can also monogram it if you wish (I used font to illustrate below) – and try out this fabulous trick I found for painting perfect lettering on wood.
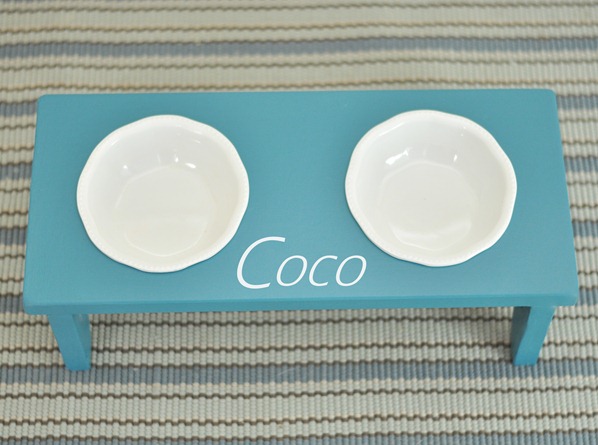
Aw, there’s our sweet Coco trying it out for the first time, I just love her stripes! She’s getting big – almost four months old now.
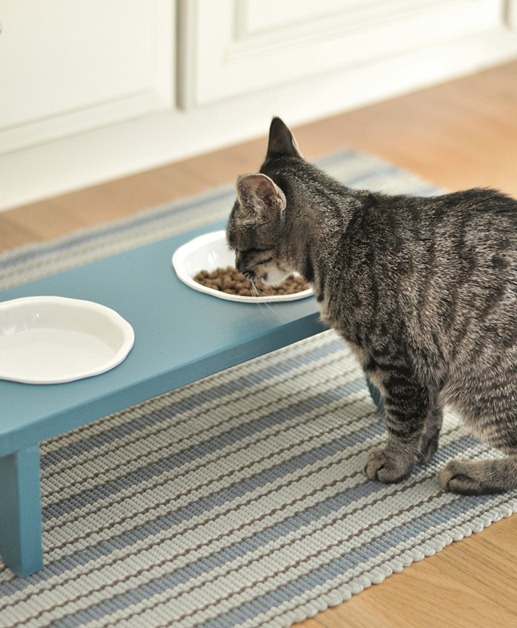
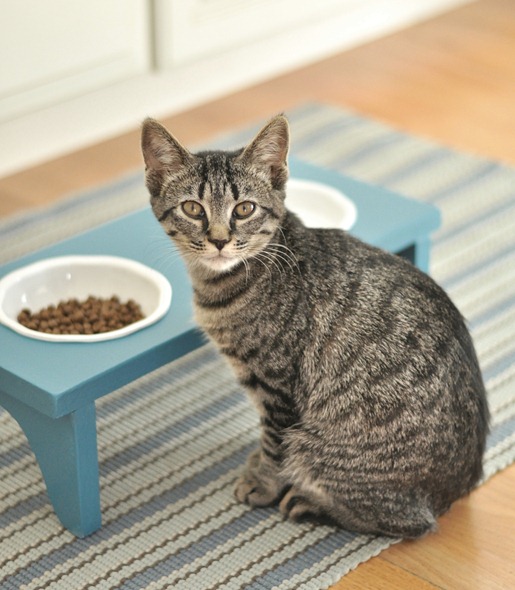
With a few pieces of wood and tools you can create your own in just a few hours. They make a great gift for your pet and for friends and family, have fun building your own!
.

Both the cat and the bowl are super cute ! Grey tabbies are among the most beautiful cats ever. Plus, she matches your home, which is even cuter.
Plus, I don’t know if it’s intentional or not, but a slightly raised feeder is excellent for you cat’s posture when she eats. ! Much better than bowls. (So are dry foods, according to my vet, but since that’s what she’s eating, I guess you already knew that).
Kate thank you for the link back on the how-to personalize on wood! Love the traffic and it’s proof you don’t need a vinyl cutting machine to get lettering onto wood, just a steady painting hand! Love your pet stand (and PS thanks for the pixlr tip awhile back, it’s my new go to for photo enhancements).
Sweet !! both Coco and the raised feeder. I know the ‘kick the water bowl’ splash soooo well.The raised feeder is also wonderful for older pets who may be somewhat arthritic.
Happy that little kitty is so welcome in your home, they are such great pets for children.
Nice! So creative! Love the rug, too! Is it Dash & Albert? Which one?!
Great project! You make it look so easy. I love the color you painted the stand. Coco looks pretty pleased with it too. :)
You are so talented it boggles my mind! I love the color … such a great idea!
I love it. Your sweet kitty looks adorable at her new pet bowl table.
This is so cute. We have to keep our cat food high up out of reach of our little yorkie though. Your cat is beautiful! I am so glad your kids love him.
How sweet is that? I was almost expecting you to tie a ribbon on one leg of the stand and present it to Coco! Such a luxury!
I love your sweet cat and would appreciate many many many more photos of her. :-)
Love it! I made a similar stand for my pup :) Btw, in that work stand equation, you forgot ‘level floor’ ;) Not easy to come by in an old house!
Great tutorial. I really like the curved legs and the inset bowls.
Just gorgeous! As always I’m impressed by your vision and finished product. Coco is a lucky girl, Chloe is jealous!
That’s darling! What a lucky little kitty. She’ll be wielding a paint brush in no time, I’m sure. ;)
Aloha,
Charlie
This is wonderful. I cannot wait to make this for my parents dog. I’m thinking Christmas 2012 will be PERFECT.
This just makes me smile!!!
Love it! I have one from Southern Living which is now Willow House, but this is just as adorable. I was thinking how this can be used for other things too; ie. jars holding crayons and markers, etc. I am just jumping on the blogging bandwagon and have been reading yours for well over two years! I never miss a post. I started mine last year, but I was so overwhelmed with it and didn’t know how to proceed. I have so much to say!!! I bought my ticket to Haven to really jump start my butt. I really hope to see you there.
This is just great. Another project for my new Kreg jig. I think I have just enough wood on hand to make one for the cat and dog!
Don’tcha just love the Kreg?! We built cubbies this last weekend and it made the job soo much easier!
http://the6wolfeden.blogspot.ca/2012/03/can-we-build-it.html
It is so cute. My cat (3 yrs old) had a fit when I bought a new placemat to put under her bowls!? lol
Coco-Nut is a cutie. She looks like our cat Peace, who is anything but Peaceful. Love the stand!
What a clever little stand! I think my parents need one of these–one of their cats is constantly knocking over and sloshing around his water. This might be the perfect solution…
And I was definitely waiting for a picture of that sweet kitten! We also have a striped kitten (7 months old) and I tell her every day to stop growing. She doesn’t listen. Boo for getting bigger. This must be a tiny fraction of how it feels to watch your kids grow up…
Hi I love what you do. Such a beautiful color for the pet stand and it looks great with the rug. Where did you get the rug? Thanks
Hi Nicole and Candace, the rug is Dash and Albert found at a local shop, I’m pretty sure it’s this one!
http://www.dashandalbert.com/product/view/evan-blue-woven-wool-rug–RDA164
Kate
So cute! Coco is cute too!!
Kim
This is great! I need to do something like this for my eskies. Love it!
What a fantastic tutorial! I’m going to have to try this out for my dogs. Megan
REALLY nice! I love the colour you chose. I bought 2 pet food stands similar to what you have here, a few years ago at a fabulous price because they were damaged (chipped wood) and one was missing a bowl. I got them for $7 each – can you believe the regular price was $40 each?. I sanded them down and spray painted them a nice bright celery green colour and my 2 cats loved them. They are/were older cats (unfortunately one passed away a few months back at the age of 17) and eating at a higher level is better for them – especially as they get older. I never would have thought to make one from scratch – you are so creative. Great job!
LOVE this project! Many Thanks for sharing :)
That is just adorable, what great job, I love the color. The pet is eating in style.
wow! How I wish I have a pet so I can make one like that. :)
Great project for my daughter’s naughty little Westie who is always knocking over his water. He’s SO naughty! Thank you for sharing this cute raised stand.
Oh my gosh Kate..I can’t believe how you think things up in your head..then draw them freehand..cut them out..put it all together..awesome..and all without needing someone else’s pattern or instructions to follow..You are one smart lady!!
Great idea! We added to our family a couple of years ago…when we “adopted” our kitty named Pedro! Both my boys LOVE him and he is definitely my constant companion during the day. See a great pic at the end of my post…
http://elegantnest.blogspot.com/2012/03/diy-cherry-blossom.html
Looks alot like your Coco! Would love to make this project, especially if it would keep his food a little neater. He is a messy eater and kitty kibble ends up all over the floor!
Kate, what a great idea! I have 3 cats, all litter-mates, and I have often wanted a feeder with 3 bowls so they each have their own. They compete for the food otherwise and of course you can’t find something like that pre-made. Right now I have 3 separate dishes AND a water bowl–you can imagine the disorganization and the mess!! I will have to get the tools and adapt your plan! Thanks
I love the scalloped bowls. I think they give the entire tray an aire of sophistication.
Coco is just adorable and seems to like the camera! Good going!
I love the food stands! I have four cats, so I’m sorely tempted to make a few to coordinate with my decor. Thanks for sharing this. :)
Hey,
Great idea. I have to do something like this for Gipsy King (and yes that’s the name of our cat :)) ).
Good job !
Greetings from Romania !
I love what you’ve done and if you don’t mind I adopted a dog a few days ago and I’m stealing your idea to make a dog food bowl holder for Maddy. Very cute!
I’m about to start modifying this to replace the “temporary” feeder my husband made for our Great Dane 2 years ago. Thank you for the tutorial!
I was looking for something like this for my old dog, and make it easier for him to eat form his water and food feeder, so thank you a lot for sharing!! I’ll give it a try!… well my hubbie will! haha!