G’day all, I’m finally back from my trip! We spent six days traveling up and down the California coast, visiting friends and family along the way, making stops in several quaint and coastal towns. We enjoyed plenty of sun, sand, and I even made good on a trip to Legoland that I promised my kids for their birthdays months ago. It’s good to be back, but I’ve a lot of catching up to do! I’ll be taking the day to do just that, meanwhile, I’d like to introduce one final special guest.
Today, Stacy of Not JUST A Housewife is here. I’ve been enjoying Stacy’s blog since I discovered her a few months ago. Stacy is mom of four boys who loves to cook, create, and decorate. She’s a gal who knows how to work a miter saw (check out her scrap wood lamp) and she’s a huge fan of spray paint too (holla!). I have long loved checkered floors, but Stacy puts a new twist on the idea by turning her attention upwards. Please welcome Stacy and her step by step on how to paint a checkered ceiling!
“Hi, I’m Stacy and I am so excited to be guest posting here today!
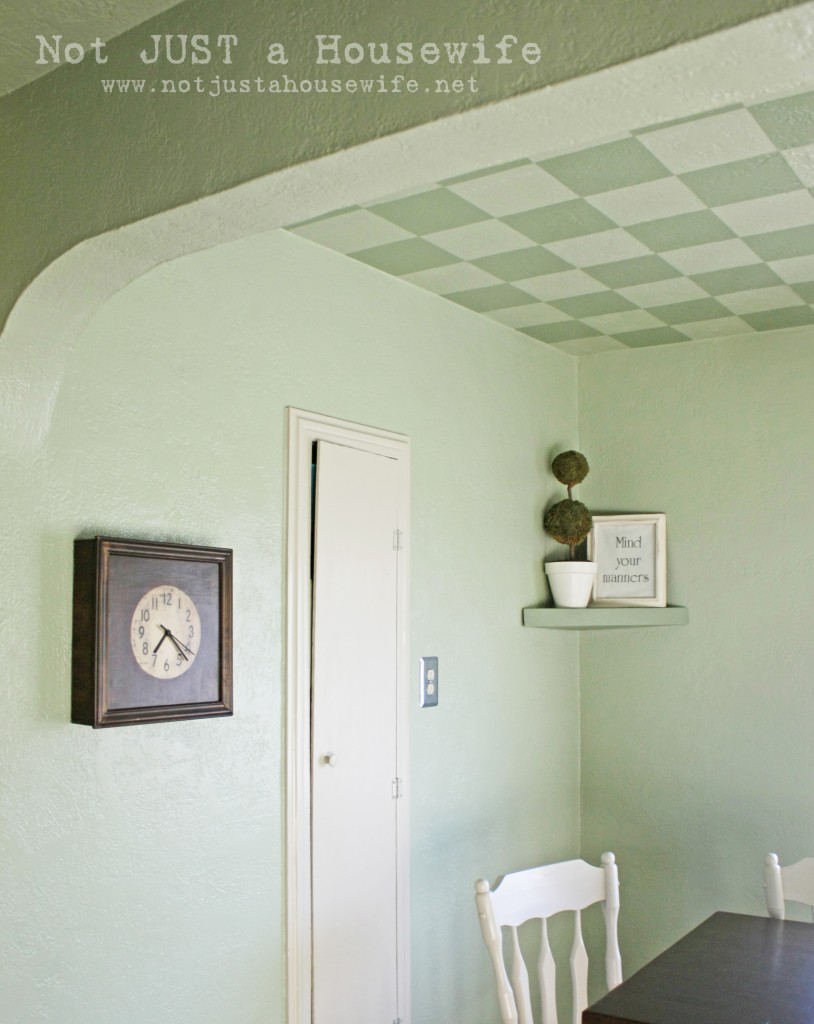
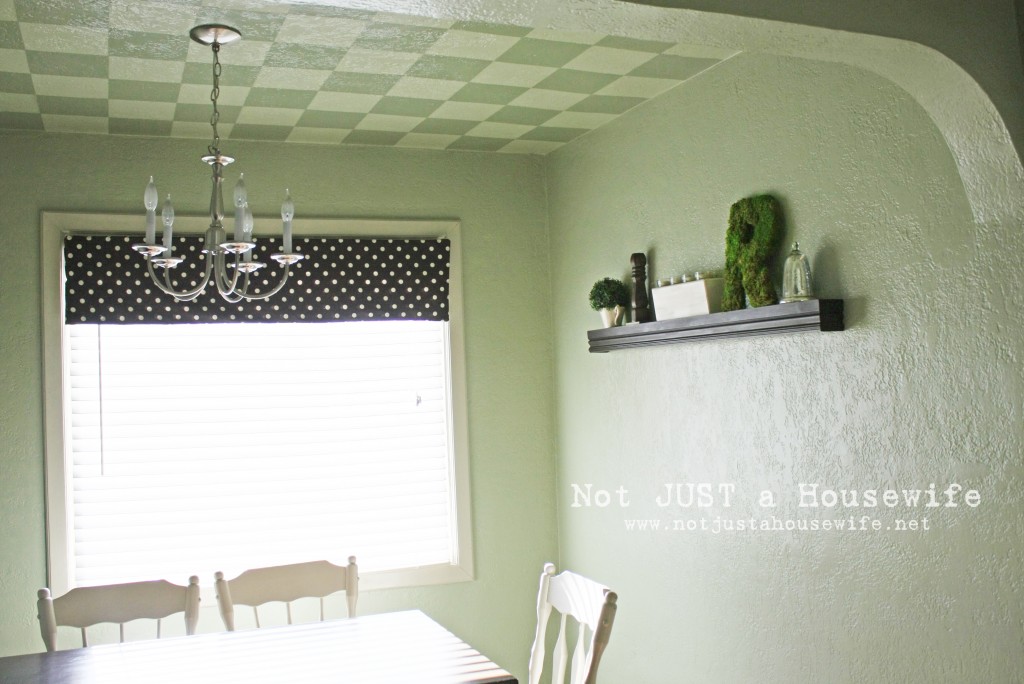
I’d like to share with you my painted checkered pattern on my ceiling in my dining room and my kitchen.
The first thing you need to do is measure your ceiling. Once you have your measurements you can sit down and figure out how big each square needs to be. Uggg. This was the least fun part of the whole process but probably the most important. Measure, measure, measure!
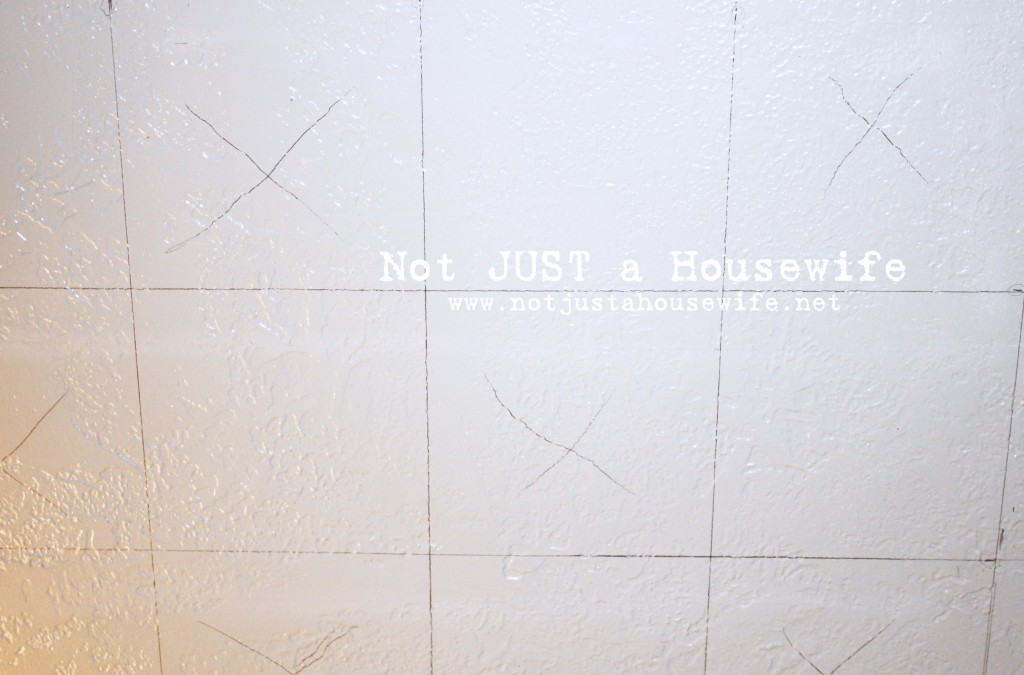
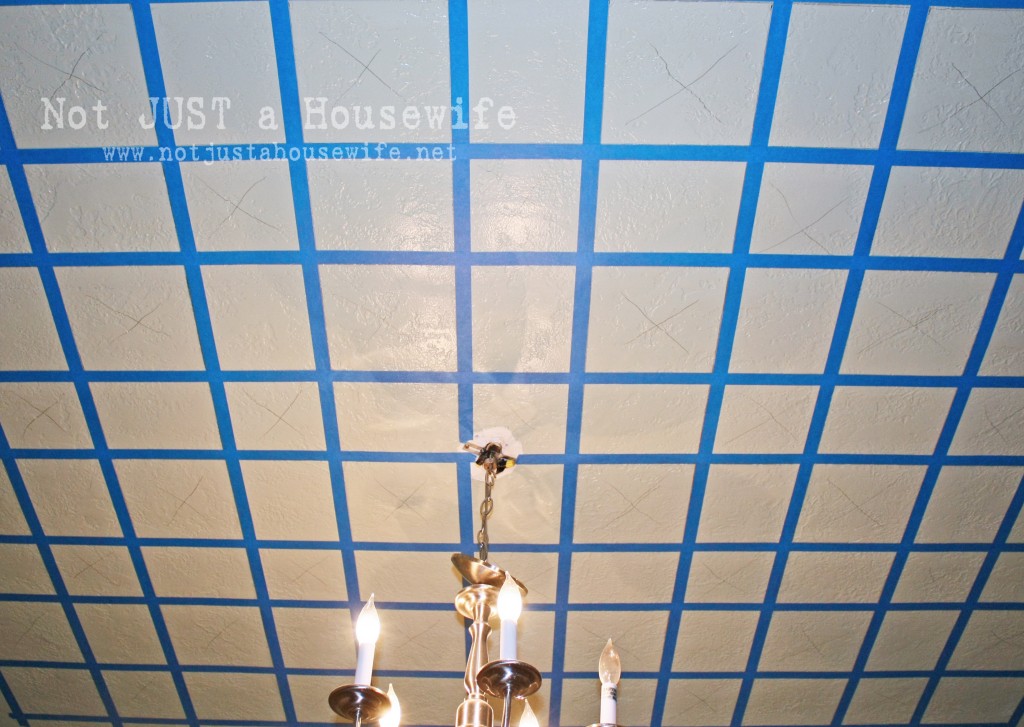
Then get a laser level that will stick to your ceiling. Mine uses adhesive strips. This whole projects is easier if you have a helper so grab a willing assistant too :) After you make marks along the perimeter, then use the laser level to line up the marks on either end. My husband and I use a long piece of molding as our straight edge to trace the laser line across the ceiling. Once you trace all the lines going one direction, then trace them going the opposite way to create your squares. I guess it depends on the size of your ceiling but this really didn’t take as much time as it sounds like it would.
I marked every other square with an X to show which ones would be painted the darker green.
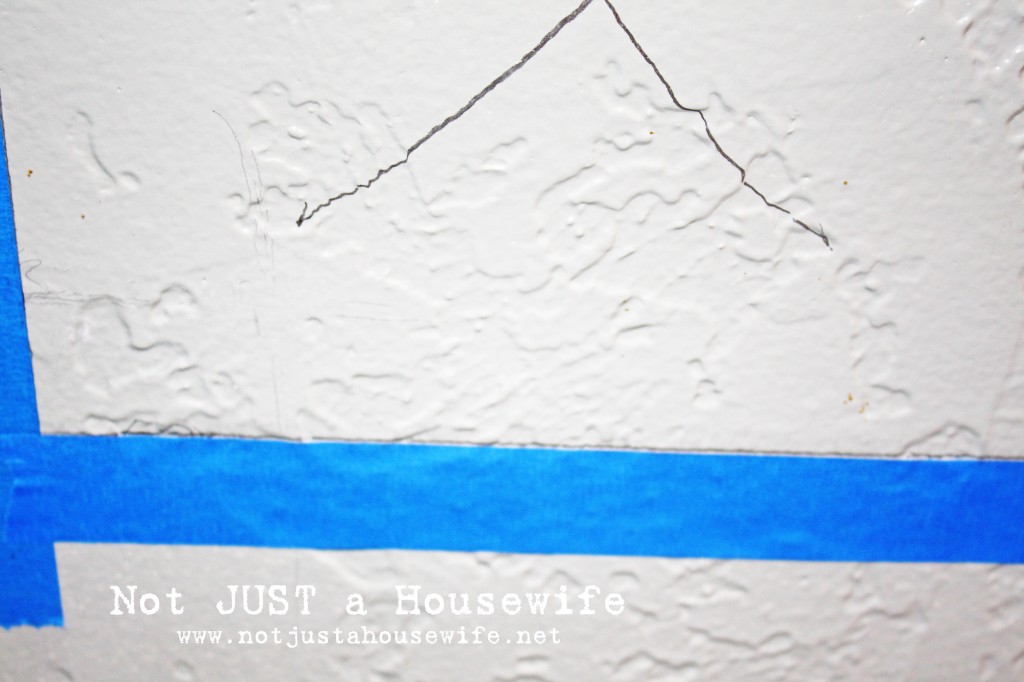
When I taped, I didn’t cover the line up. This way it would get painted. I figured I would have less pencil lines to clean up when all was said and done. P.S. Magic Eraser will get pencil off really well.
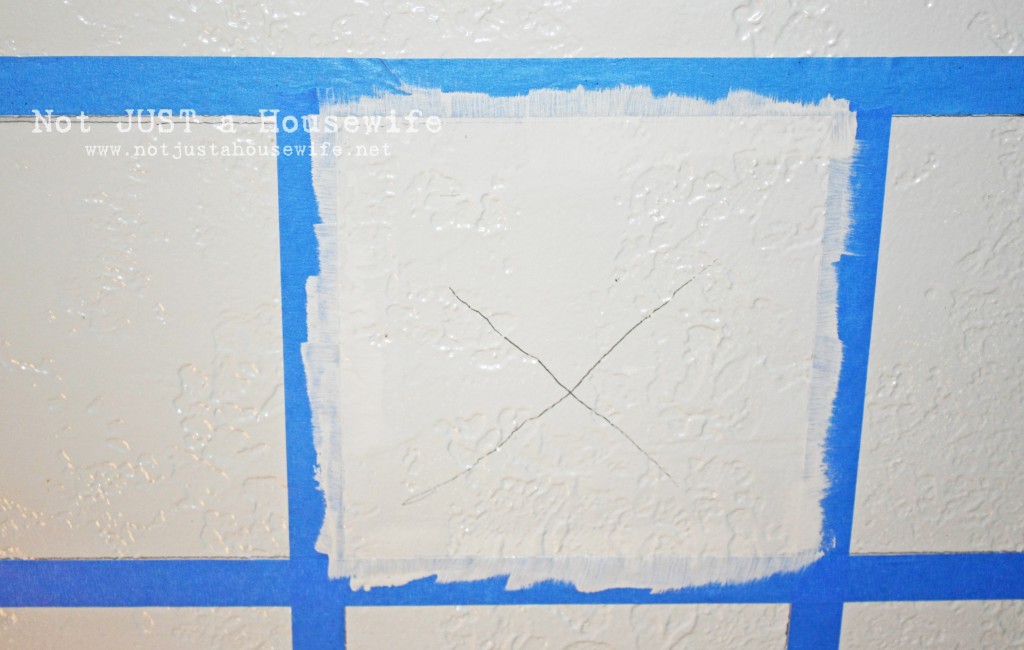
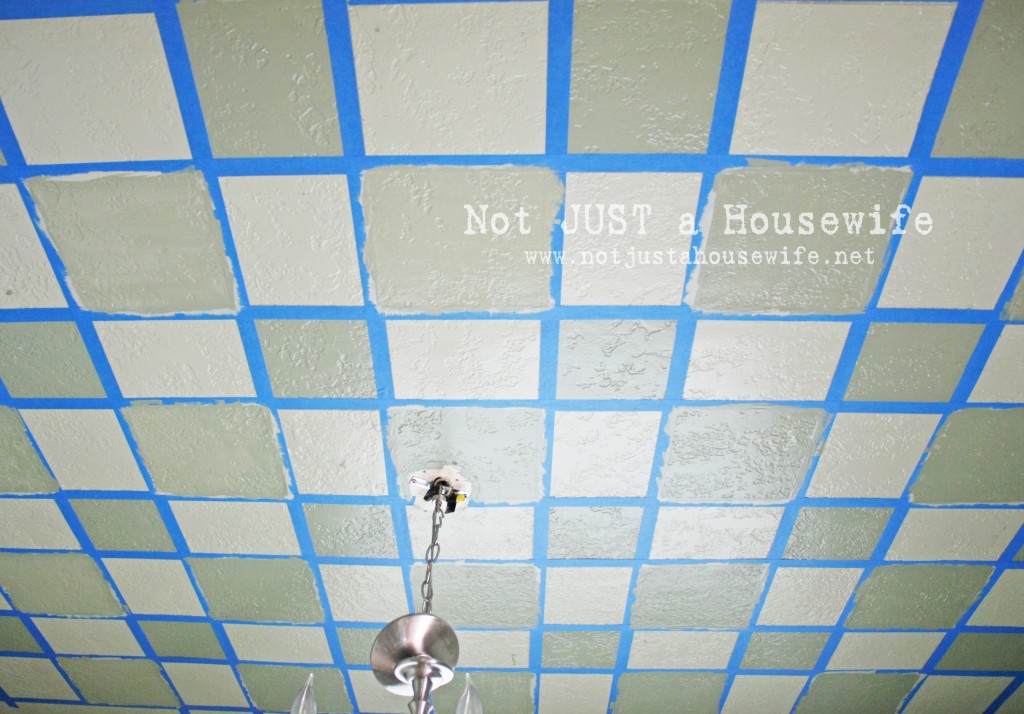
This is the part I kind of dread mentioning. You will need to tape twice. I am sure there are other ways I could have approached this project, but I knew that doing it this way would create really straight, clean lines. You will tape so that every other row will be painted. You can’t tape all of it at the same time because you have to tape outside of the line for one row which puts the tape inside the next row which is why some squares look smaller.
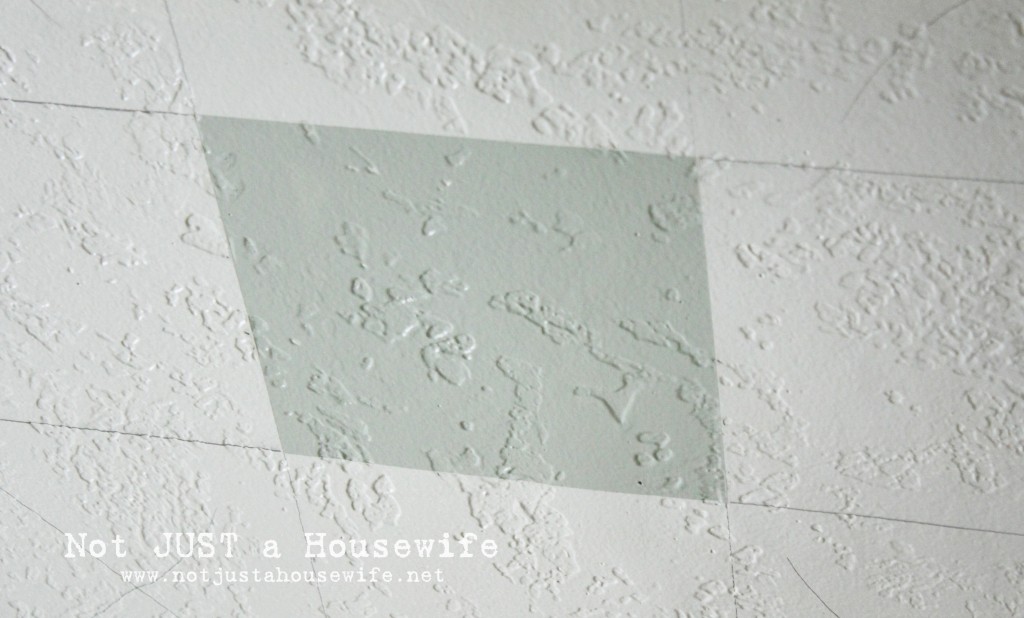
My secret to getting beautiful lines when painting stripes or squares is to use the base paint to seal the tape. My ceilings are heavily textured, so even with good quality painters tape you would get some leaks. This way, any leaks are the same color as the ceiling and you won’t notice them at all. It adds one more step but it is worth it. Brush (or roll) towards the tape.
With this technique you end up with very clean lines.
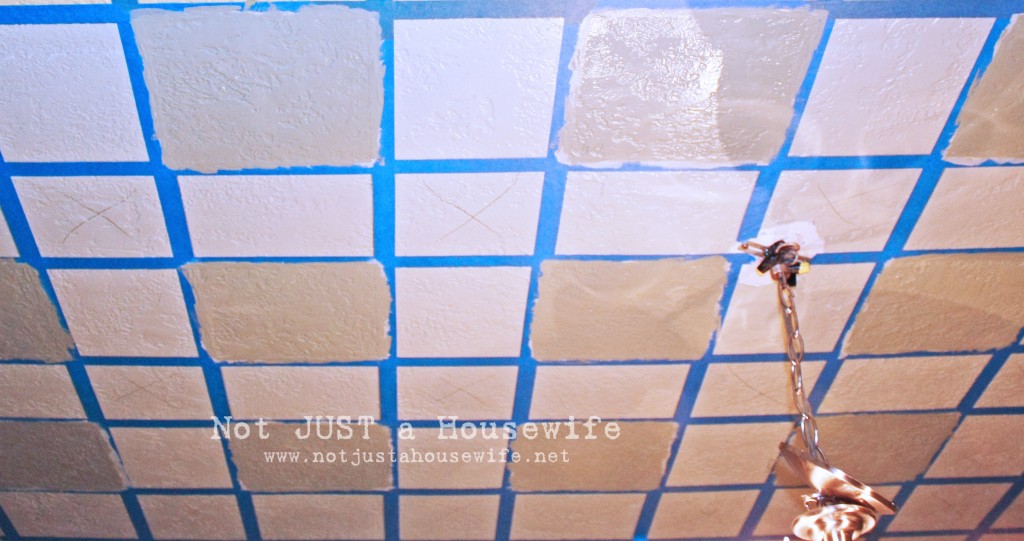
Here it is with half of the squares painted. Sorry for the bad picture quality, it was taken with a flash at night.
Next you need to peel off the tape. I take the tape off while the paint is still wet, otherwise some of the paint will come off too, but go slow.
Wait for the paint to dry for at least 24 hours. You will be taping over the newly painted squares and you don’t want to risk the first layer of paint coming off. Follow the same steps for the second round of painting squares.
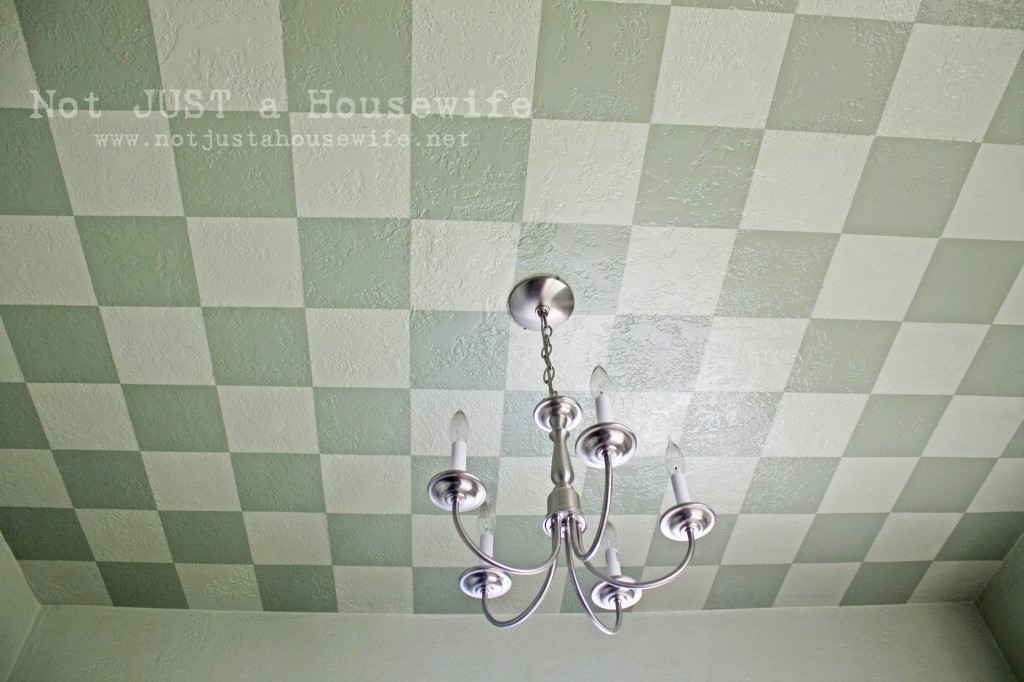
And there you have it! It was a lot of work but it was worth it! I have had this on my to do list for over 6 years! I am happy it is finally done and I get to enjoy it everyday.
Come on over to my blog and see how it looks in my kitchen too!!!
Bravo Stacy! That was a lot of work but now Stacy’s ceiling is a one-of-a-kind focal point in her home. Excellent DIY project!
Have you ever considered adding a unique detail to your own ceiling?
.

Wow, I can tell that took some time and skill! It looks amazing. I painted a design on my ceiling recently and it was not that fun. Ugh, the measuring! I still can’t believe you conquered this. My ceiling was a LOT simpler, so I bow to you and your dedication!
“Check it out here.”
That is amazing.
– Joy
That is a work of art and a labor of love!
Wow! Stacy- that was an amazing grid you did on the ceiling! I can only imagine how physically challenging that was! It looks so cool! Hats off to you!
Happy blogging, decorating, & living-
Thanks for sharing!
Megan
http://cottagebluedesigns.blogspot.com/
Labor of love for sure, and it looks phenomenal!
I would never have thought of doing it, but it does look great. I love the subtle colors…very nicely done!
This is awesome, it looks great. Super idea.
Ouch, is what I’m thinking! You must have been sore after all that, but it does look fabulous!! Nice work. : ) ~ Catie
Wow! That looks amazing…..kudos on having the patience to finish!
Awesome, but way more effort than I’d be willing to put in, at least on a ceiling.
The link to her website is broken though, it’s trying to go to an address that’s this post + her site.
THat looks fantastic. What a lot of work, especially with taping it twice. I love how it makes a feature out of the ceiling.
Wow, that is beautiful… I have never seen anything like this and kudos on your hard work! I don’t know that I would have the patience even though I love it so much…
Wow, wow, wow. That is really nice. The wow’s are for all the work you have done. Congrats & I’m sure you are enjoying the fruits of your labour. Well deserved!
Beautiful.
What colors did you use and how do you think this may look in a bathroom?
I used Valspars BERLIN and THYME paint colors. I think this would look awesome in a bathroom! And a smaller space would be easier to do :)
wow that is lovely!